Make an Apron-Front Regency Gown! (Part Two)
[If you're just coming in, please start at Part One. I'm using the Elegant Lady's Closet pattern to create an apron-front Regency gown.]
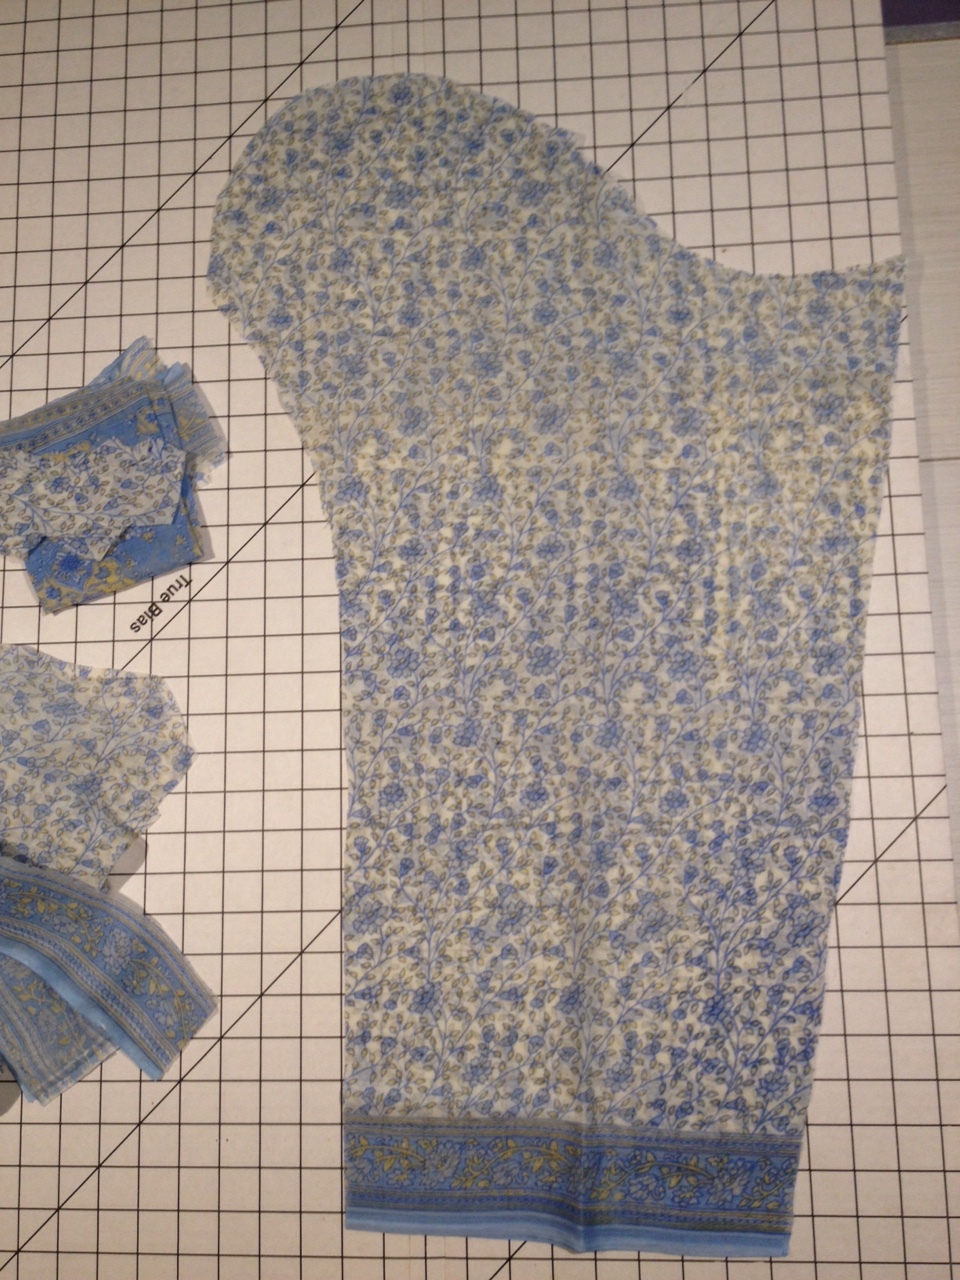
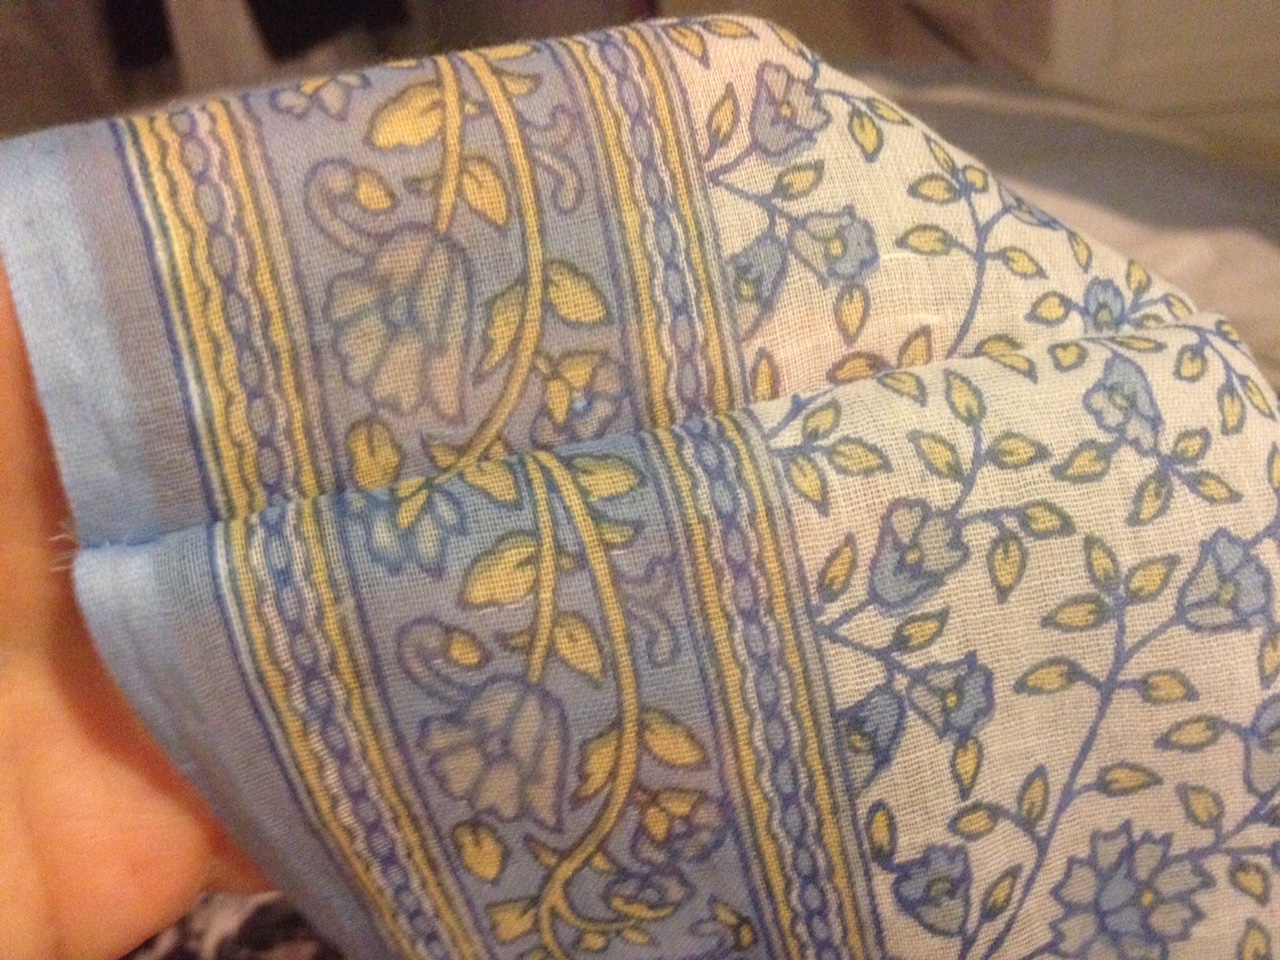
After finishing the bodice base, it was time to make the sleeves. Because this material is so thin and delicate, I chose to make full long sleeves with short oversleeves instead of using removable under sleeves. The fantastic border of this beautiful sari fabric provided me with an instant border for the long sleeve hems and the sleeve bands of the short sleeves. I ignored the directional arrows to cut out the long sleeves, laying them out horizontally instead of vertically. This is perfectly kosher if the fabric you are using doesn't stretch too easily.
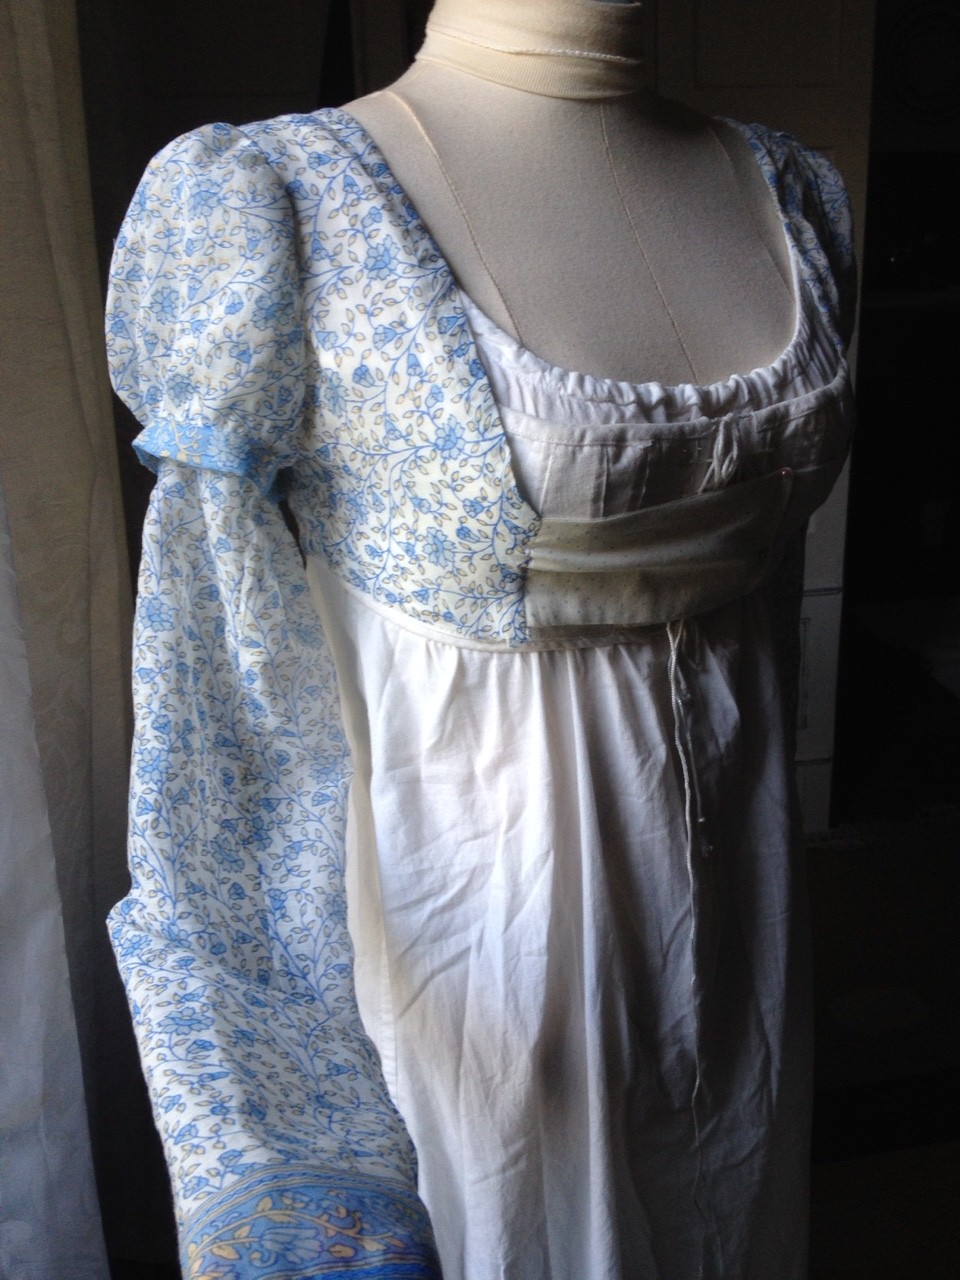
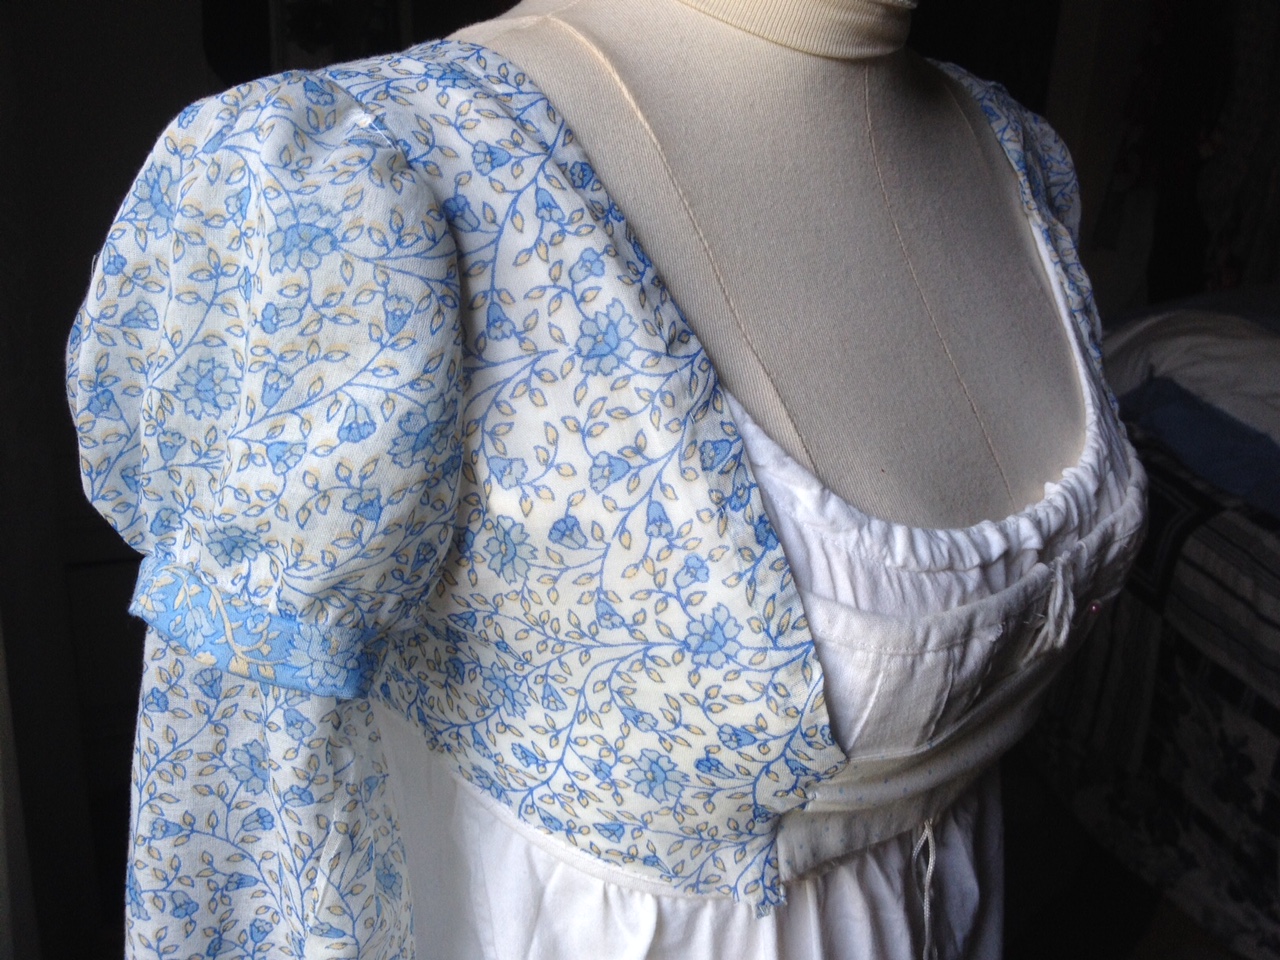
To create my sleeves, I just followed the usual steps to put together a pair of long sleeves, then made a pair of short sleeves with sleevebands. In the photo below, I've "nested" the long sleeves inside the short sleeves to create the look I wanted:Here's a closer view:
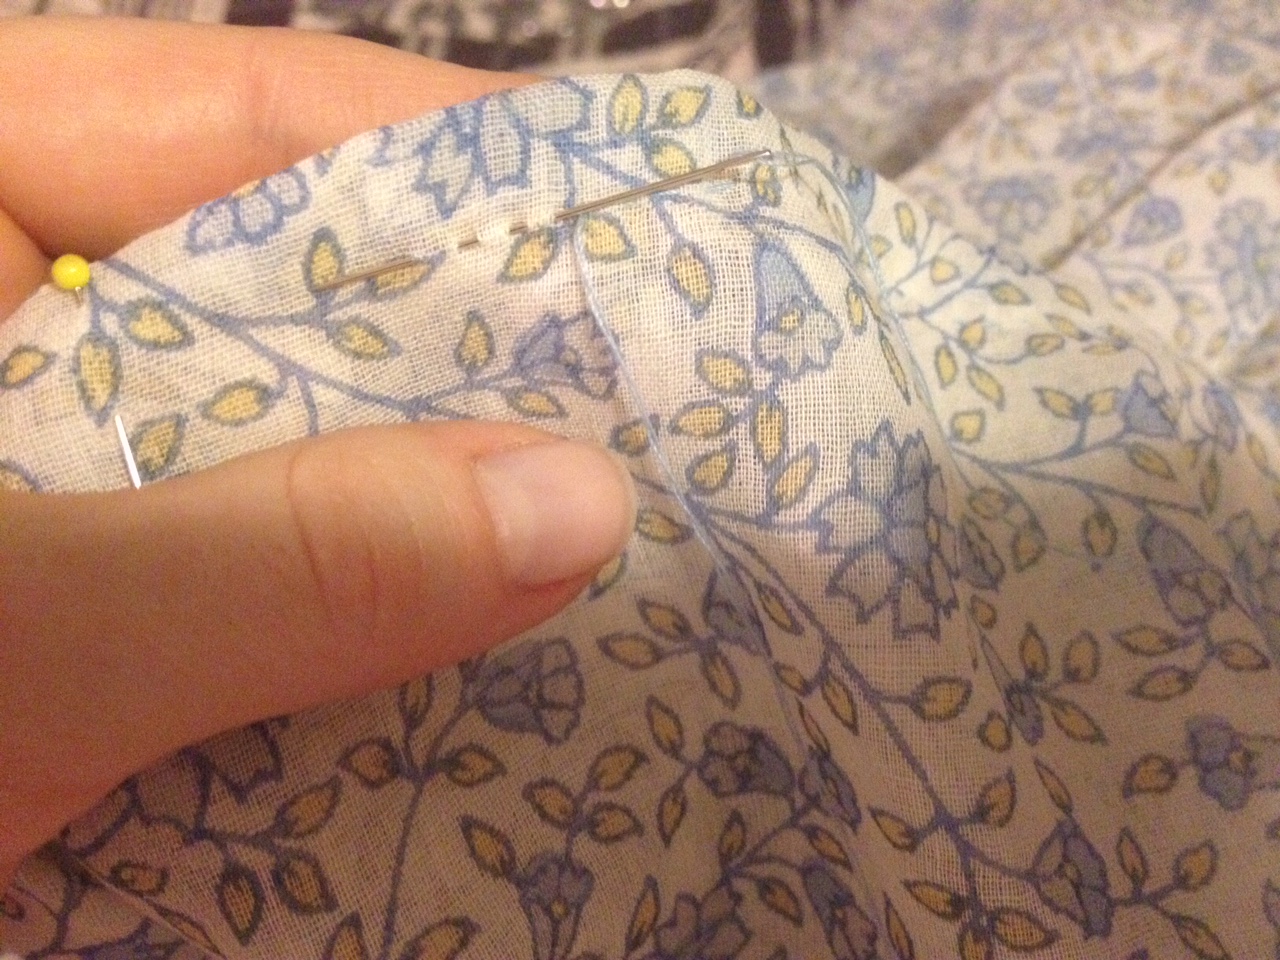
Next, I ran basting stitches through the curve of each sleeve, pinned into the armholes, and stitched:
Since I actually like to finish up sleeves before adding the skirt (and the bib front), I went ahead and hemmed the long sleeves and finished the sleevebands:
With the bodice nearly complete, I put it on my mannequin to check the fit and plan the next steps (skirt and apron front closure).
Now, at this point of this project, I was seven days from leaving for the UK, where I planned to wear this gown to the Jane Austen Festival in Bath. However, I was in a major car accident as a passenger during a huge rainstorm that left part of the main road flooded. Our vehicle hit the water, skidded, fishtailed, then hit gravel and flipped three times before landing right-side up in three feet of water. Miraculously, all three of us in the car walked away, pretty much unscathed. No broken bones--just minor cuts and bruises. Something loose in the car had bashed me in the knee when we flipped, and it swelled up and looked pretty nasty. The EMTs who showed up at the crash scene could not believe no one had been killed or seriously injured. I just thanked God for His mercy, because the friend in the back wasn't even wearing a seatbelt and sustained only a few bruises. Angels around!
Yikes, yikes, yikes…
The doctor at the hospital iced my knee and told me I would have to keep it elevated above my heart for three days and not do any walking or sitting. I immediately thought of my unfinished gowns for my trip (I still had to finish my ballgown and petticoat as well) before even asking if my trip was still possible! The doctor assured me I'd be able to travel within a week's time, but I'd have to wear compression socks and a knee brace. I then began to seriously wonder how I'd finish my sewing while lying in bed. I mean, I like authenticity as much as the next gal, but NO sewing machine work for three days? Yikes!
There was nothing for it but to hand-stitch my skirt seams while lying down. I always make French seams in sheer/delicate material, so that meant sewing each seam twice. Oh, well. It was actually a great way to pass the time, because I am NOT a lying down type of person! 😂
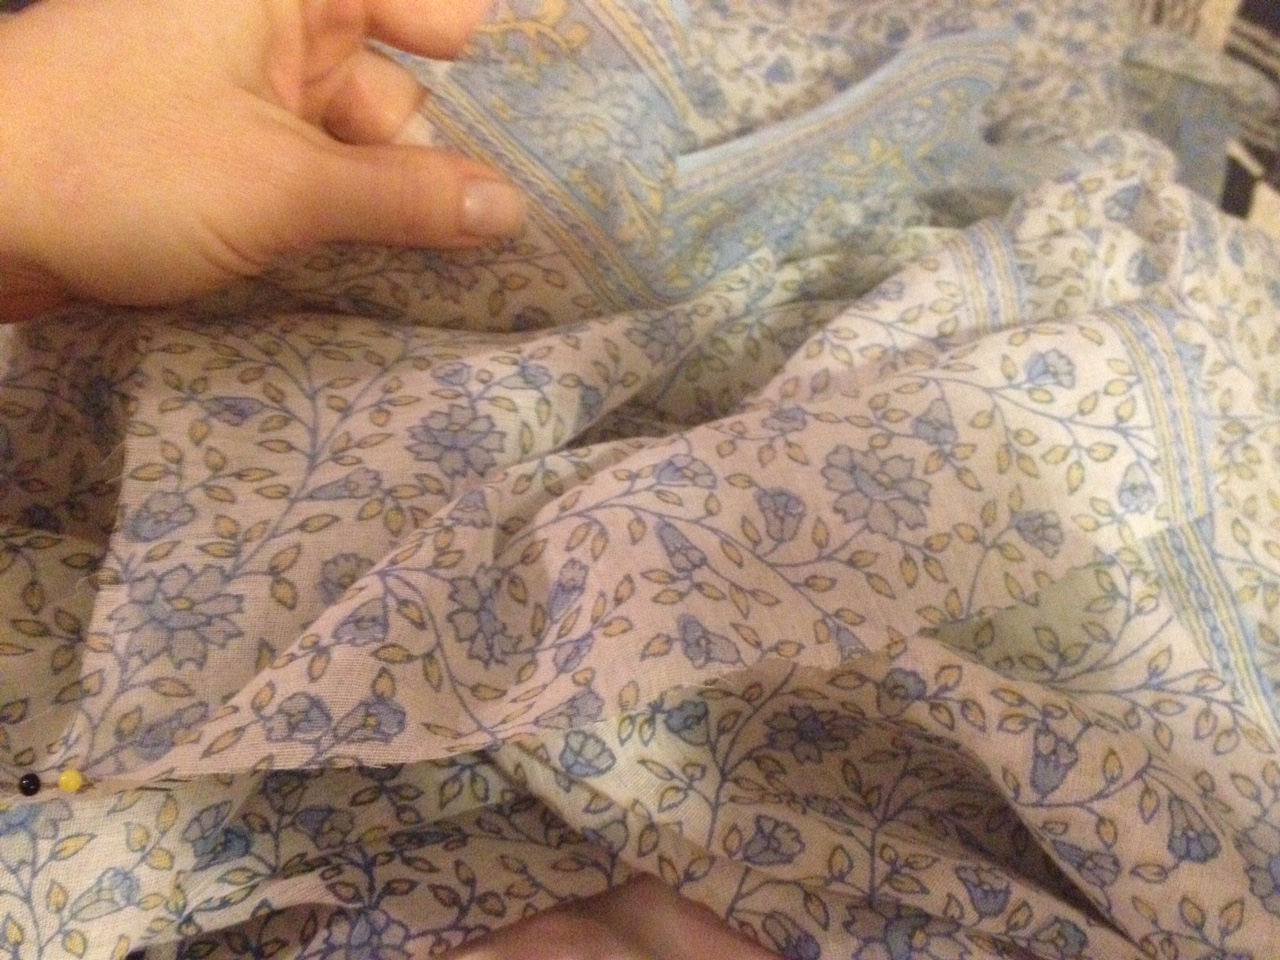
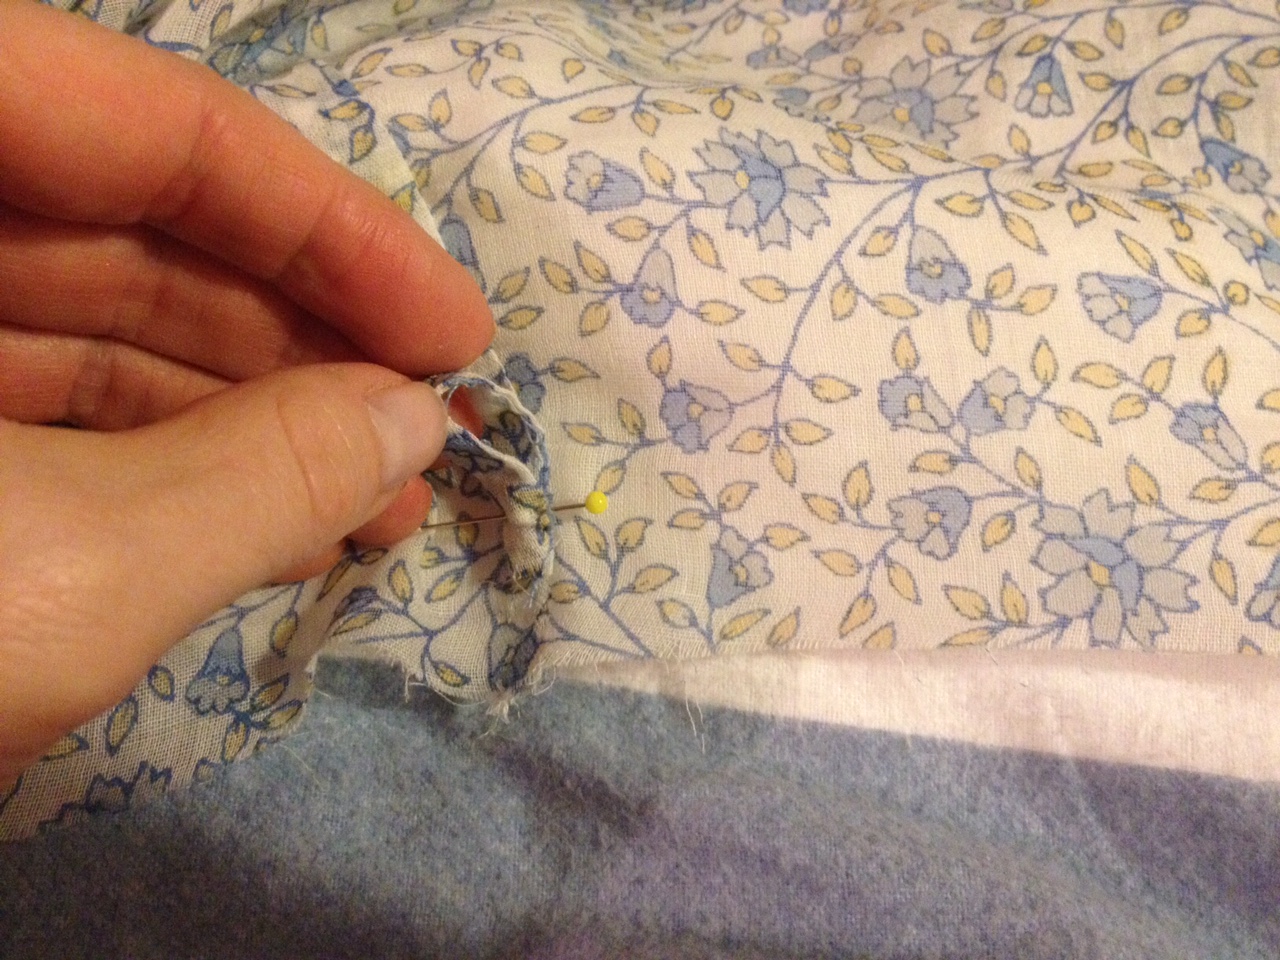
Now, because this gown closes up differently from more conventional dresses (i.e. button closures or pull-over drawstring gowns), it's important to note that the top six inches of each skirt side seam need to be left open. This is how the apron-front closure is created. In the photo below, you'll see that the yellow and black pins at the lower left mark the stopping point for pinning the side seams together. The open sides will be finished neatly in a later step.
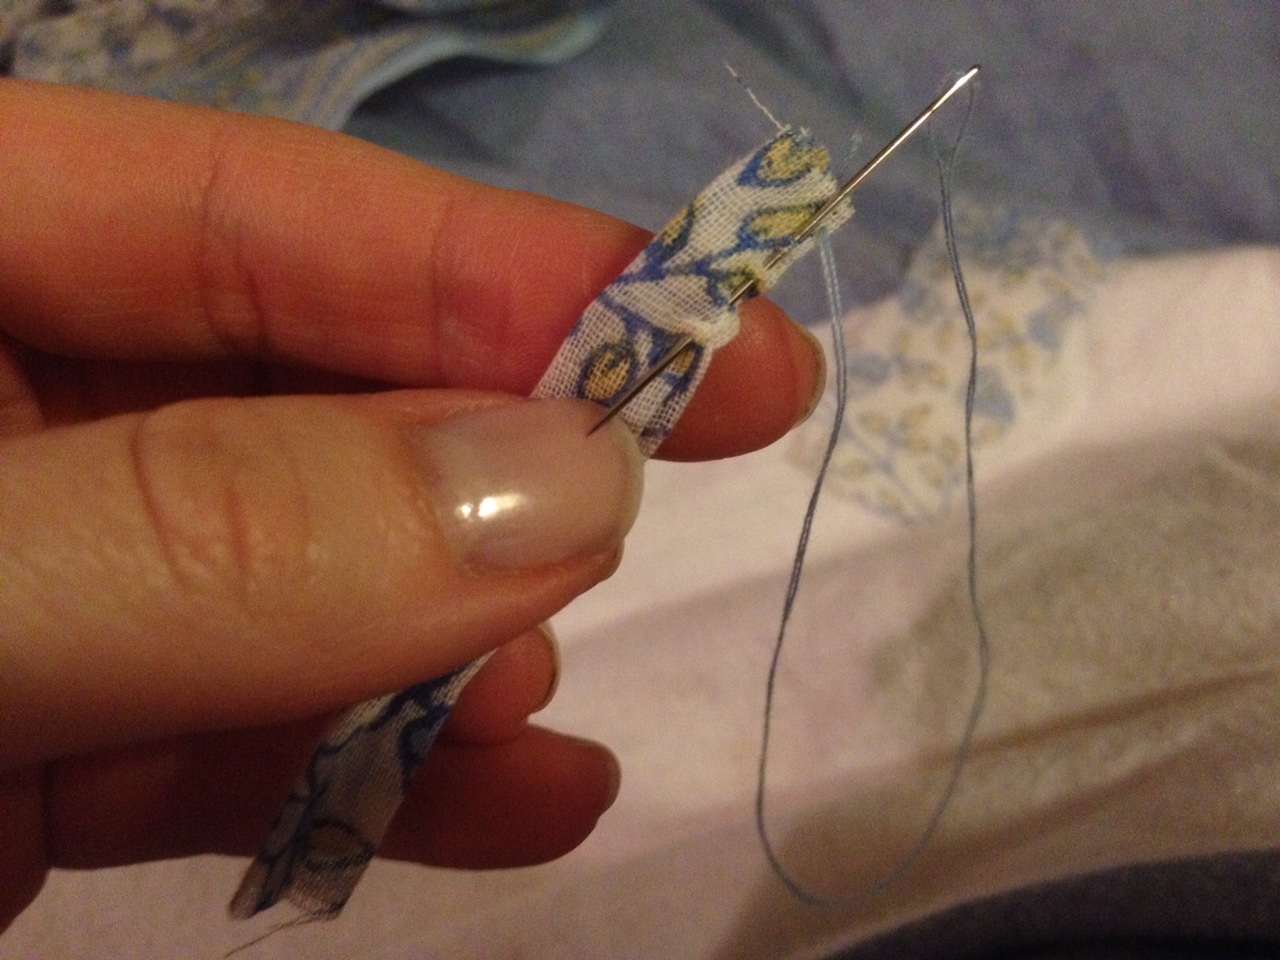
Because I had measured skirt length early on and cut to the border, I knew I could go ahead and hem the skirt. This is not normally recommended, since it's usually best to try on a dress and mark the hem after the skirt and bodice are joined. However, I had measured very carefully and knew I could get away with a narrow hem, so I went ahead and made it, using a running stitch as I did with the long sleeve ends.
Before attaching the skirt, I needed to set the loops in the bodice back at the side back curves. These provide stability for the self-fabric ties that hold the skirt front in place. You'll find the steps for these loops in the pattern instructions, as they are used for both the drawstring and crossover options.
Next, I pinned each tie loop into place along the side back seam on each side of the bodice back:
With that important detail out of the way, I could move on to creating the bib for the apron-front closure of my bodice. If you look back at one of the inspiration gowns I shared in the first post, you can see that the bib front is gently shirred:
This shirring allows fullness over the bust, making for an easier fit. I wanted to get this same look, so I cut a rectangle high enough to go from empire waist to desired neckline, then wide enough to cover that bodice front opening and then half again as wide to allow for the shirring. Now, because I was flat on my back in bed, looking up at my mannequin while my husband held up bits of fabric, I misjudged the neckline and ended up making the bib too tall. Instead of hitting below the collarbone, the bib hit above it. I'll fix that before I wear it again, but it was too late by the time I was out of bed and on my feet!
To finish the edges of the bib, I cut more bias strips of my material, joined them together, then pinned the strip from lower edge, across the top to lower edge again. I had measured for desired width before the accident, so I did get that part right, and I pulled up the basting stitches to fit the binding:
Once the bib front was bound on three sides, it was time to secure the bib to the skirt front, matching centers and pulling up basting stitches to create the gathers at the lower edge:
I stitched just this portion (bib) in place on the skirt front, then pinned the bodice back and front "straps" to the rest of the skirt, leaving the front tabs (which need to cross over beneath the bib) free.
It's a bit difficult to see in the photo above, but I spread the gathers of the skirt back to match the bodice across the back and to the end of the front "straps." This means the skirt back side seam (which was left open earlier) would actually reach a bit forward into the bodice front, which is fine. Once the apron front is closed, you want the skirt front to overlap the skirt back, leaving no wide gap at the side seams
At this point, I turned the raw edges of the skirt side seam openings to the inside (folding twice and taking up the same amount of material as the seam allowance). Then I hand-stitched a hem to finish those raw edges. This left the openings in place but finished off the raw edges there.
.At this point, I was two days into lying with my knee up, and I freely admit to cheating to sew the skirt to the bodice! I got up for five minutes to run that seam, then went straight back to bed, as the knee did throb. Ouch. With the skirt sewn on, I had my husband dress the mannequin so I could have a look at how the apron front worked:
It was at this point that I had misgivings about the depth of the bib front. It looked awfully high from my vantage point on the bed, but I couldn't try it on, and I hated the thought of unpicking all those stitches, so I just left it! I moved on to create the self-fabric tie that would enclose the raw edges of the free upper edges of the skirt front on either side of the bib, then extend around to tie in back, securing the apron closure.
Now, one thing I've seen over and over again on extant gowns like this is a deep pleat made by folding the skirt front to the inside on either side of the bib front. This deals with the extra material not taken up by gathers (as happens naturally with a drawstring gown), and it makes a lovely placket that overlaps those open side seams in the skirt. With my husband's help, I eyeballed those deep pleats and pinned them in place:
With the skirt front edges pinned, it was time to make the binding/ties. This is no different than making regular bias binding. You just need to measure the top of the free edges of the skirt front, then around to the back and create enough length to go through the loop on each side and tie.
And, yes, that's my ironing board, which my DH set up in our room so I could cheat in small increments to press that binding and get clear photos--ha ha! I did sew the binding in place by hand, because I wanted only hand stitches to show along the edge. That kept me busy while lying down for a while!
Then I had my husband put the blue cotton petticoat on my mannequin over the chemise and stays, as it would serve as the lovely "backdrop" for this dress:
Next, the gown went over the petticoat:
In the close-up shot above, you can see how the border of the sari material also served to make what looks like a waistband across the skirt front.
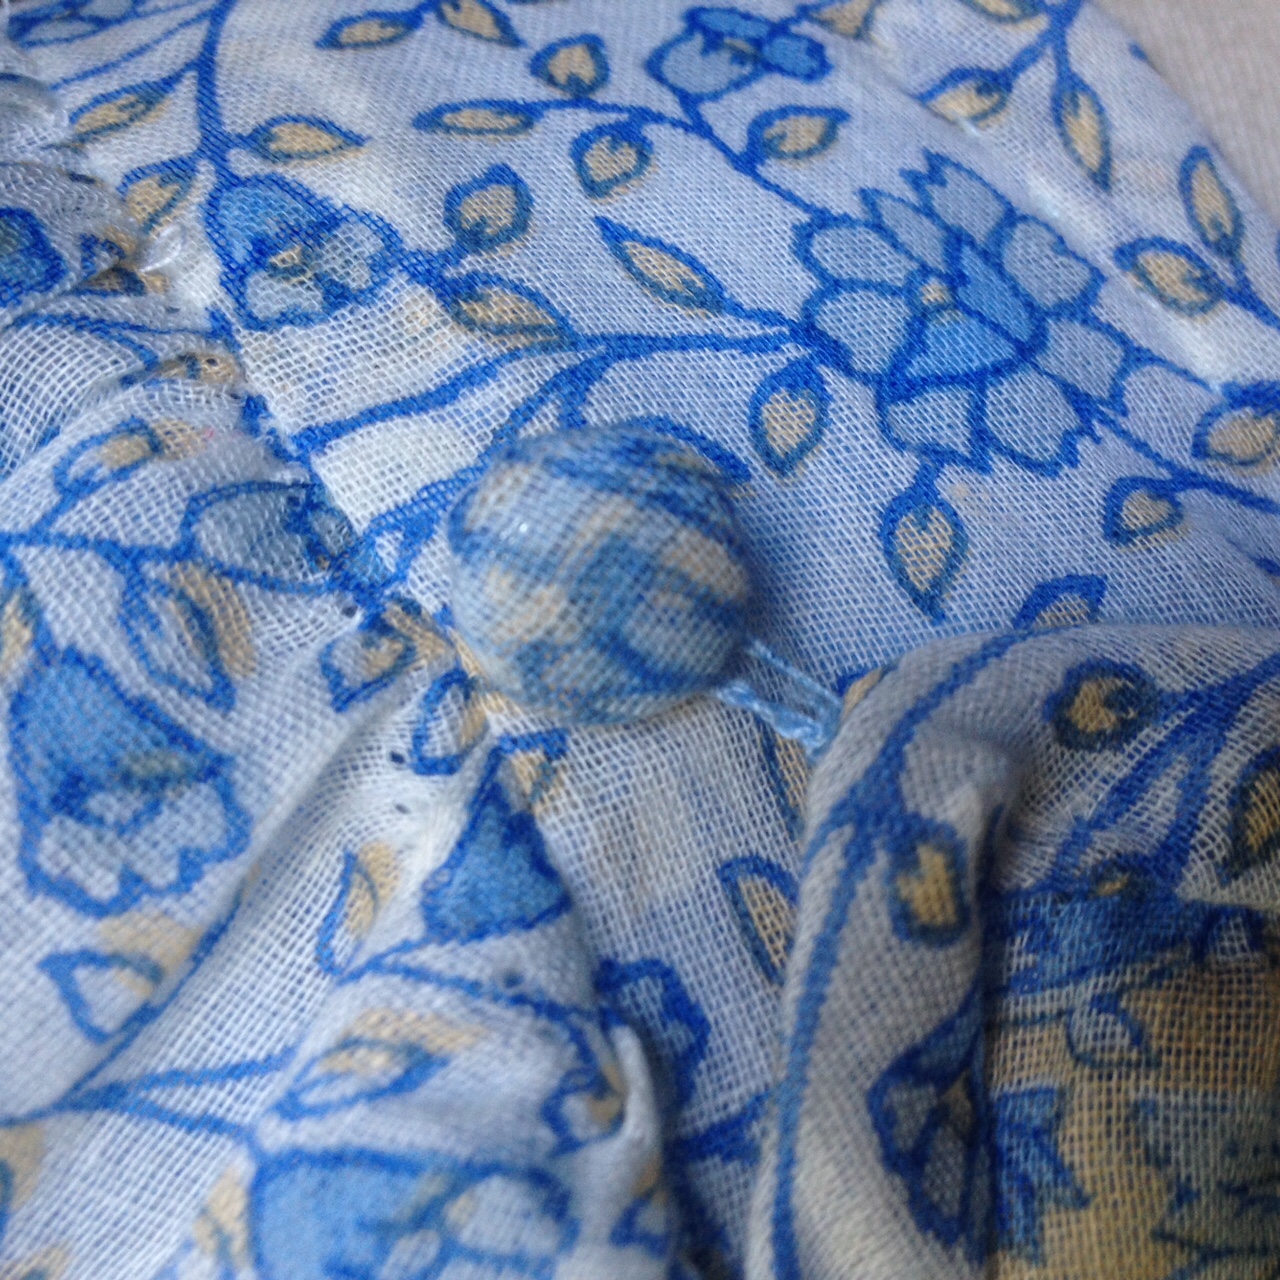
Many extant apron-front gowns I've seen simply pin closed at the upper corners. Others use loops over covered buttons. I opted for the latter option and made two covered buttons (cheating with the use of metal button forms, but I'm happy with a cheat that can't be seen!).
And, voila! My gown was finished and ready to wear at the Grand Costumed Promenade. I took the last stitch the day before my flight. My ballgown was another story! I'd managed to finish the silk petticoat, and I had made the bodice before my accident, but the embroidered skirt panels still had to be attached and all the trimming sewn on. That will be a story for another post, because, while I wore the gown to the ball, it still isn't finished and needs some attention before I return to the UK this September!
But I was very happy with this apron-front gown and even managed to snag a photo with Mr Salter of the Jane Austen Centre, the most photographed man in England!
My bonnet, which I also wore in 2013, was made for me by Augmented Austen. It perfectly matched this new outfit, just as it did my prior one! My nankeen boots are from American Duchess and are very comfortable (though I had several slip-ups on the wet stones and had to add skid-proof stick-ons to the soles to prevent accidents!).
And here's one more photo of me with my lovely friend, Cathy Hay, of Foundations Revealed, who joined me for the promenade in her own fabulous ensemble!
I'm sure you can tell we had an absolutely smashing time, preparing for the 2016 tour! I'm happy to report that walking all over London, York and Bath was exactly what my knee required, and I've suffered no long-term effects from the car accident. I was even able to discard the knee brace after two days. 😃Once I've finished the embroidered crossover gown, I'll post a tutorial for it as well. But now it's really time for me to get back to work on long-delayed patterns. Here's hoping I can squeeze in some work on those while home educating three high schoolers and six littles this year! 😉
