Make an Apron-Front Regency Gown! (Part One)

Way back in 2003, I made myself an apron-front Regency gown (also called "bib-front" or "drop-front") gown, as it was easy to wear while nursing my first daughter. I wrote a step-by-step tutorial for that, using my original Regency Gown pattern as the base. The final result was as accurate as I could get without having studied an original in person. Since then, I've learned a lot about the construction of these gowns (hurray for access to museum collections with my tour groups!). So I decided last August to make a new apron-front gown, basing it upon several gowns I've handled in person, plus an extant garment in the National Museum of Australia that I found online with detailed photographs.

2003 Apron-Front Gown
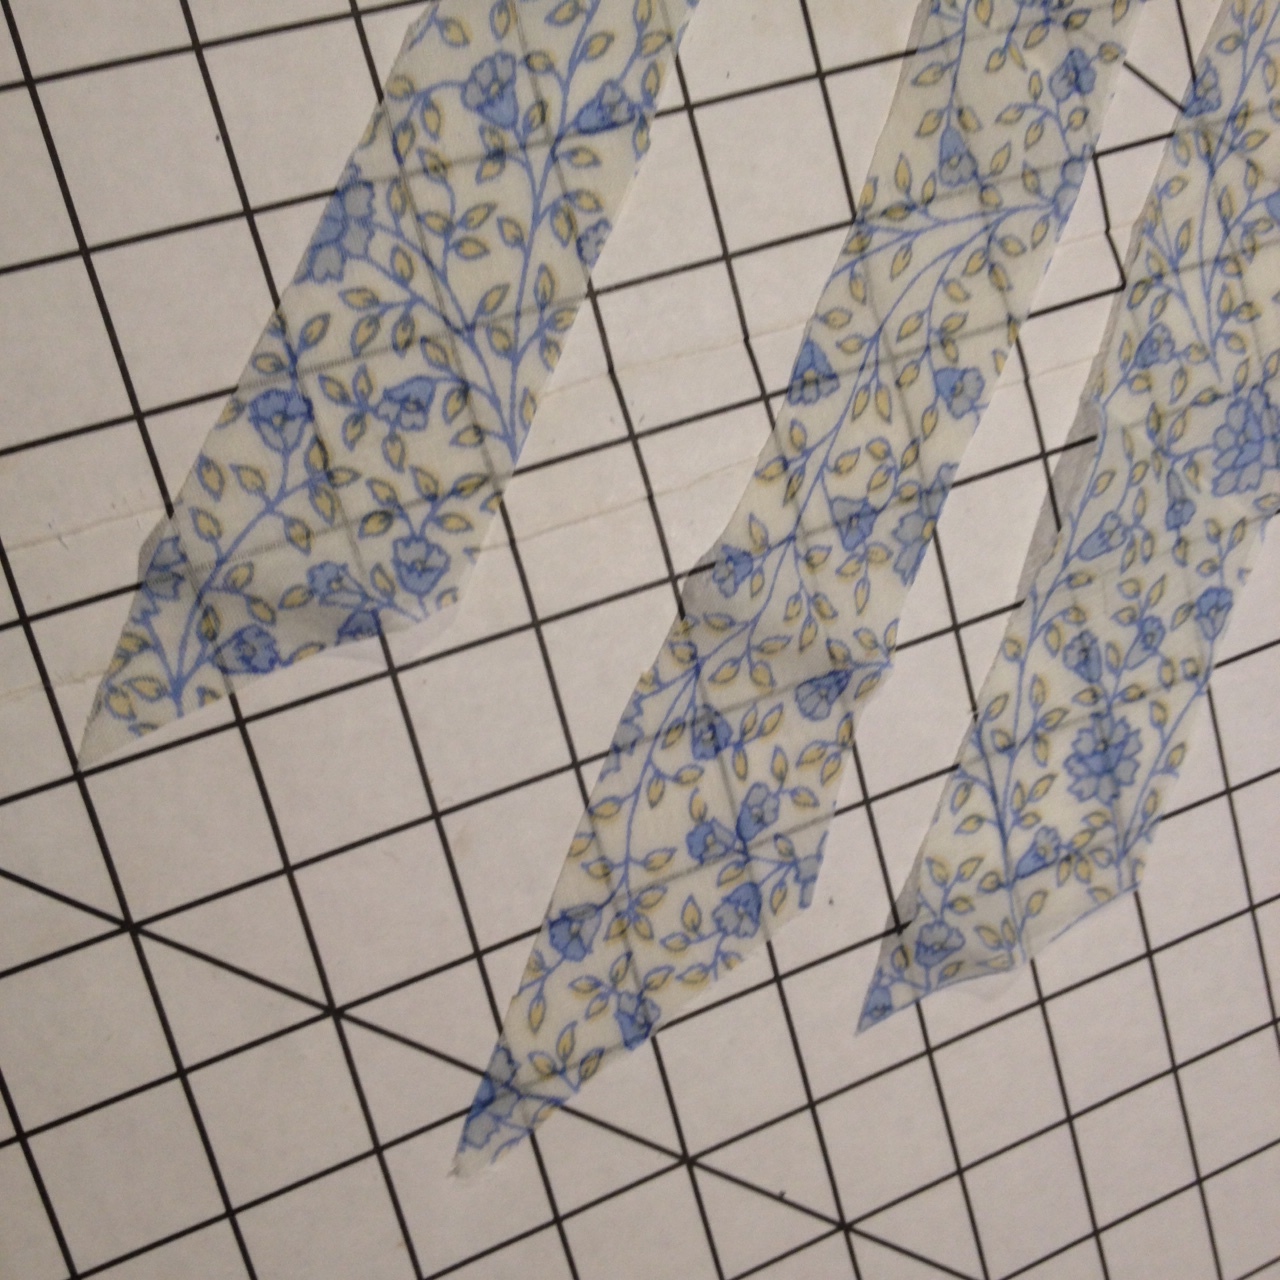
This time, I've used my Elegant Lady's Closet pattern as the base, since it has no back opening and features the more fitted long sleeves I planned to use for my undersleeves and the short, puffed ballgown sleeves I'd use as the over sleeves. One of my 2013 tour group members gave me a gorgeous cotton sari just perfect for this dress (thanks, Frances!), and I loved working with the border print. There are a lot of extant gowns from this period made from saris, so if you want to try your hand at using one, check eBay, which has a lot of lovely new and vintage cotton saris in prints appropriate for this era. You'll see several fabrics in the photo below, as I also made myself a new crossover ballgown and a blue silk petticoat to go beneath it. I hope to share a tutorial for those at a later date!
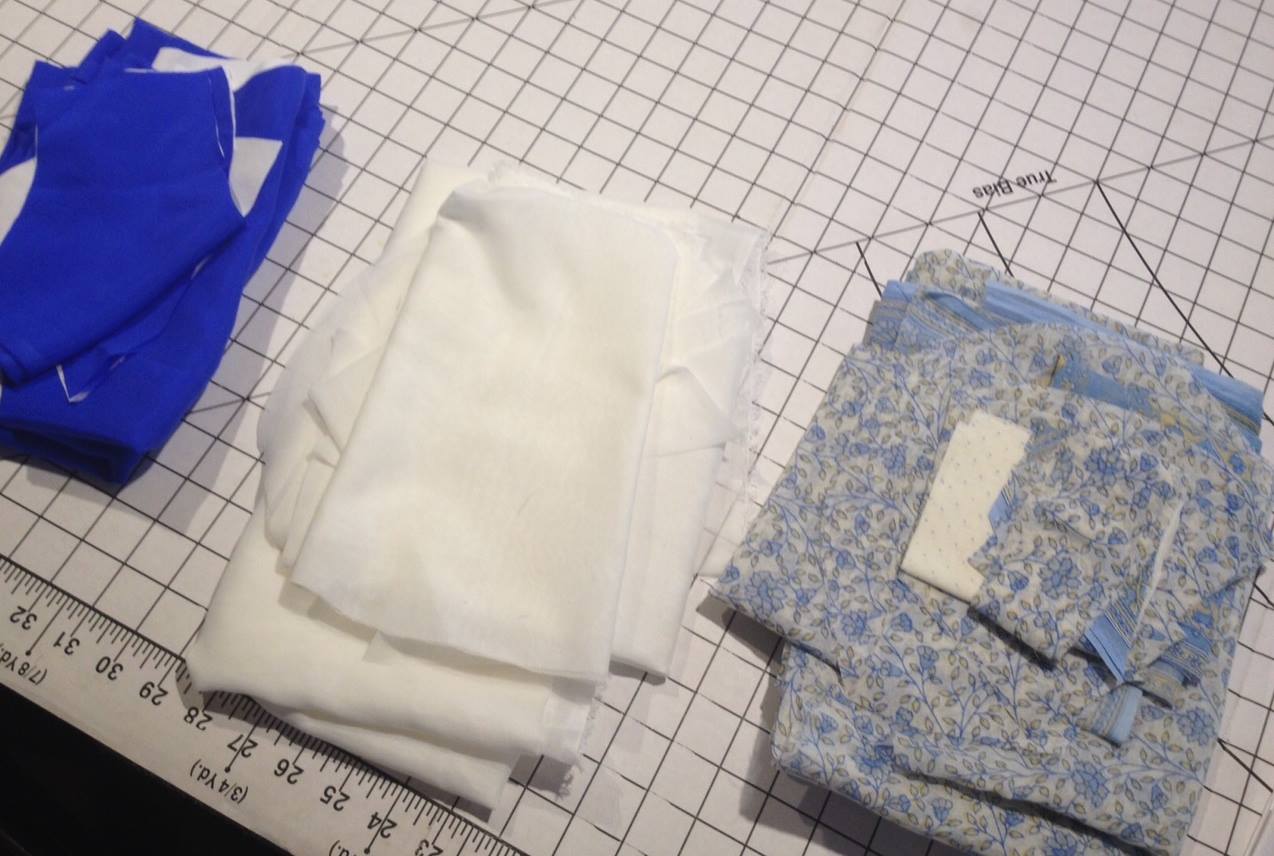
Royal blue silk, Egyptian Muslin, and cotton sari material from India!
I had already updated my short stays to fit my current shape, so I padded my mannequin and dressed it in the chemise and stays to serve as a base while I sewed and fitted:
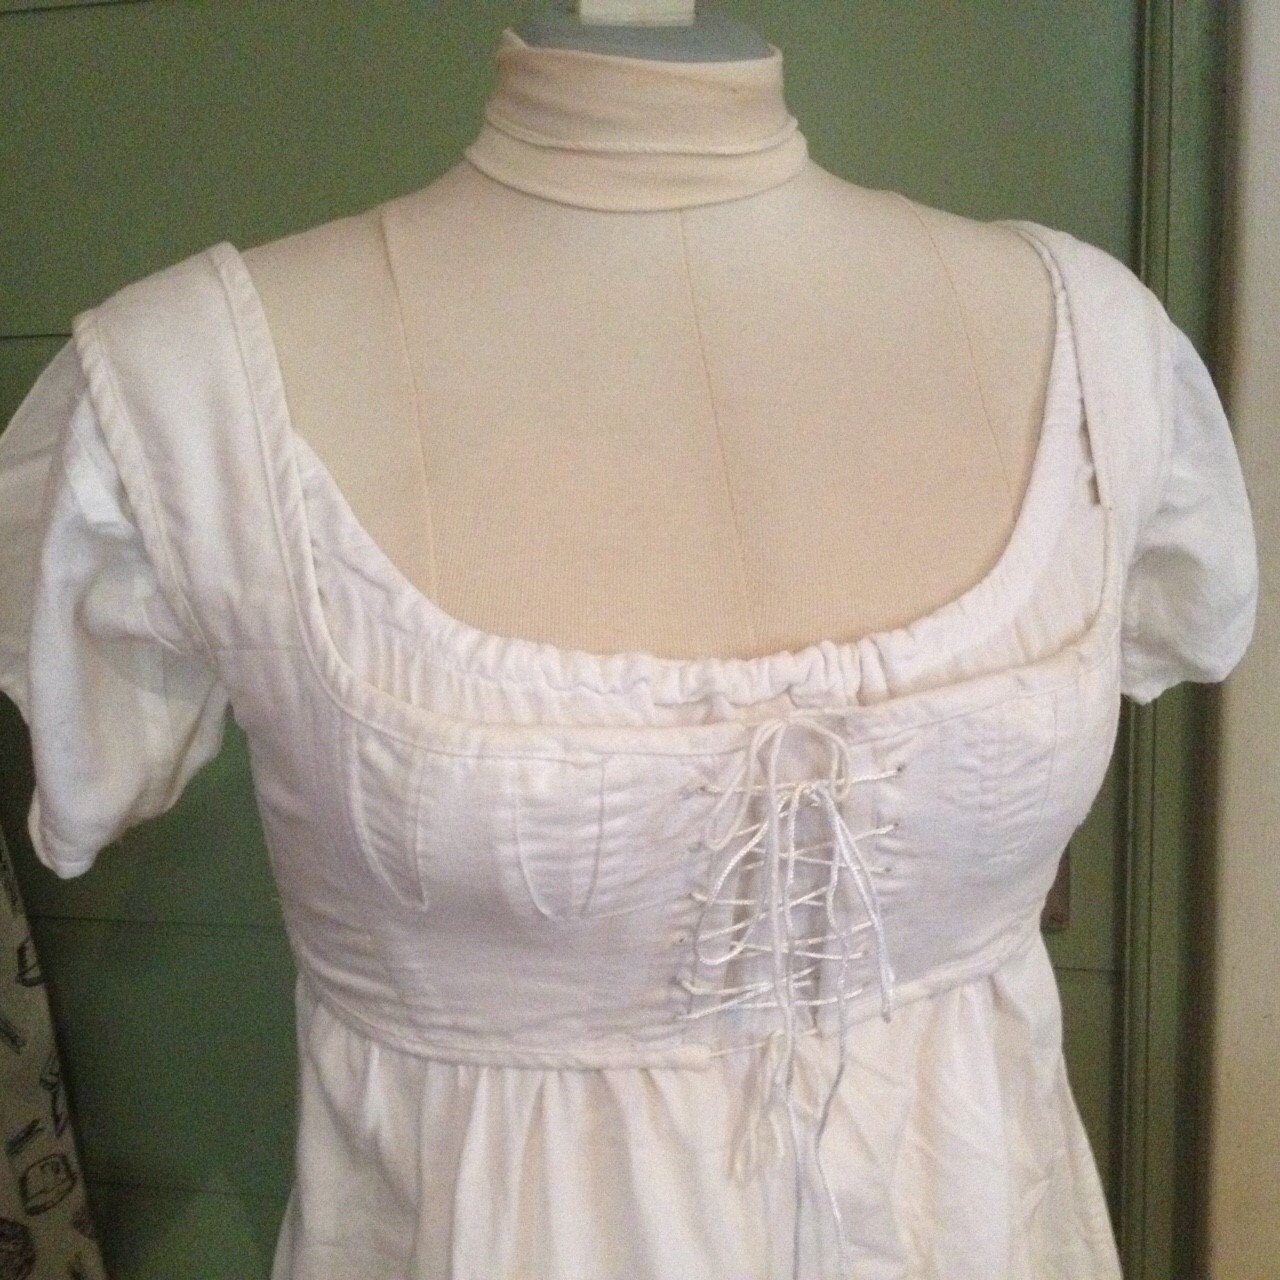
Regency Chemise and Stays
It's important to note that, even when padded, a mannequin still won't show the correct bust point, because stays push a fleshy bust in and up, but a mannequin's bust doesn't move! So I put the chemise and stays on myself first and marked my bust point, since it's higher when I'm wearing them. The mannequin's bust point is lower, but the measurements are still accurate, so she's very helpful for fitting. As you'll see later in the tutorial, I ended up slightly incapacitated during the last week of sewing and had to rely on someone else to fit to the mannequin while I lay in bed with one leg propped up! This resulted in a slight misfitting in the bodice, but it's one that will be easy to correct before I wear the gown again. To make this gown, you can go ahead and cut out all the pattern pieces exactly as they are given for the drawstring option in the Elegant Lady's Closet.
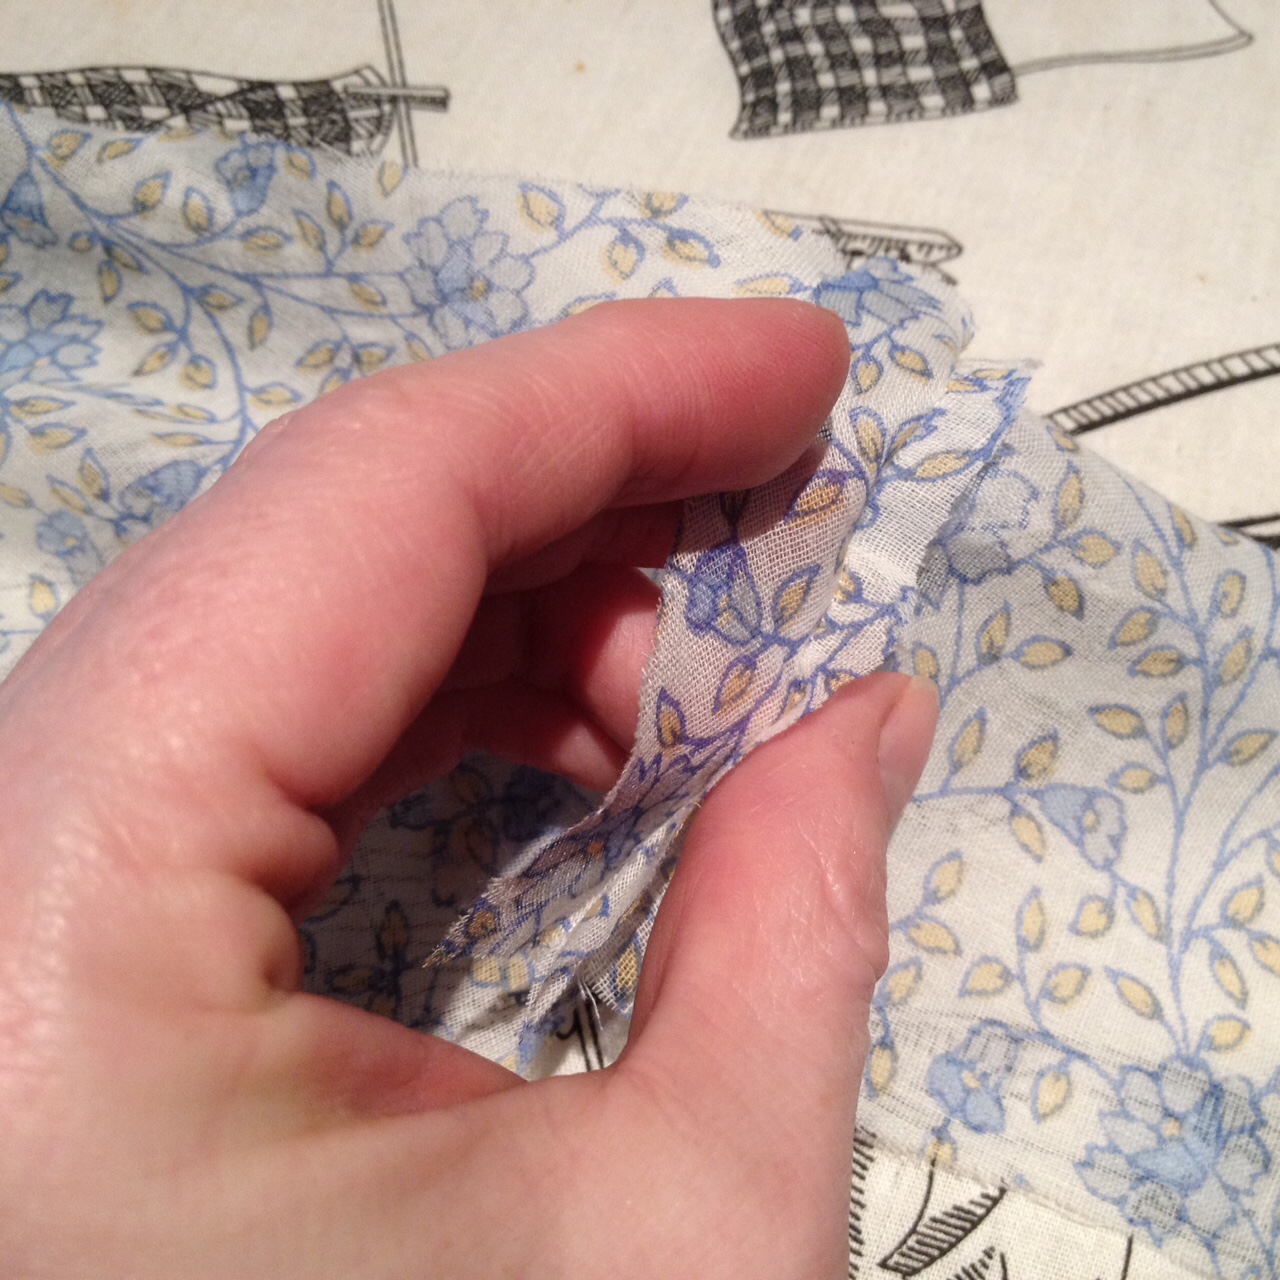
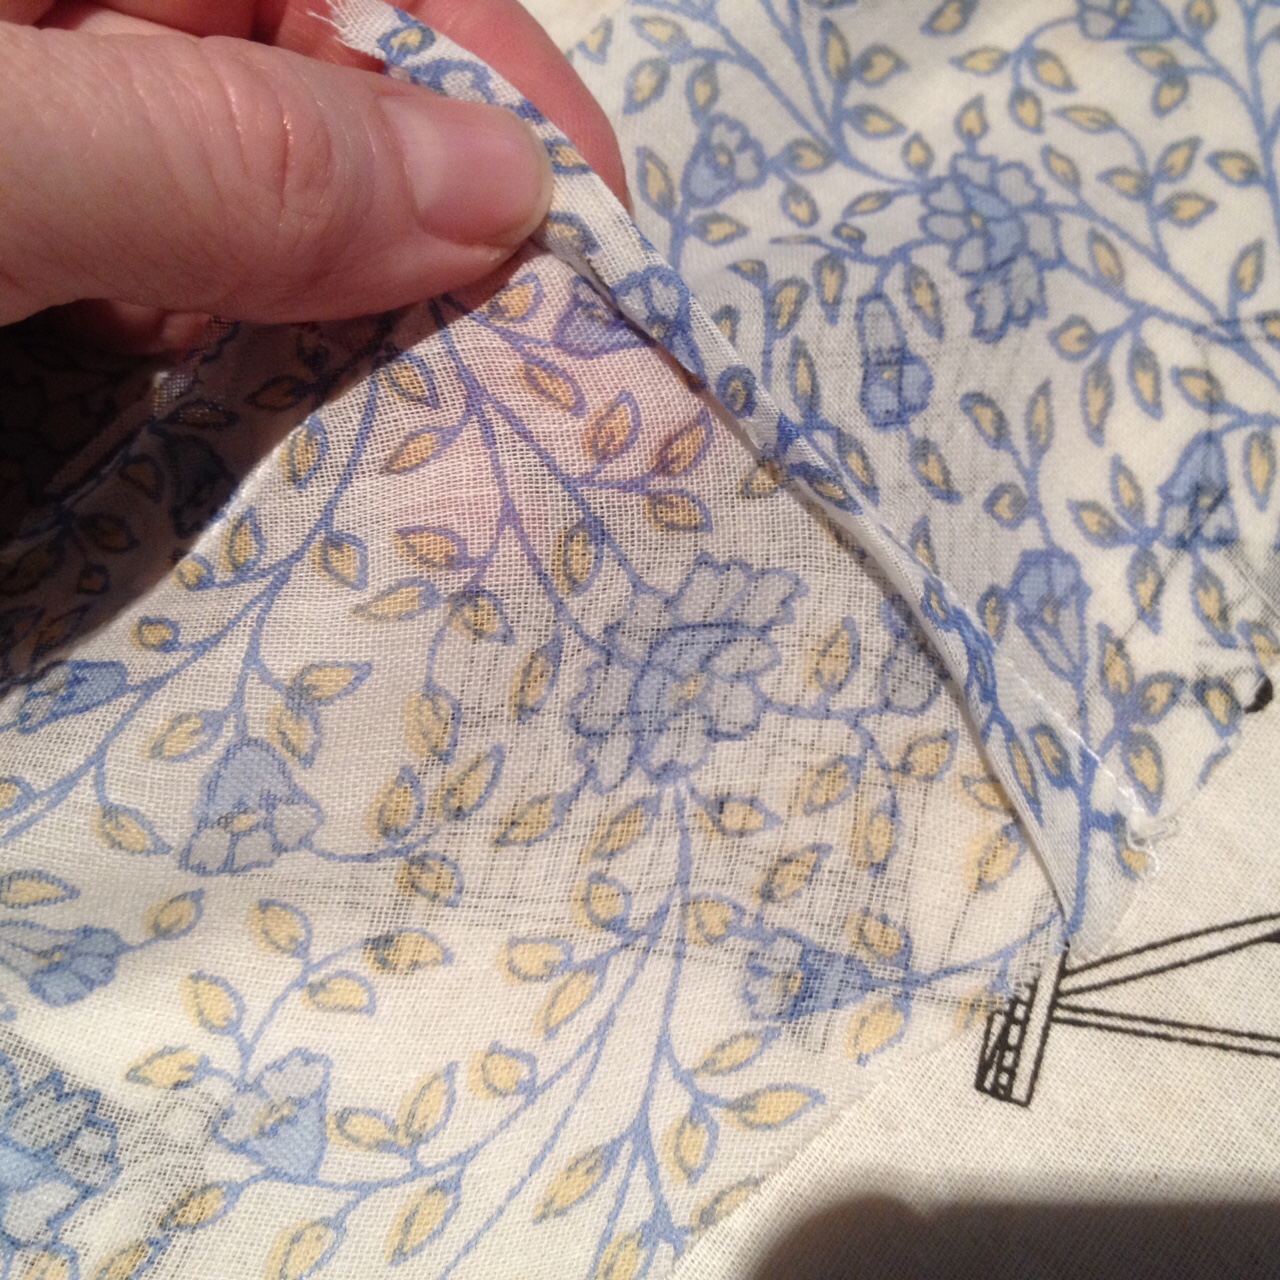
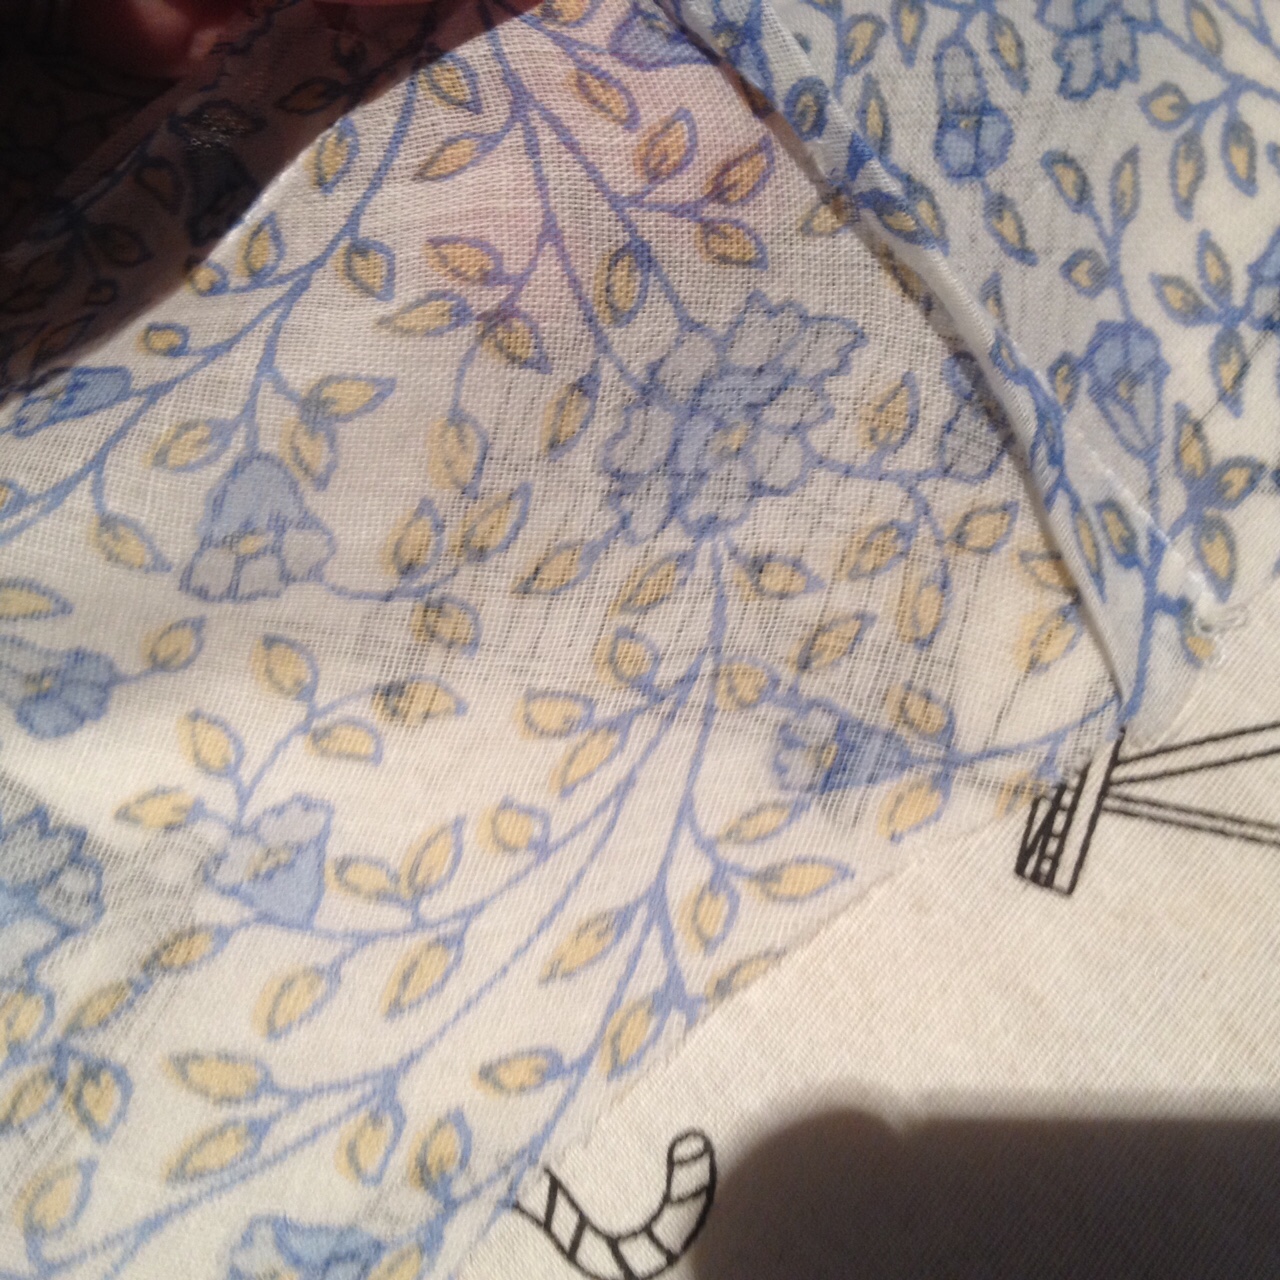
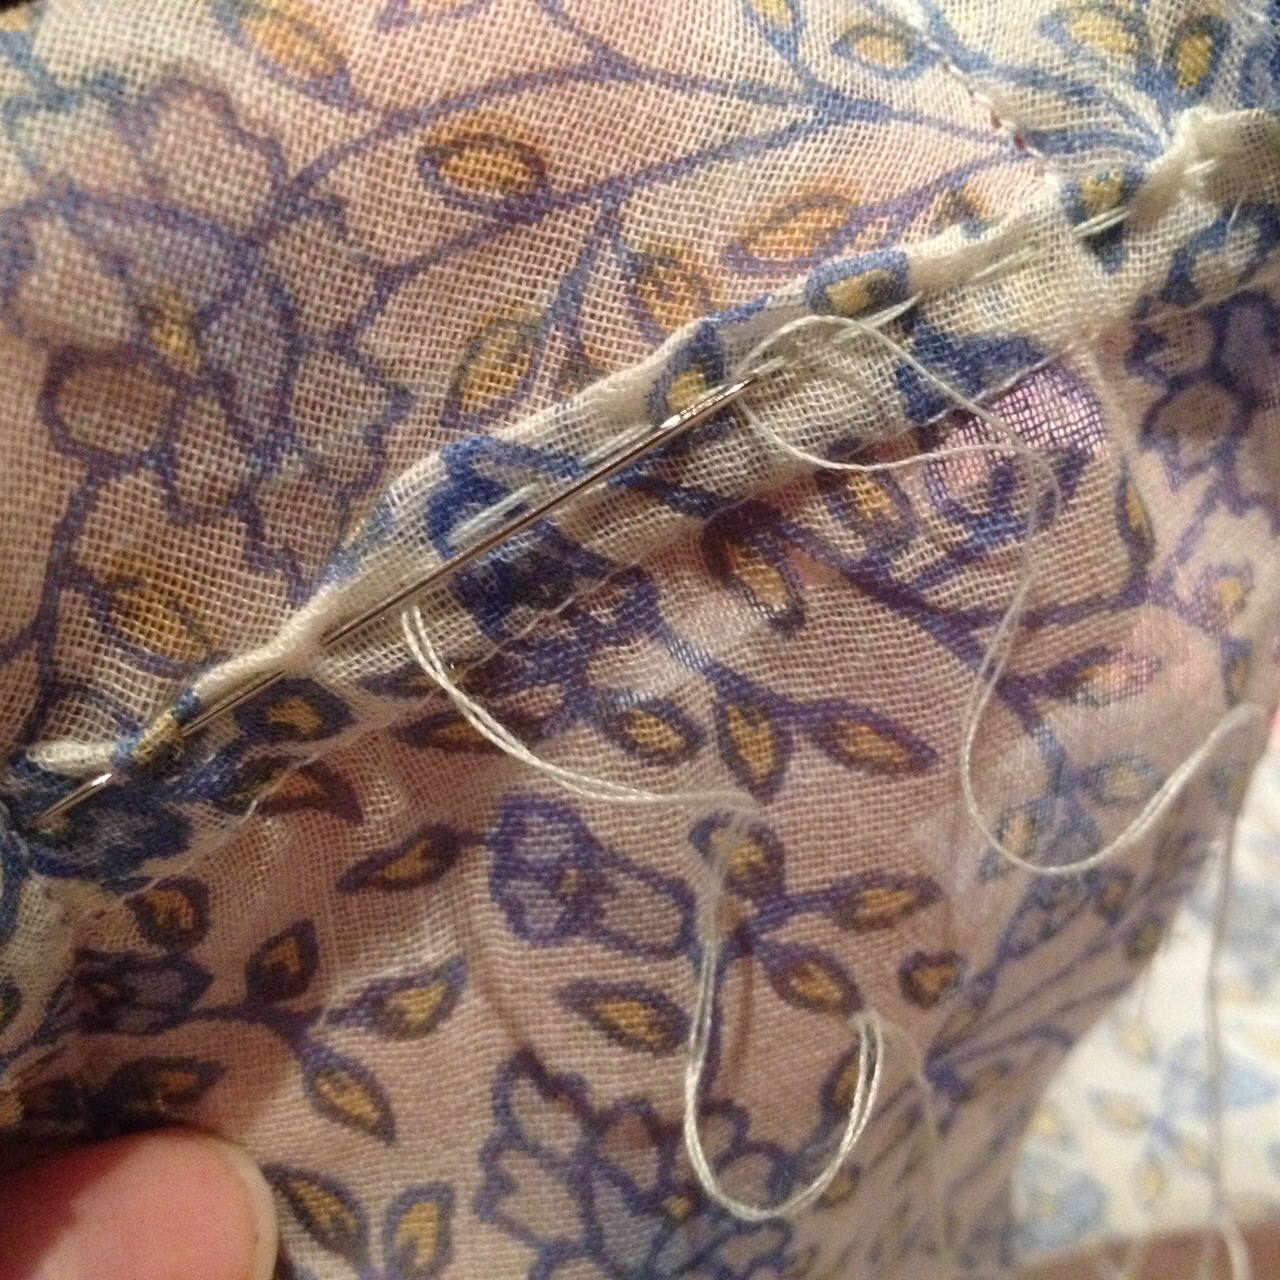
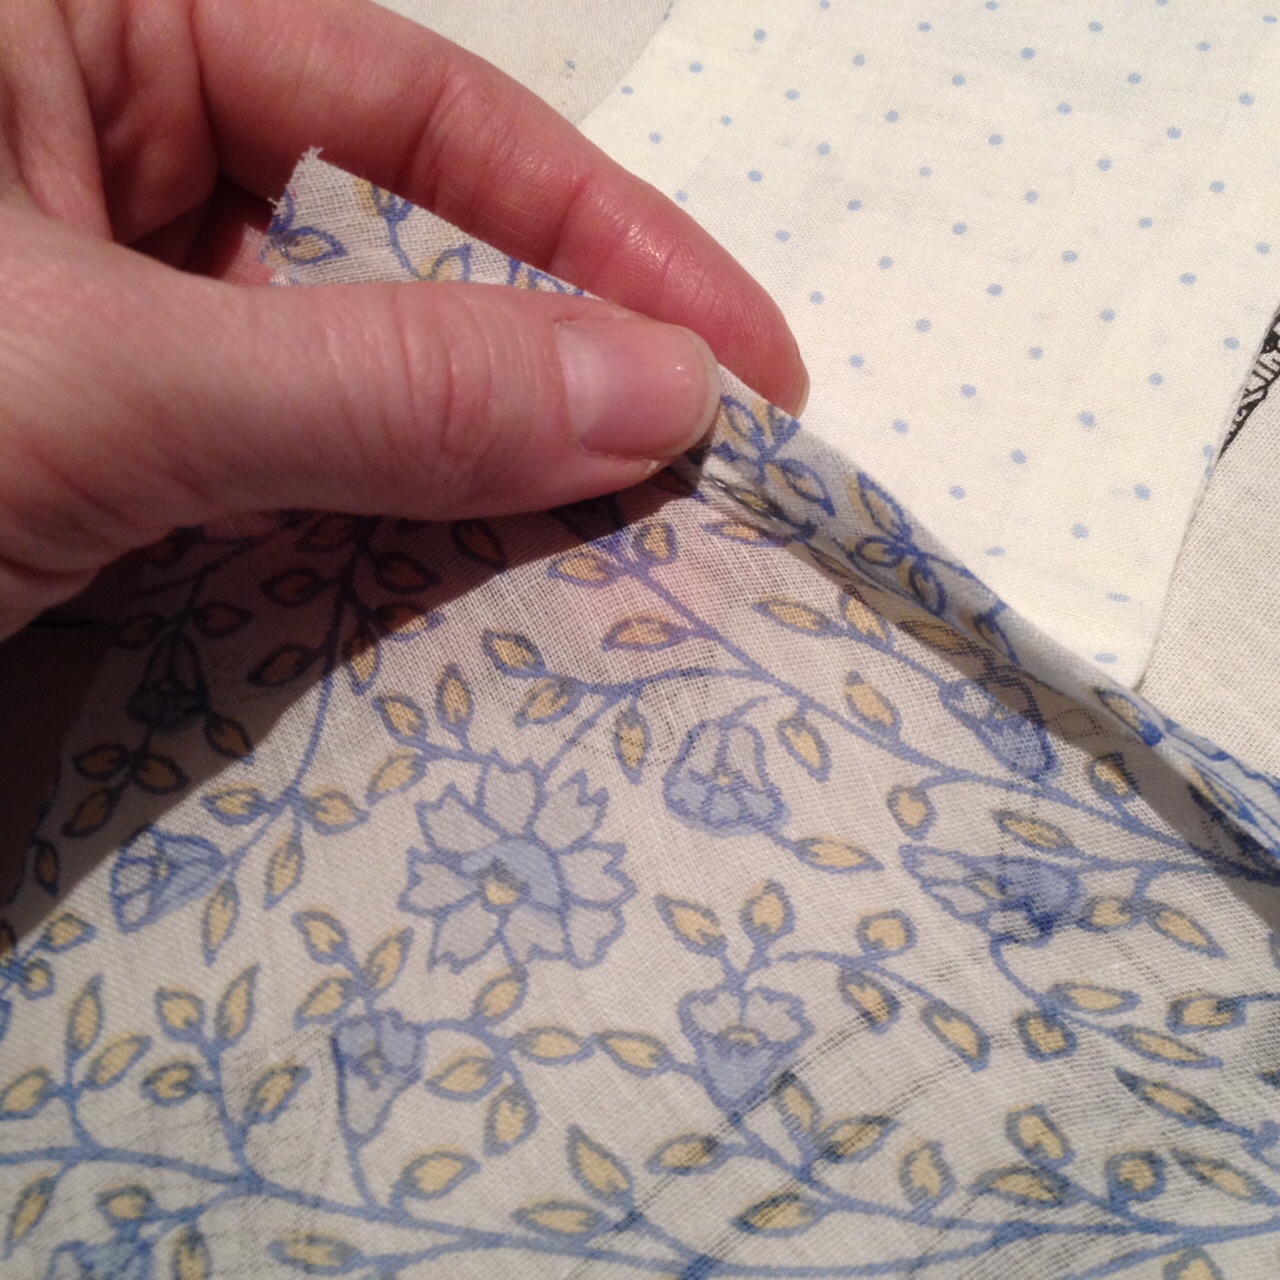
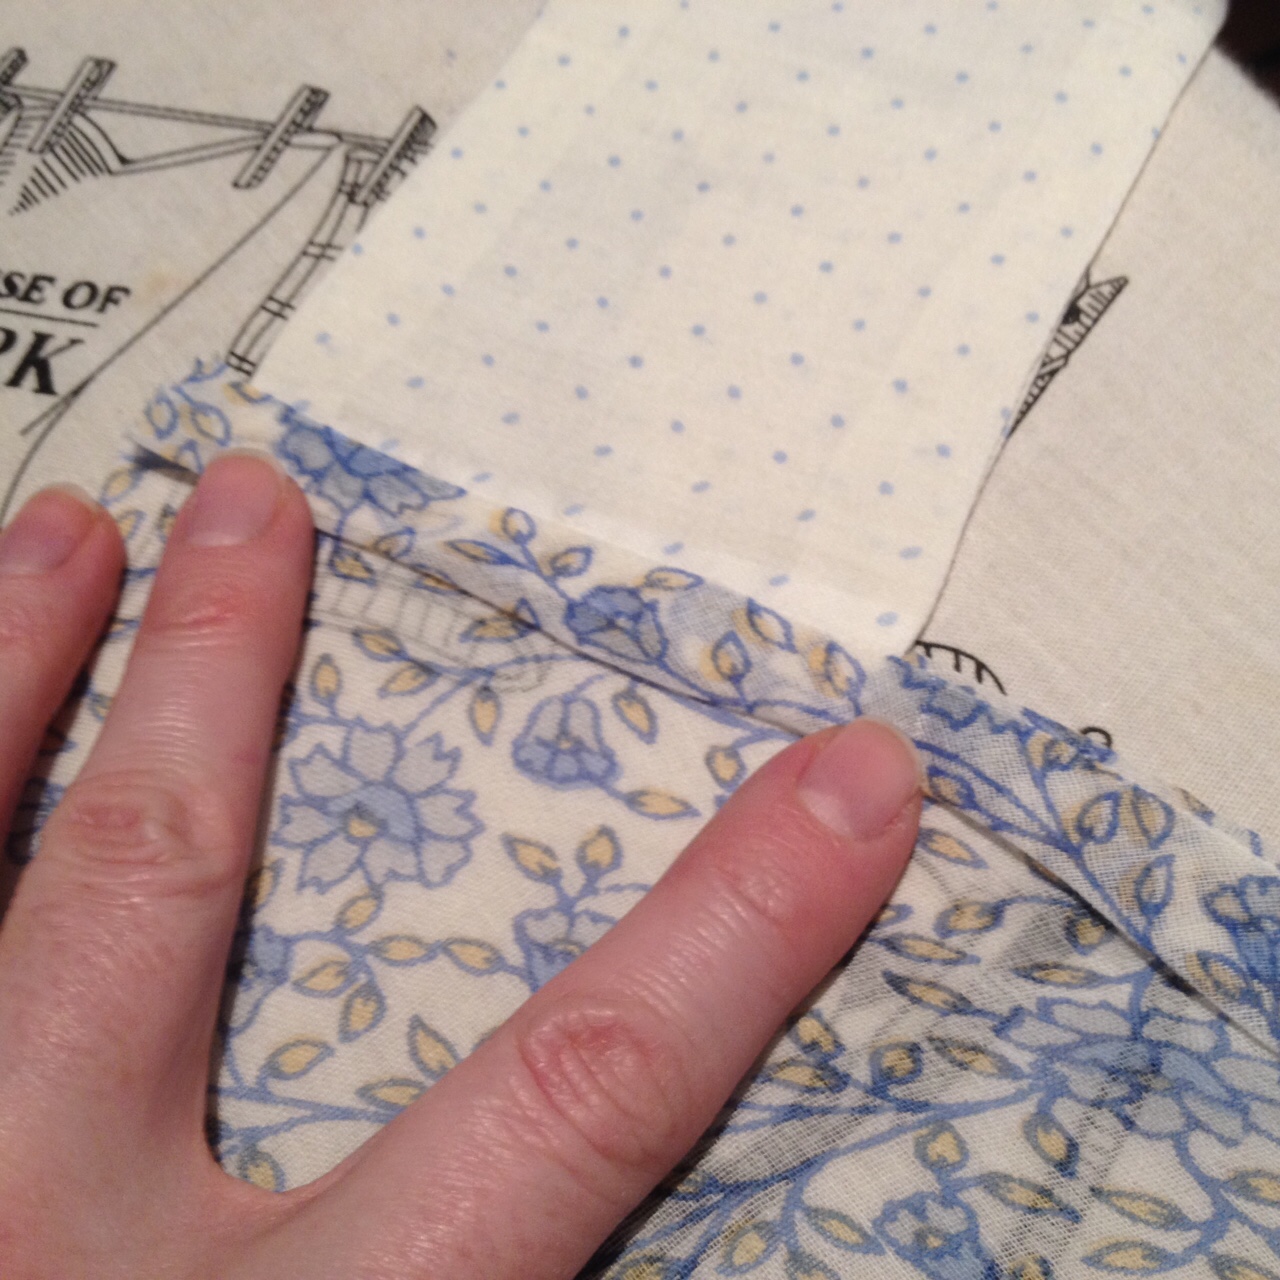
You will later cut the bodice front down to create the front opening, but go ahead first and stitch your bodice back pieces together, then the shoulder seams and side seams joining bodice front to back. Because I used a sheer material, I decided to make flat-felled seams to create a nice finish. After trimming and folding the seams over, I secured them with running stitches by hand. It's perfectly kosher to have running stitches showing on the outside of your Regency gowns; I can't tell you how many extant garments I've studied with visible stitching--even very messy stitching! As you'll see below, after clipping the curves on one of my side back seams, I realized I had matched wrong sides together, so I had to rip that seam out and do it over again! NOT FUN with such delicate material, so I was extremely careful after that to make sure I'd matched right sides!

Ripped side back seam
Step one of the flat-felled seam: the machine-stitched seam, which looks just like a normal 5/8" seam.
Step two: half the seam trimmed down...
Part two of flat-felling the seam: the the full-width part of the seam allowance is folded over the trimmed seam seam allowance, containing it.
Pressed flat-felled seam, ready for hand stitching...
Flat-felling the curved seam
Exterior of flat-felled seam
Here's the bodice with all the seams sewn:
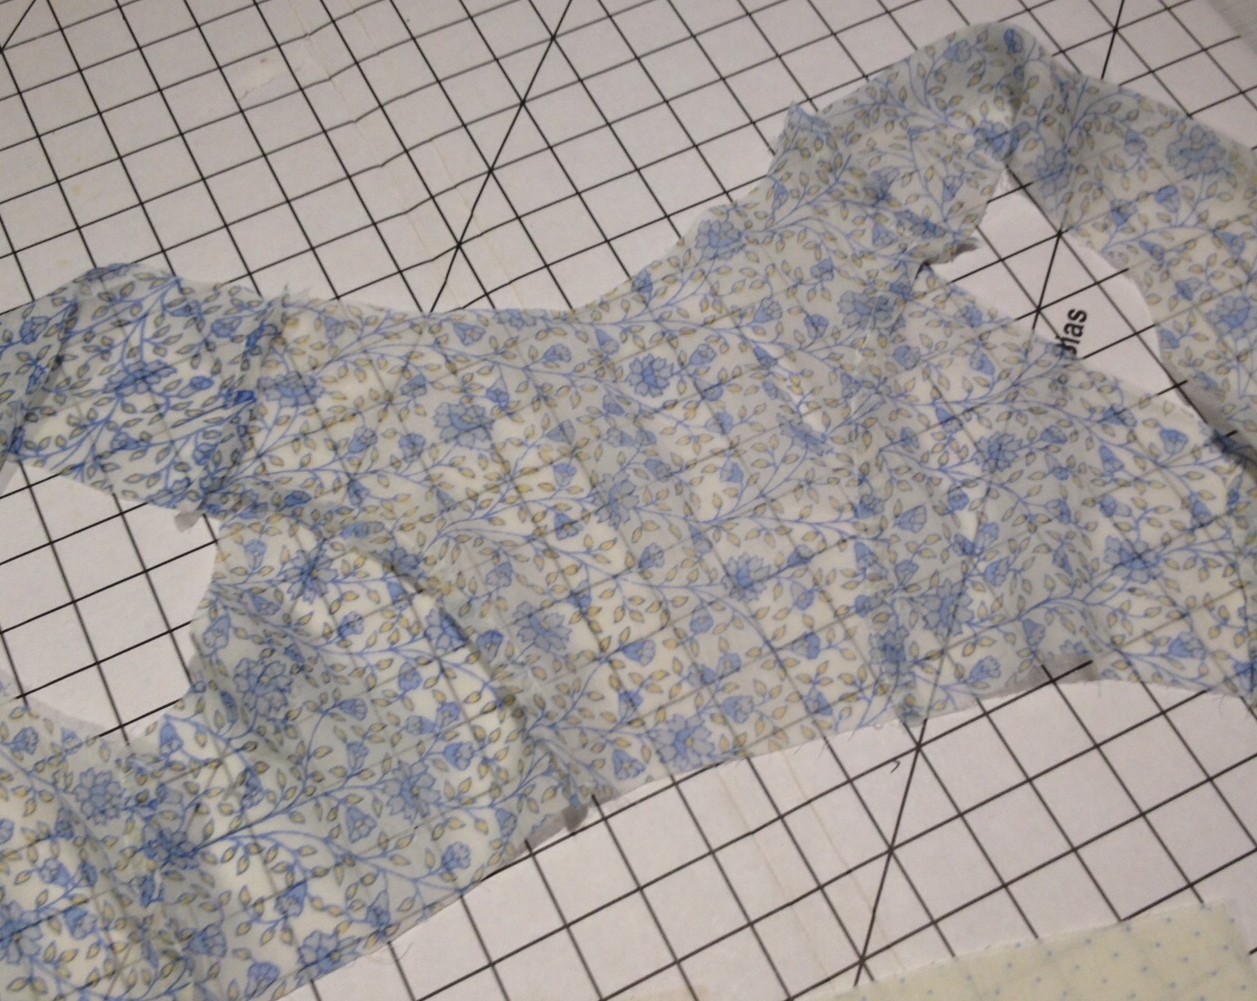
Bodice seams sewn together
Now, if you check the photo below from one of the inspiration gowns, you'll see that the bodice front includes two tabs that overlap beneath the bust to hold the bodice closed under the apron-front:

Apron-front gown from the Australian Dress Register
To recreate this look, I put my bodice front onto the mannequin and eyeballed the cutting line from the shoulder to the lower edge of the bodice front. Basically, the gown just needs "straps" to run from shoulder to empire waist on each side, and the overlapping tabs are attached to those straps on either side. There's not a wrong way to do this--just cut both sides the same, making sure you leave enough of a seam allowance around the neckline edge for bias facing. (The pattern instructions explain how to make a neckline facing from bias strips. This will fold completely to the inside, creating a nicely finished neckline without the need for a full lining.) The illustration below isn't to scale, since you'll use the drawstring bodice front, which is actually much wider, but this gives you an idea of where to cut to create the "straps" on either side. You can cut this way to begin with, but I prefer to cut after the bodice is sewn together and dressed on my mannequin so I can be sure I'm cutting accurately.
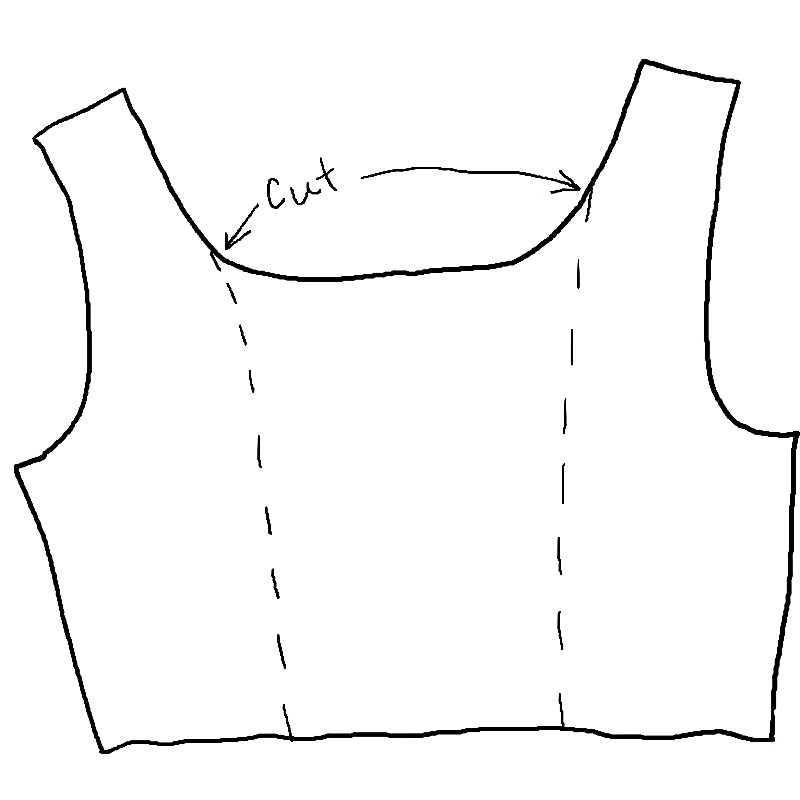
Bodice front cutting lines
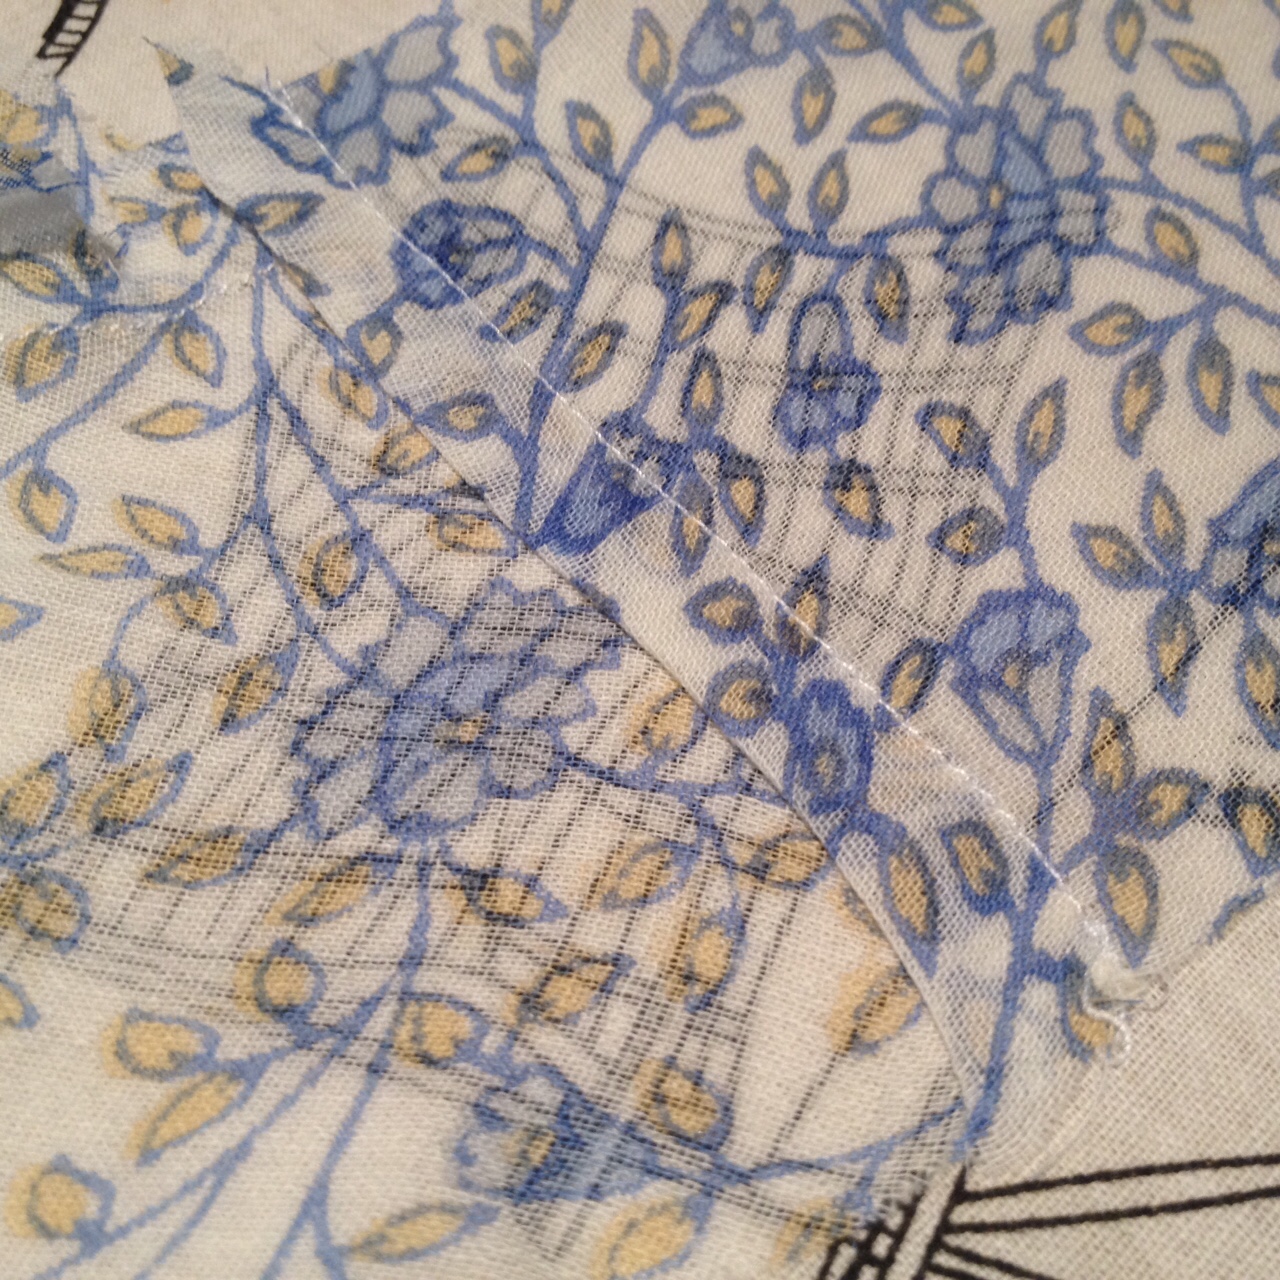
Now it's time to cut the little rectangular tabs that will overlap under the bust. My sari fabric came with a separate, coordinating piece of material that is used for the choli, the short blouse worn with a sari in India. I decided to use this material for the tabs, since the fabric didn't need to match, and that would leave me plenty of the sari fabric for my gown. Using my measuring tape, I figured out how long I would need to make the tabs so they could overlap securely, then cut four rectangles of the material--two for each tab:
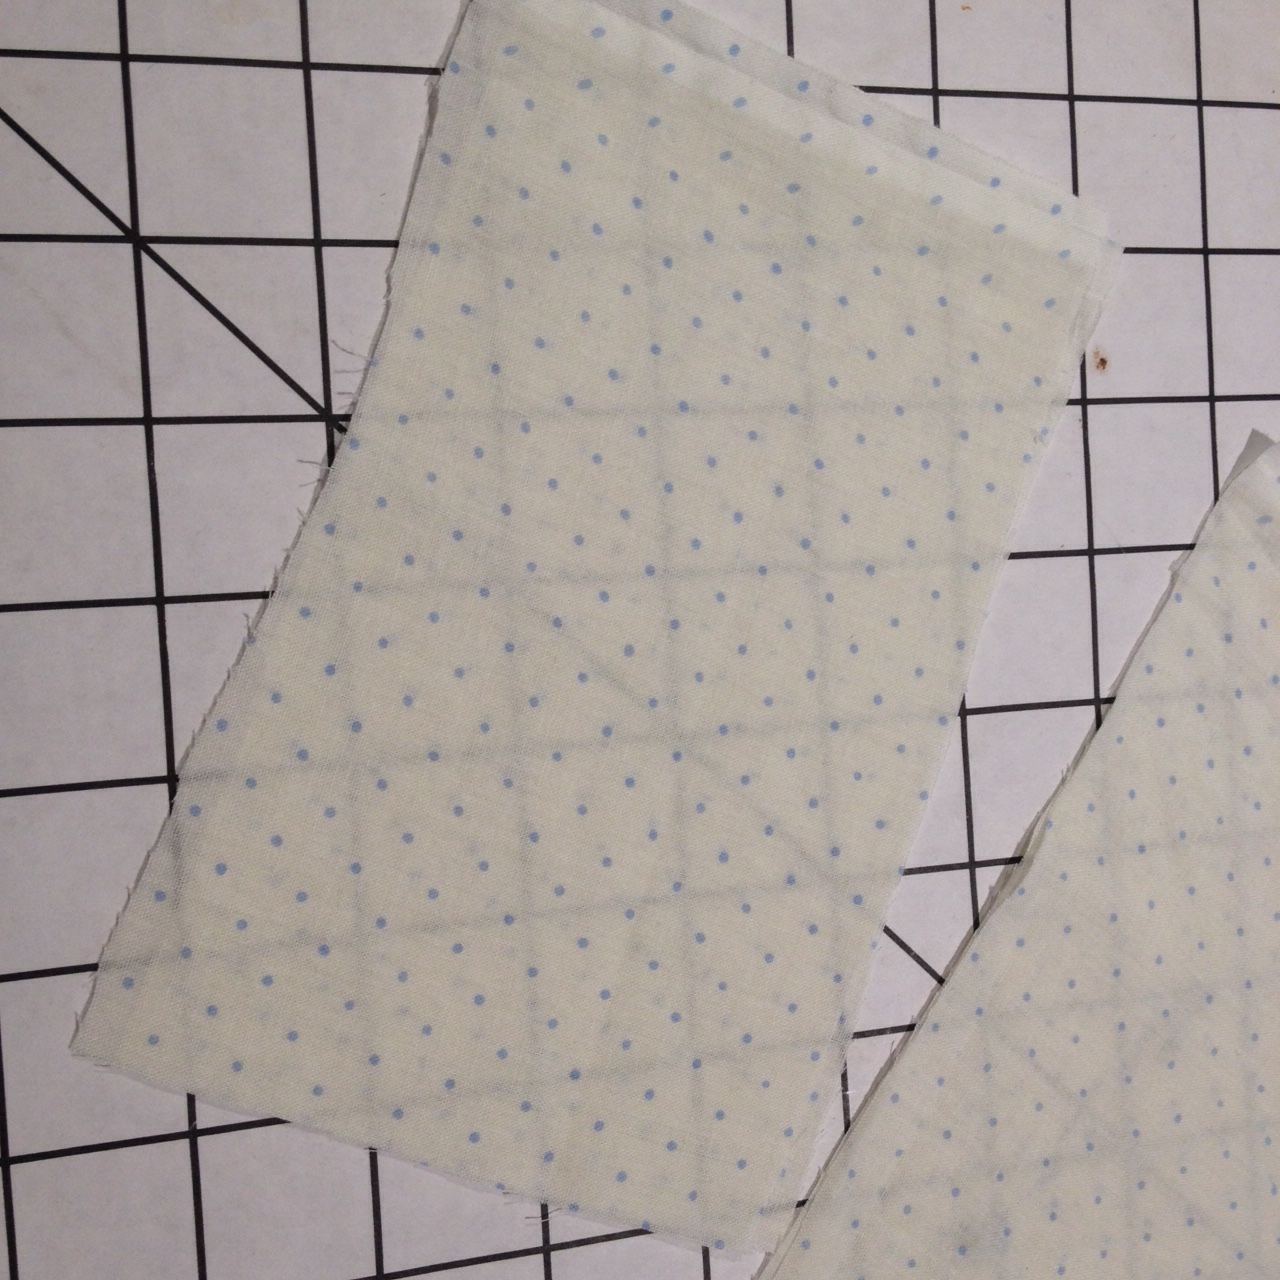
Front tabs
I sewed three sides of each tab together, then graded seams and clipped corners:
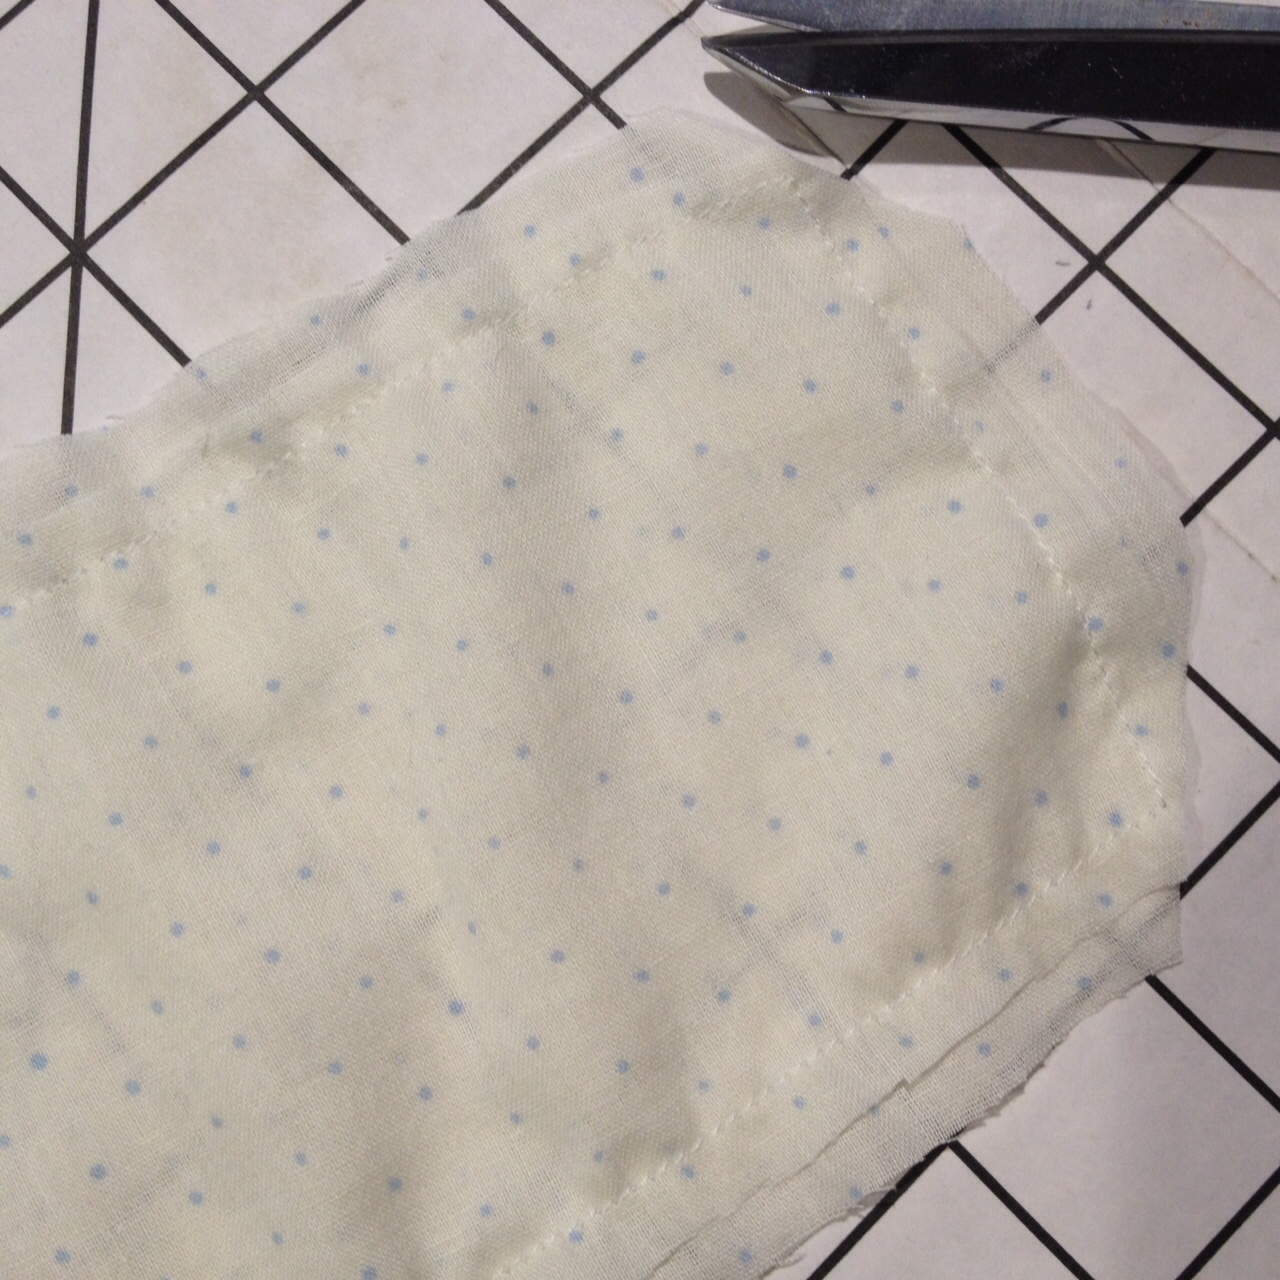
Clipping corners of underbust tabs.
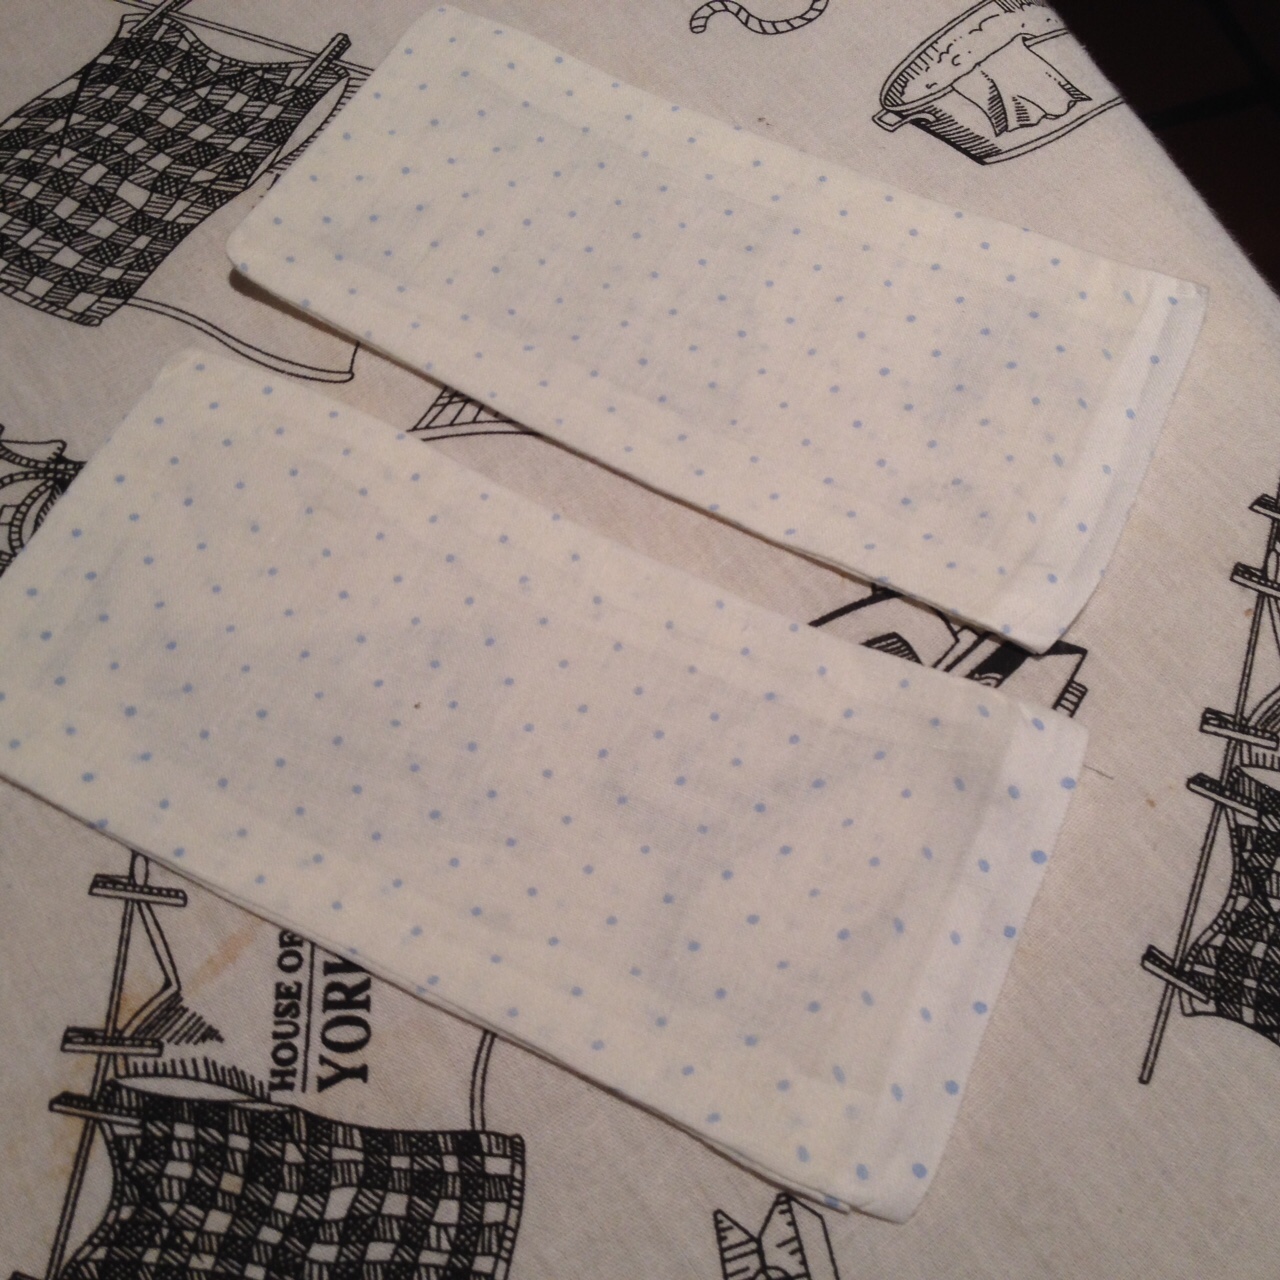
Completed underbust tabs, turned and pressed.
Next, I pinned a tab to the edge of each bodice side front, right sides together, then stitched, taking up a 5/8" seam:
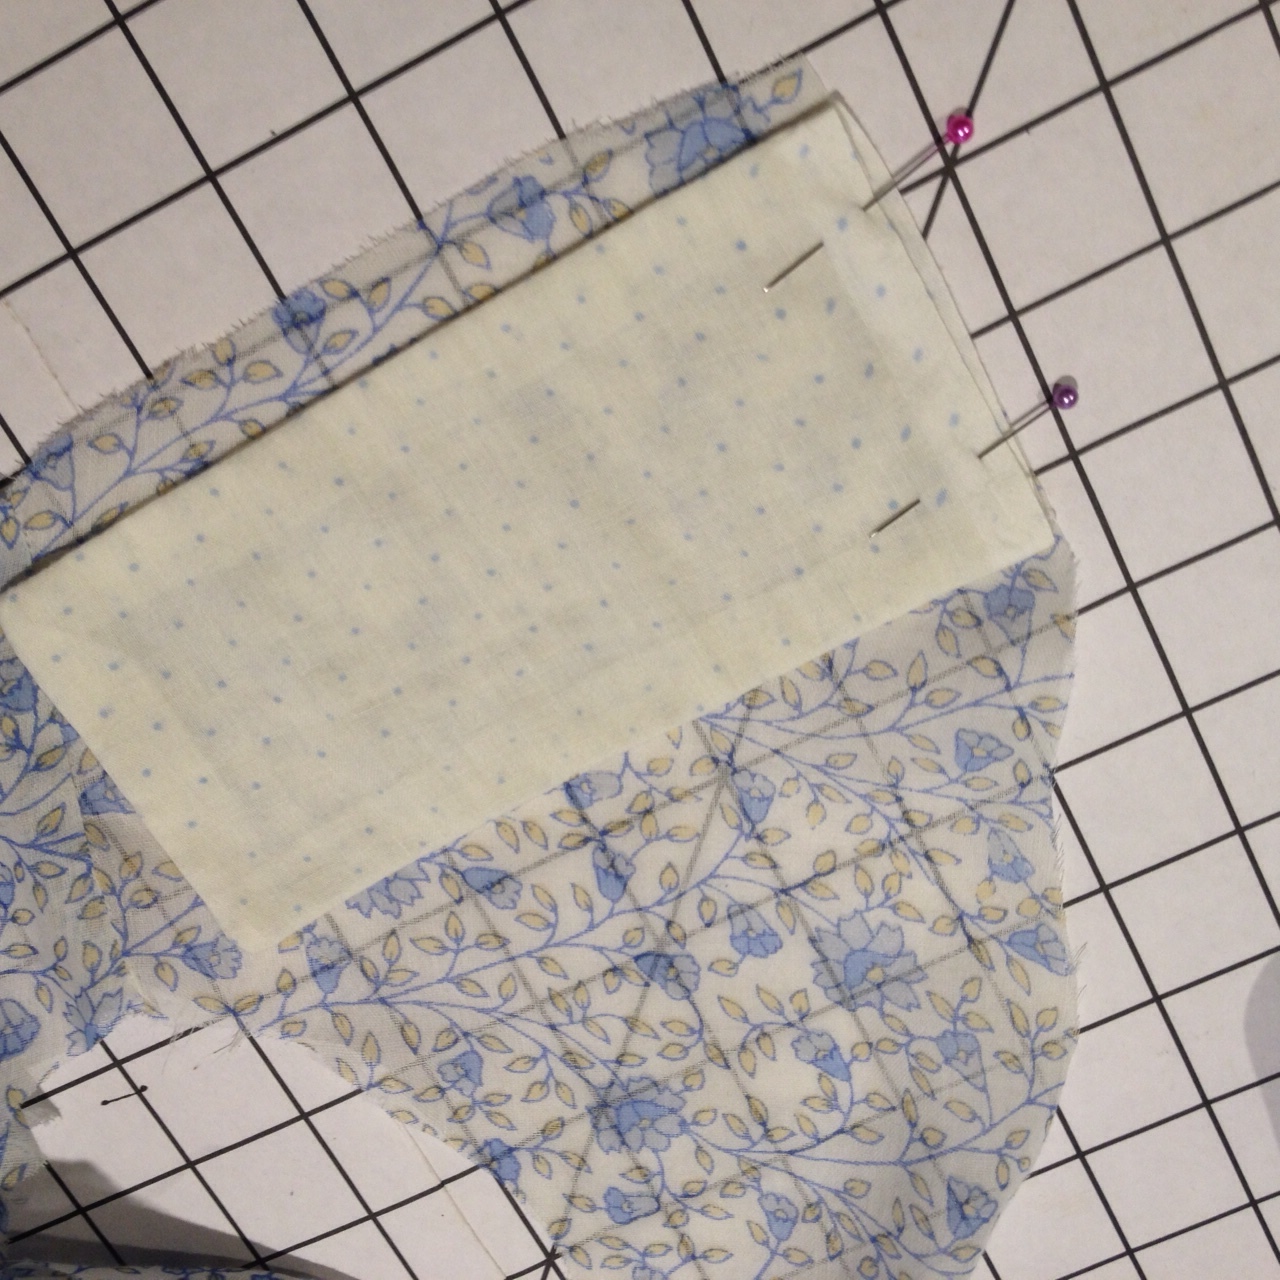
Pinning underbust tab to bodice front edge
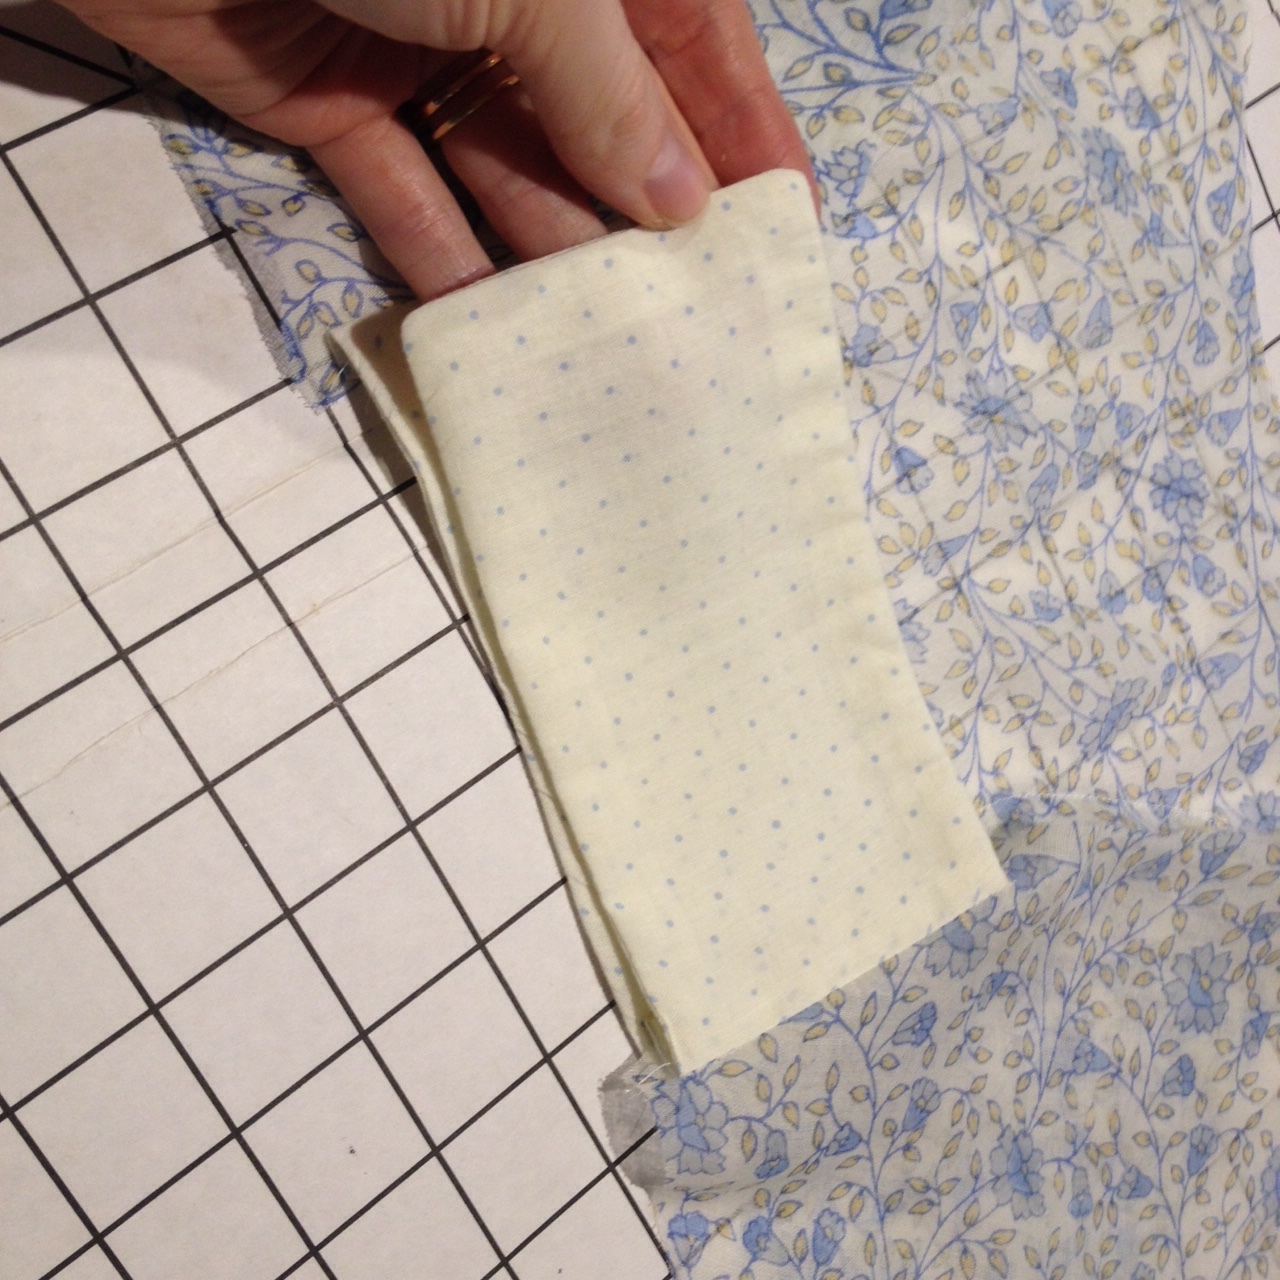
Underbust tabs stitched in place.
To finish the raw seam allowance left by this step, I made bias binding from the sari material. (This is also explained in the pattern instructions for the crossover bodice option.)
Self-fabric bias strips
After sewing all the strips together, I pressed the seams, then pinned the long strip to the neckline edge, right sides together, starting and ending at the lower front edge (pinning through the tab's seam allowance). Next, I turned the binding completely to the inside, pressing neatly at the neckline edge. At the seam allowance for the tabs, I folded the binding over the seam allowance before turning to the inside. This completely enclosed that seam allowance:
Binding in place on bodice front's raw edge
Bias binding turned to the inside of the bodice front
Finally, to secure the bias binding/facing in place, I made running stitches, just as I did for the flat-felled seams. The end result was a beautifully finished neckline and enclosed tab seams. Here's the bodice with tabs in place:

Bodice with underbust tabs (sloppy pinning job--ignore that!).
In my next post, I'll show you how to make the sleeves and the shirred apron front, then add the skirt!