Recreating Marianne's Nightgown from Sense & Sensibility

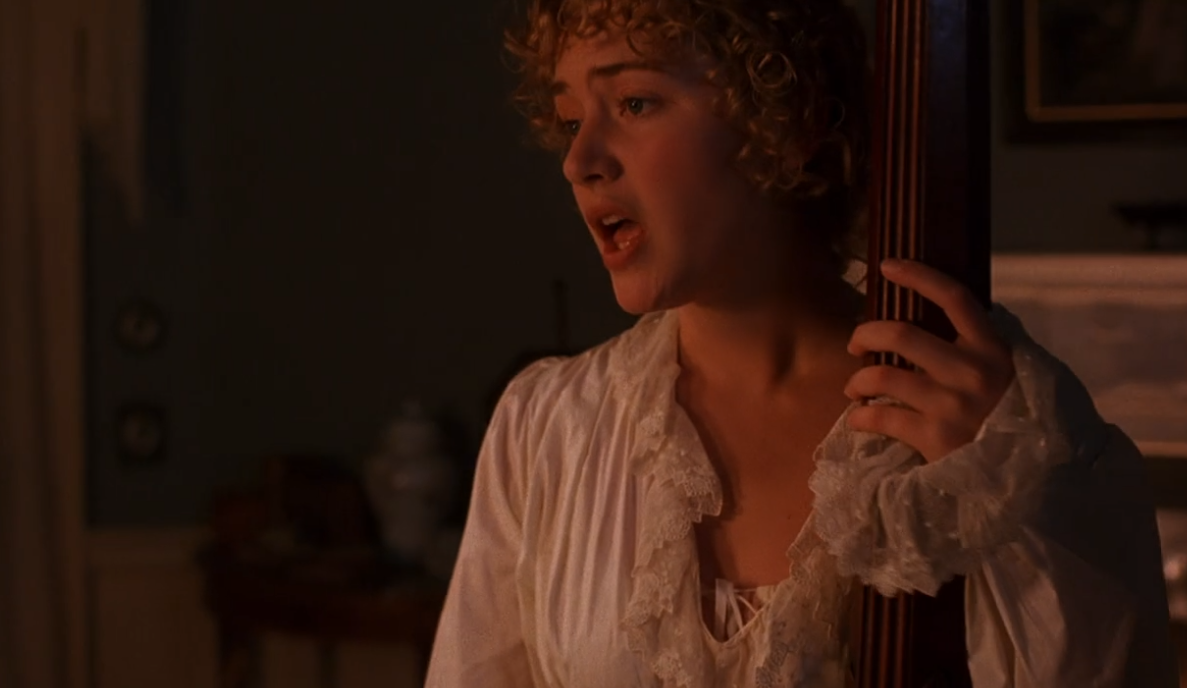
I first saw Ang Lee’s beautiful adaptation of “Sense & Sensibility” on the big screen in 1995. It immediately became a favorite that I have watched countless times since its premier. I love all the costumes in the film, but the one that struck me most from the first viewing was Marianne’s beautiful nightgown/wrapper, which Kate Winslet wears in two key scenes. I’ve always wanted to make a copy but never seemed to get around to it until this year, when I hosted a livestream chat about the film. During the chat, several attendees asked if I would remake that gown and post a tutorial. That was the final push I needed to recreate this iconic gown, and I am so pleased I’ve finally managed to pull together all my in-progress photos, plus a video I made to walk you through the steps! Due to the quarantine shut-downs, I decided to use only what I already had in my fabric stash, including some gorgeous lace gifted to me by Katrina Holte of Edelweiss Patterns (thank you, Katrina!).
I used my Elegant Lady’s Closet pattern’s crossover gown option as the base for this nightgown, which means there is no need to start drafting from scratch. I had two yards of 120”-wide (47cm) bleached muslin on hand, and that was just enough to make this. If you use 45”-wide material, you will need four yards. I would recommend the softest cotton available, such as Pima (which is my personal favorite). Muslin is much heavier and doesn’t drape quite as nicely, though I was happy with the way my nightgown turned out, all things considered!
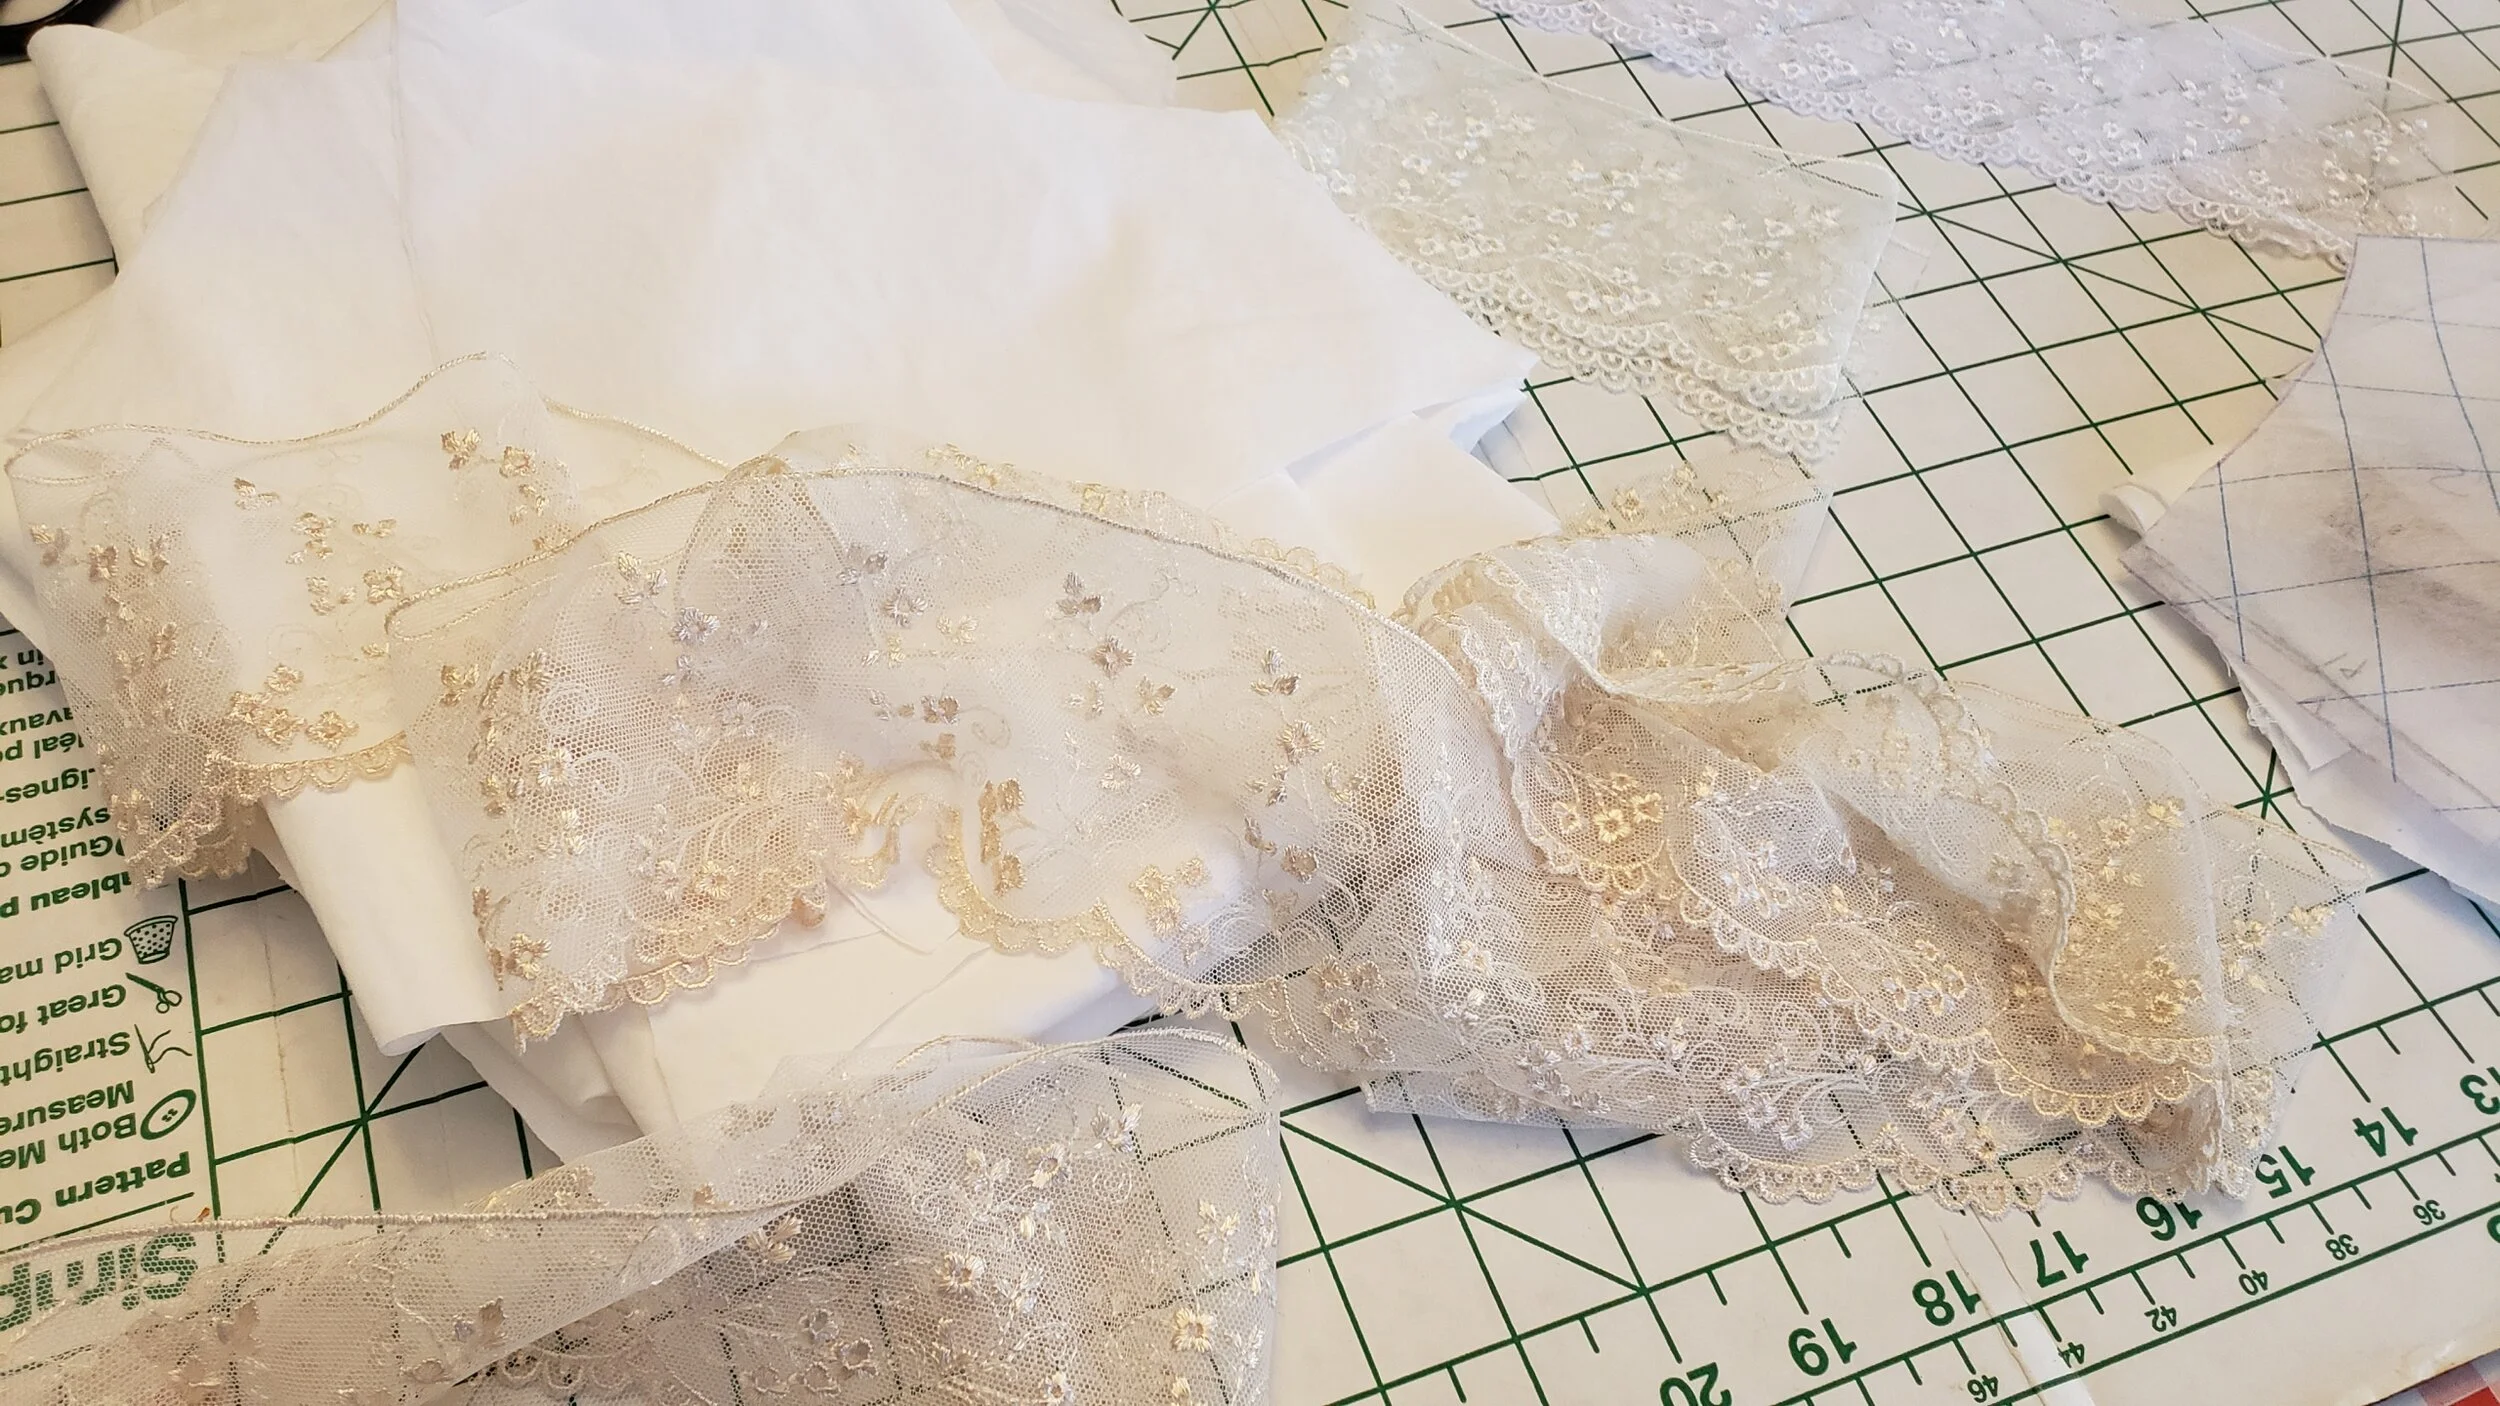
You will also need 2 1/2 yards of 1/4” ribbon to use as the waistline drawstring and at the wrists, plus 1/3 yard of 1/8” ribbon to close the center of the bodice at the V neckline. I had on hand exactly three yards of fine net lace, but it had been cut into two pieces—one two yards long and one 2/3 yard long. I used the two-yard piece to go around the neckline, then used the remaining section (cut into two pieces) for the sleeve ends. I would recommend using a full half yard around the wrists for the fullness seen on the film’s gown, but what I had still worked—not bad for stash-busting!
Cutting Out the Nightgown
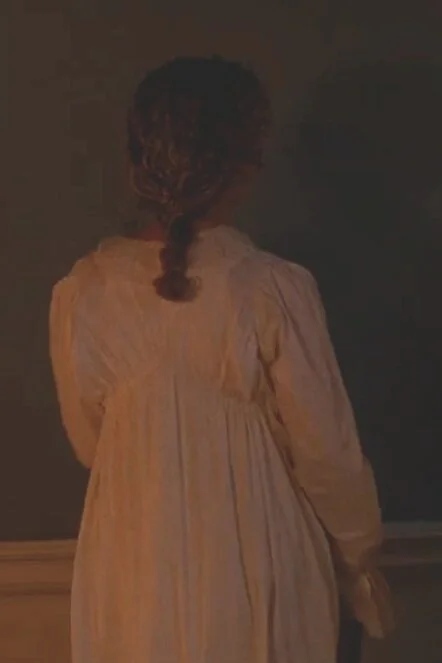
I made slight modifications to my pattern pieces to get the fuller look of Marianne’s bodice and sleeves. First off, because the bodice back is clearly gathered, as you see in the photo below, I cut the center back piece of the pattern out two inches away from the fold to add a total of four inches to the bodice back width.
The film gown has a pronounced inverted “V” at the back, but I opted to ignore that and use my center back piece’s gentle upward curve as-is. The only other change I made besides widening the center back piece was to raise the neckline by two inches, grading the curve up to the shoulder seam:
I cut the side back pieces as-is, then cut the crossover bodice front pieces as-is. I knew I would need to trim down the bodice length, because I planned to simply have the front tie closed rather than crossing over, but I decided to wait until I had the bodice sewn together before trimming away any excess length. Yes—shocker!!—I did not make a toile mock-up for this gown, because it is meant to be a very loose, gathered nightgown without any real serious fitting.
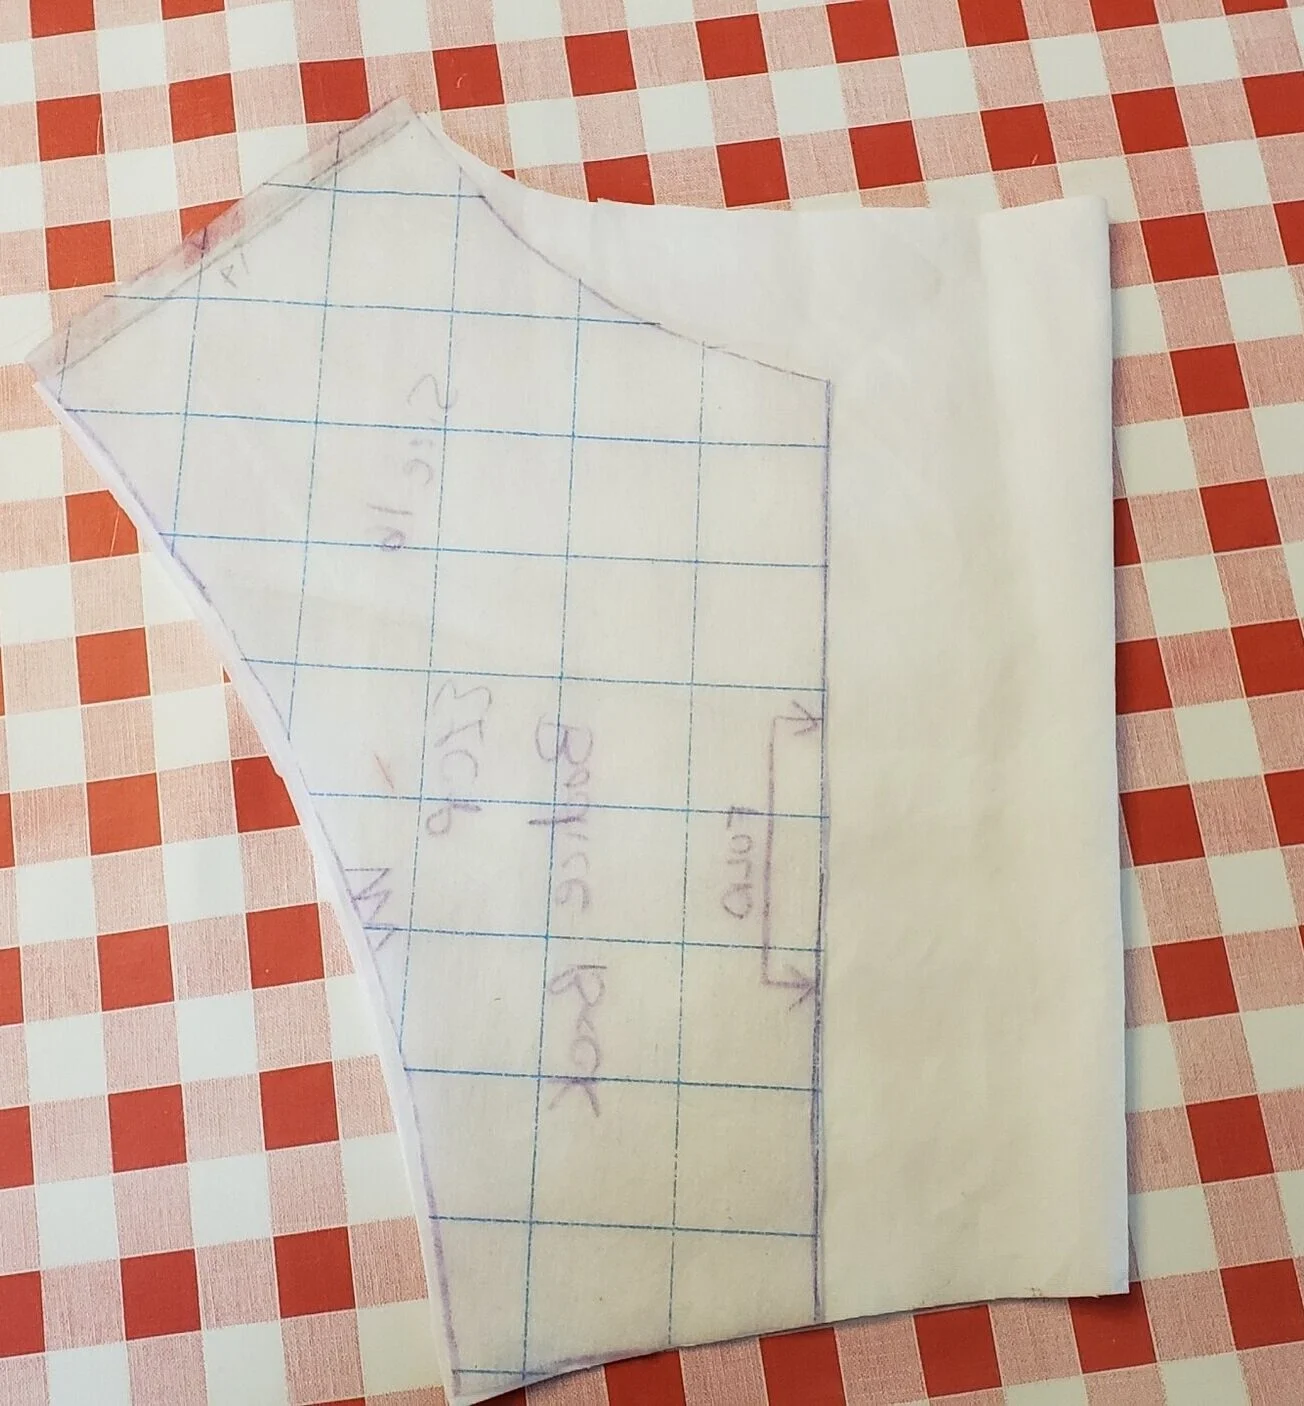
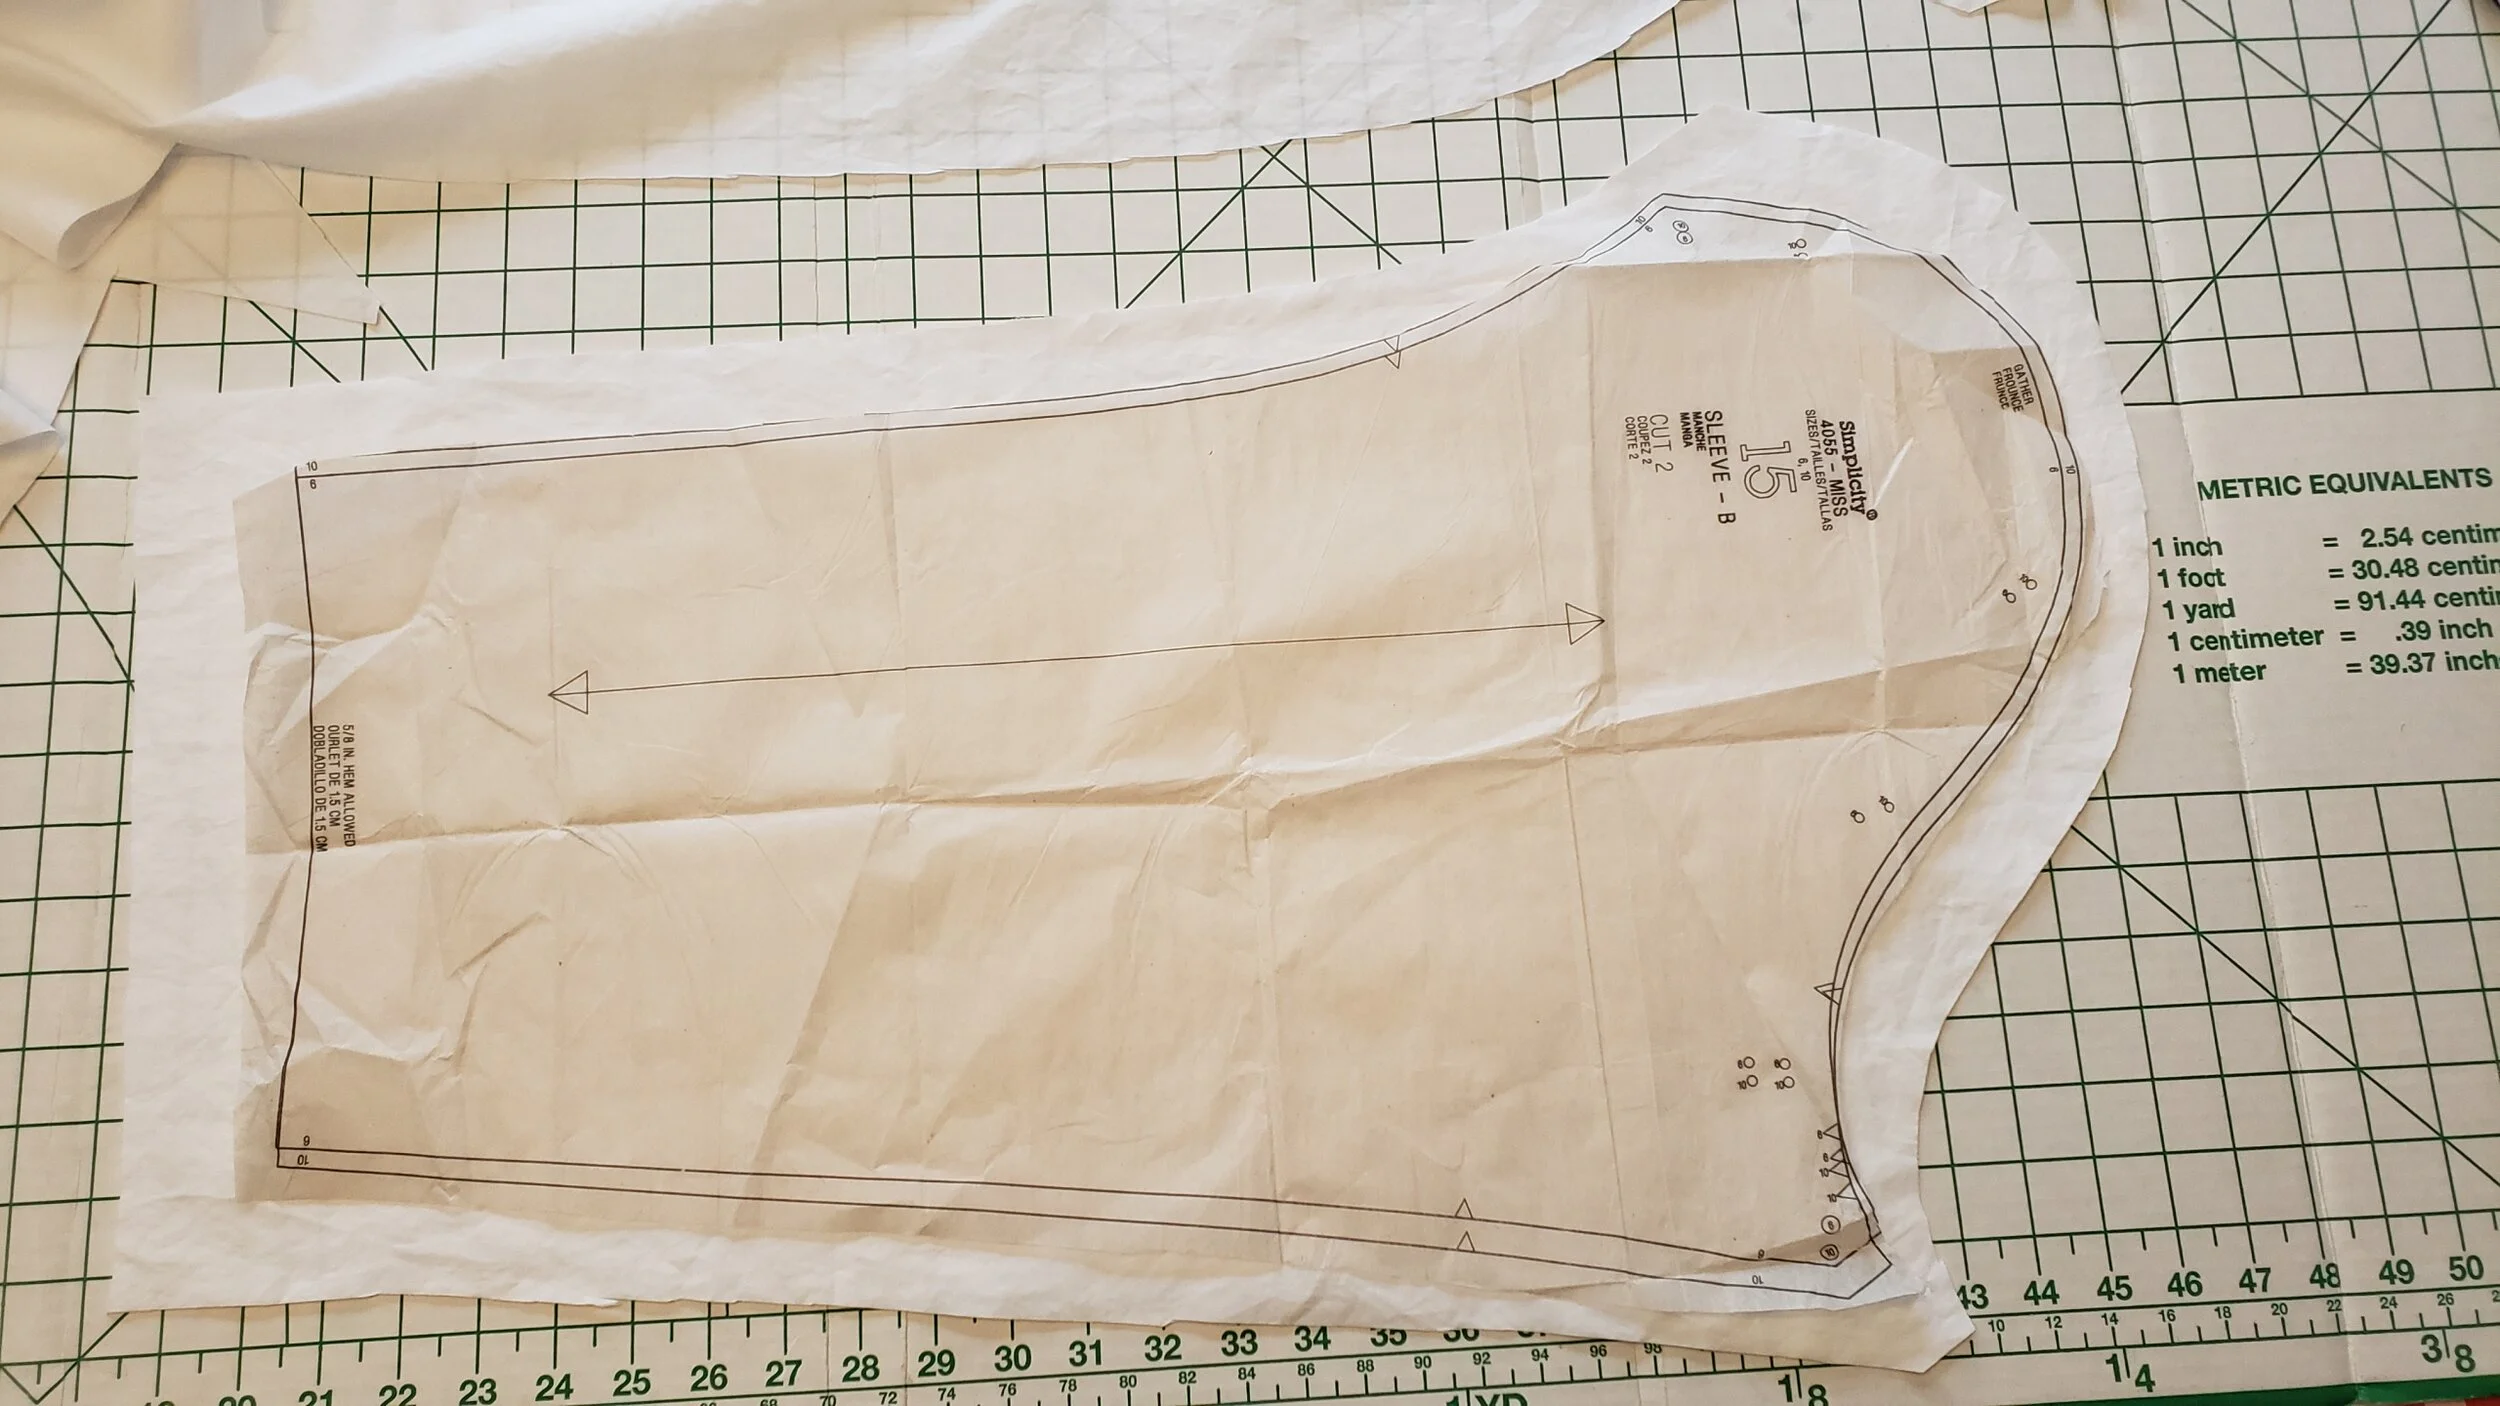
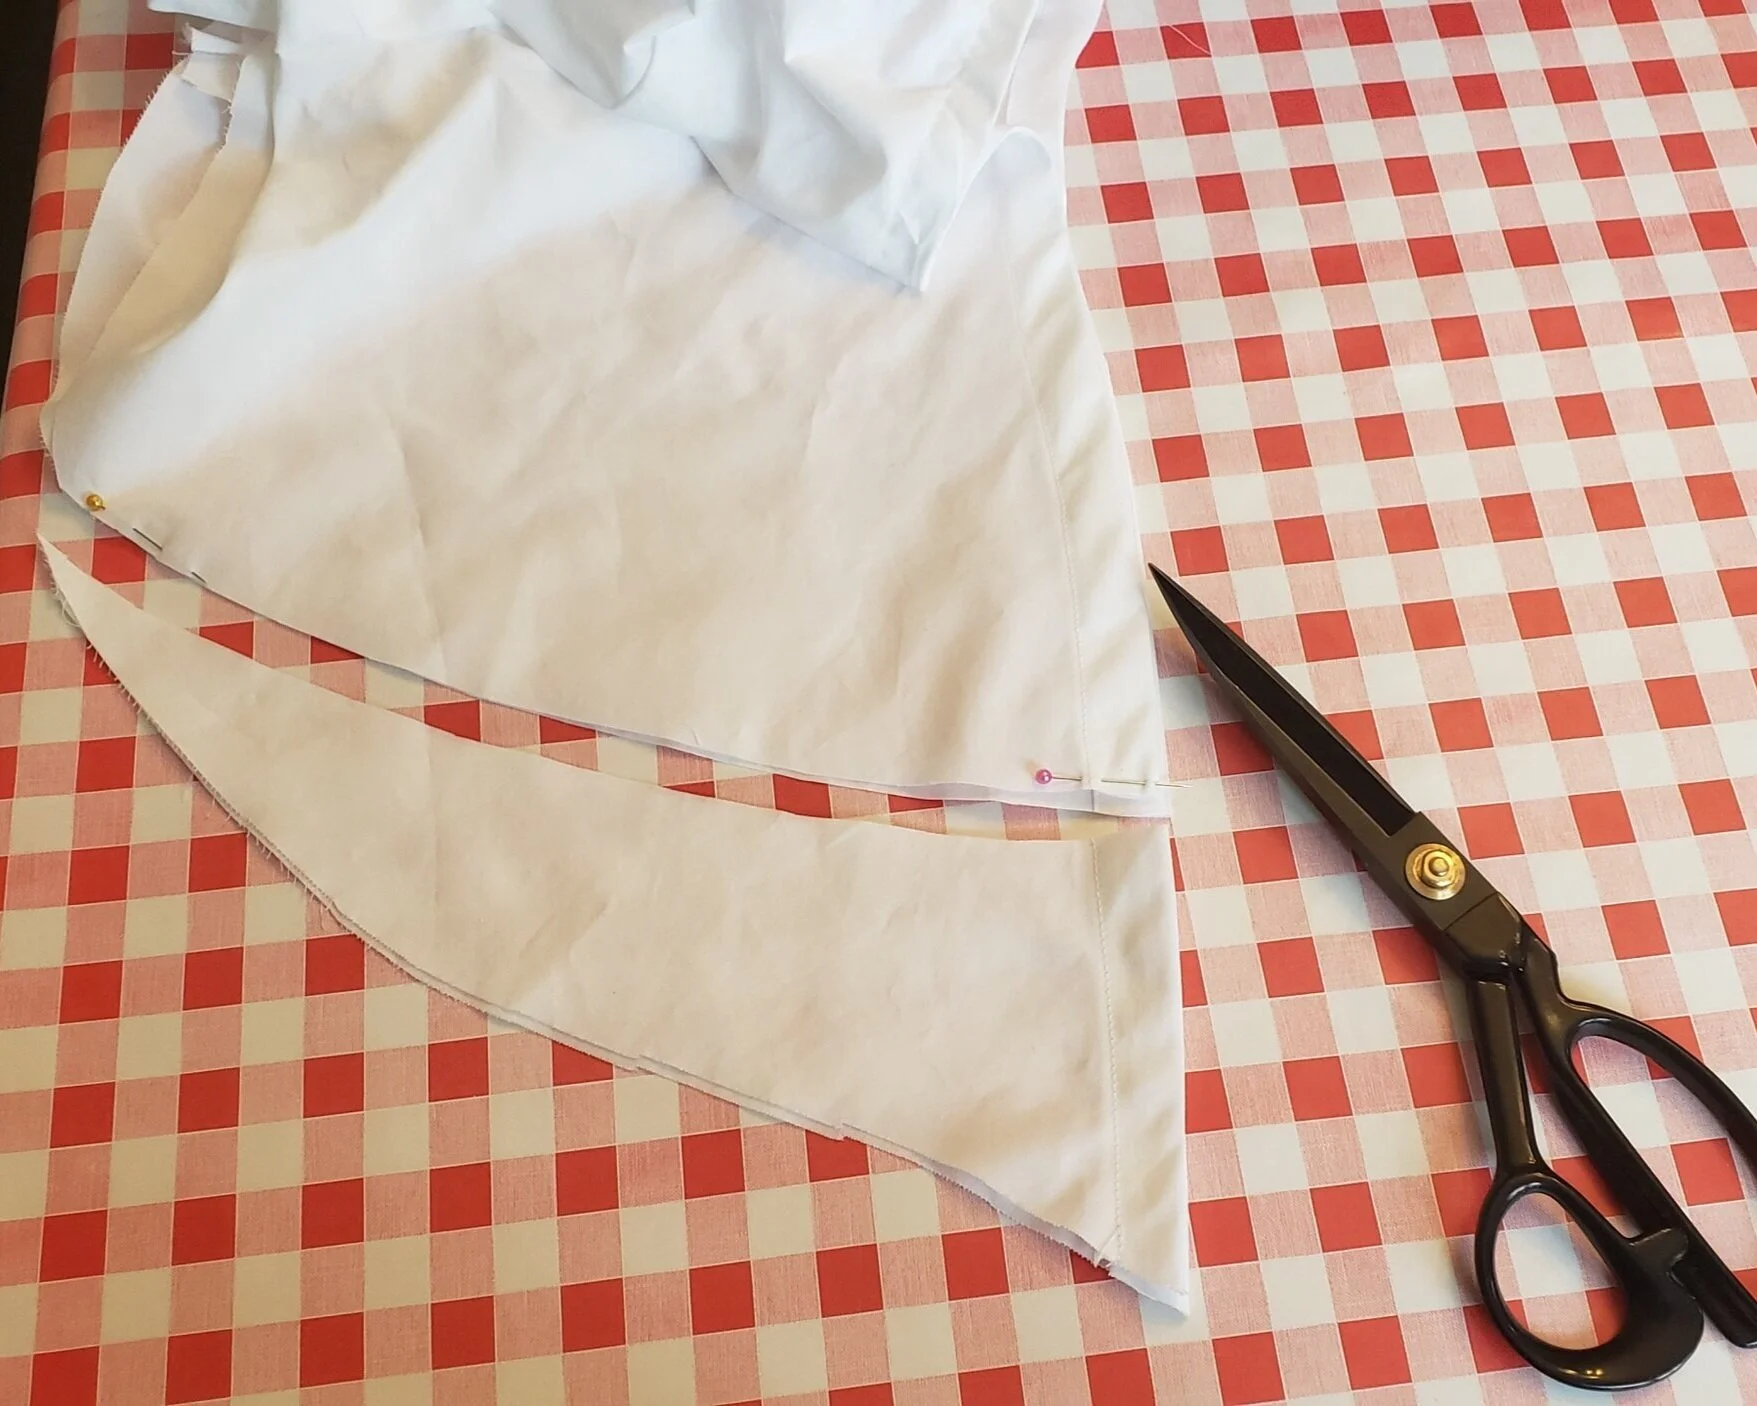
Next, I used my long sleeve pattern (that’s the Simplicity version of my pattern in the photo) to cut out the sleeves, but I enlarged the pieces to create fuller sleeves. I have a full tutorial that shows how to enlarge any pattern with the slash-and-spread method, but it’s not difficult to simply eyeball and cut, as you see below. I ended up adding four inches total to the overall length of the sleeve, plus three inches to the width. This gave the fullness I was looking for to recreate Marianne’s beautiful sleeves.
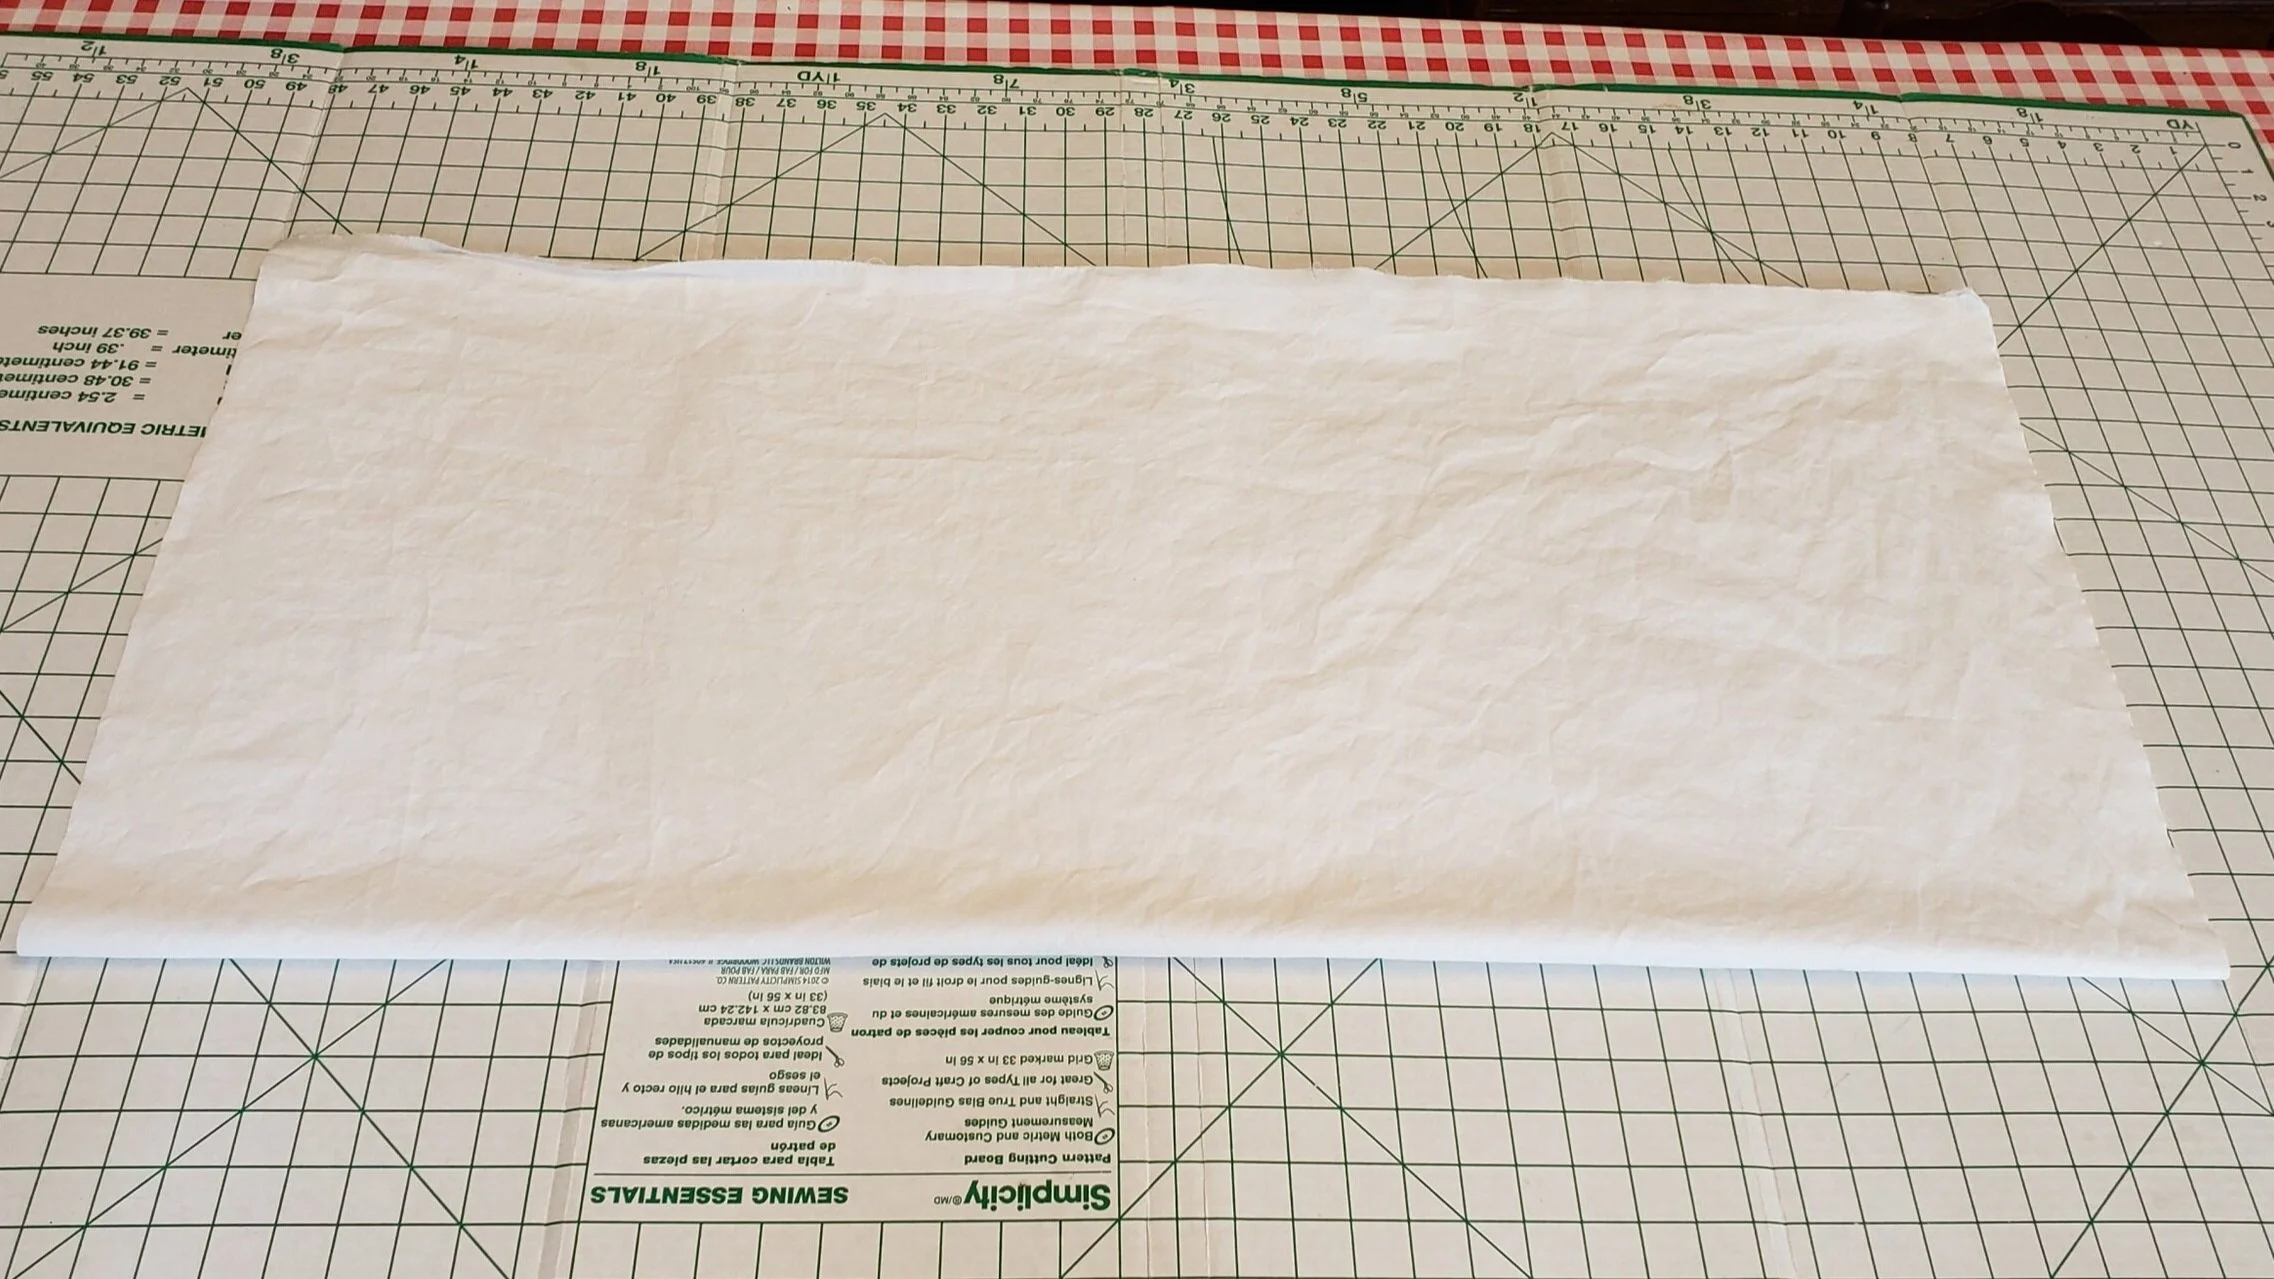
After cutting out the bodice and sleeves, I set aside the smaller offcuts and had a perfect length left over for the skirt. Because this fabric was 120” wide, there was no need to cut skirt fronts and a skirt back. I just used the full piece as the skirt, eliminating the need for side seams.
To create the bodice, you’ll just follow the instructions as given in the pattern with some minor modifications. Pin side back pieces to the center back piece, then stitch, clip curves, and iron the seams toward the side:


Rather than following the pleating lines given on the shoulder piece of the pattern, I opted to use gathering stitches. Marianne’s nightgown has a very soft look to it, so this is a super easy way to get that same look. Below, left to right, you see the gathering stitches run across the bodice front’s shoulder, the gathers pulled up and pinned to the bodice back, the shoulder seam stitched, and the bodice front flipped forward to show the fullness at the shoulder.


The next step is to pin and stitch the bodice side seams together:


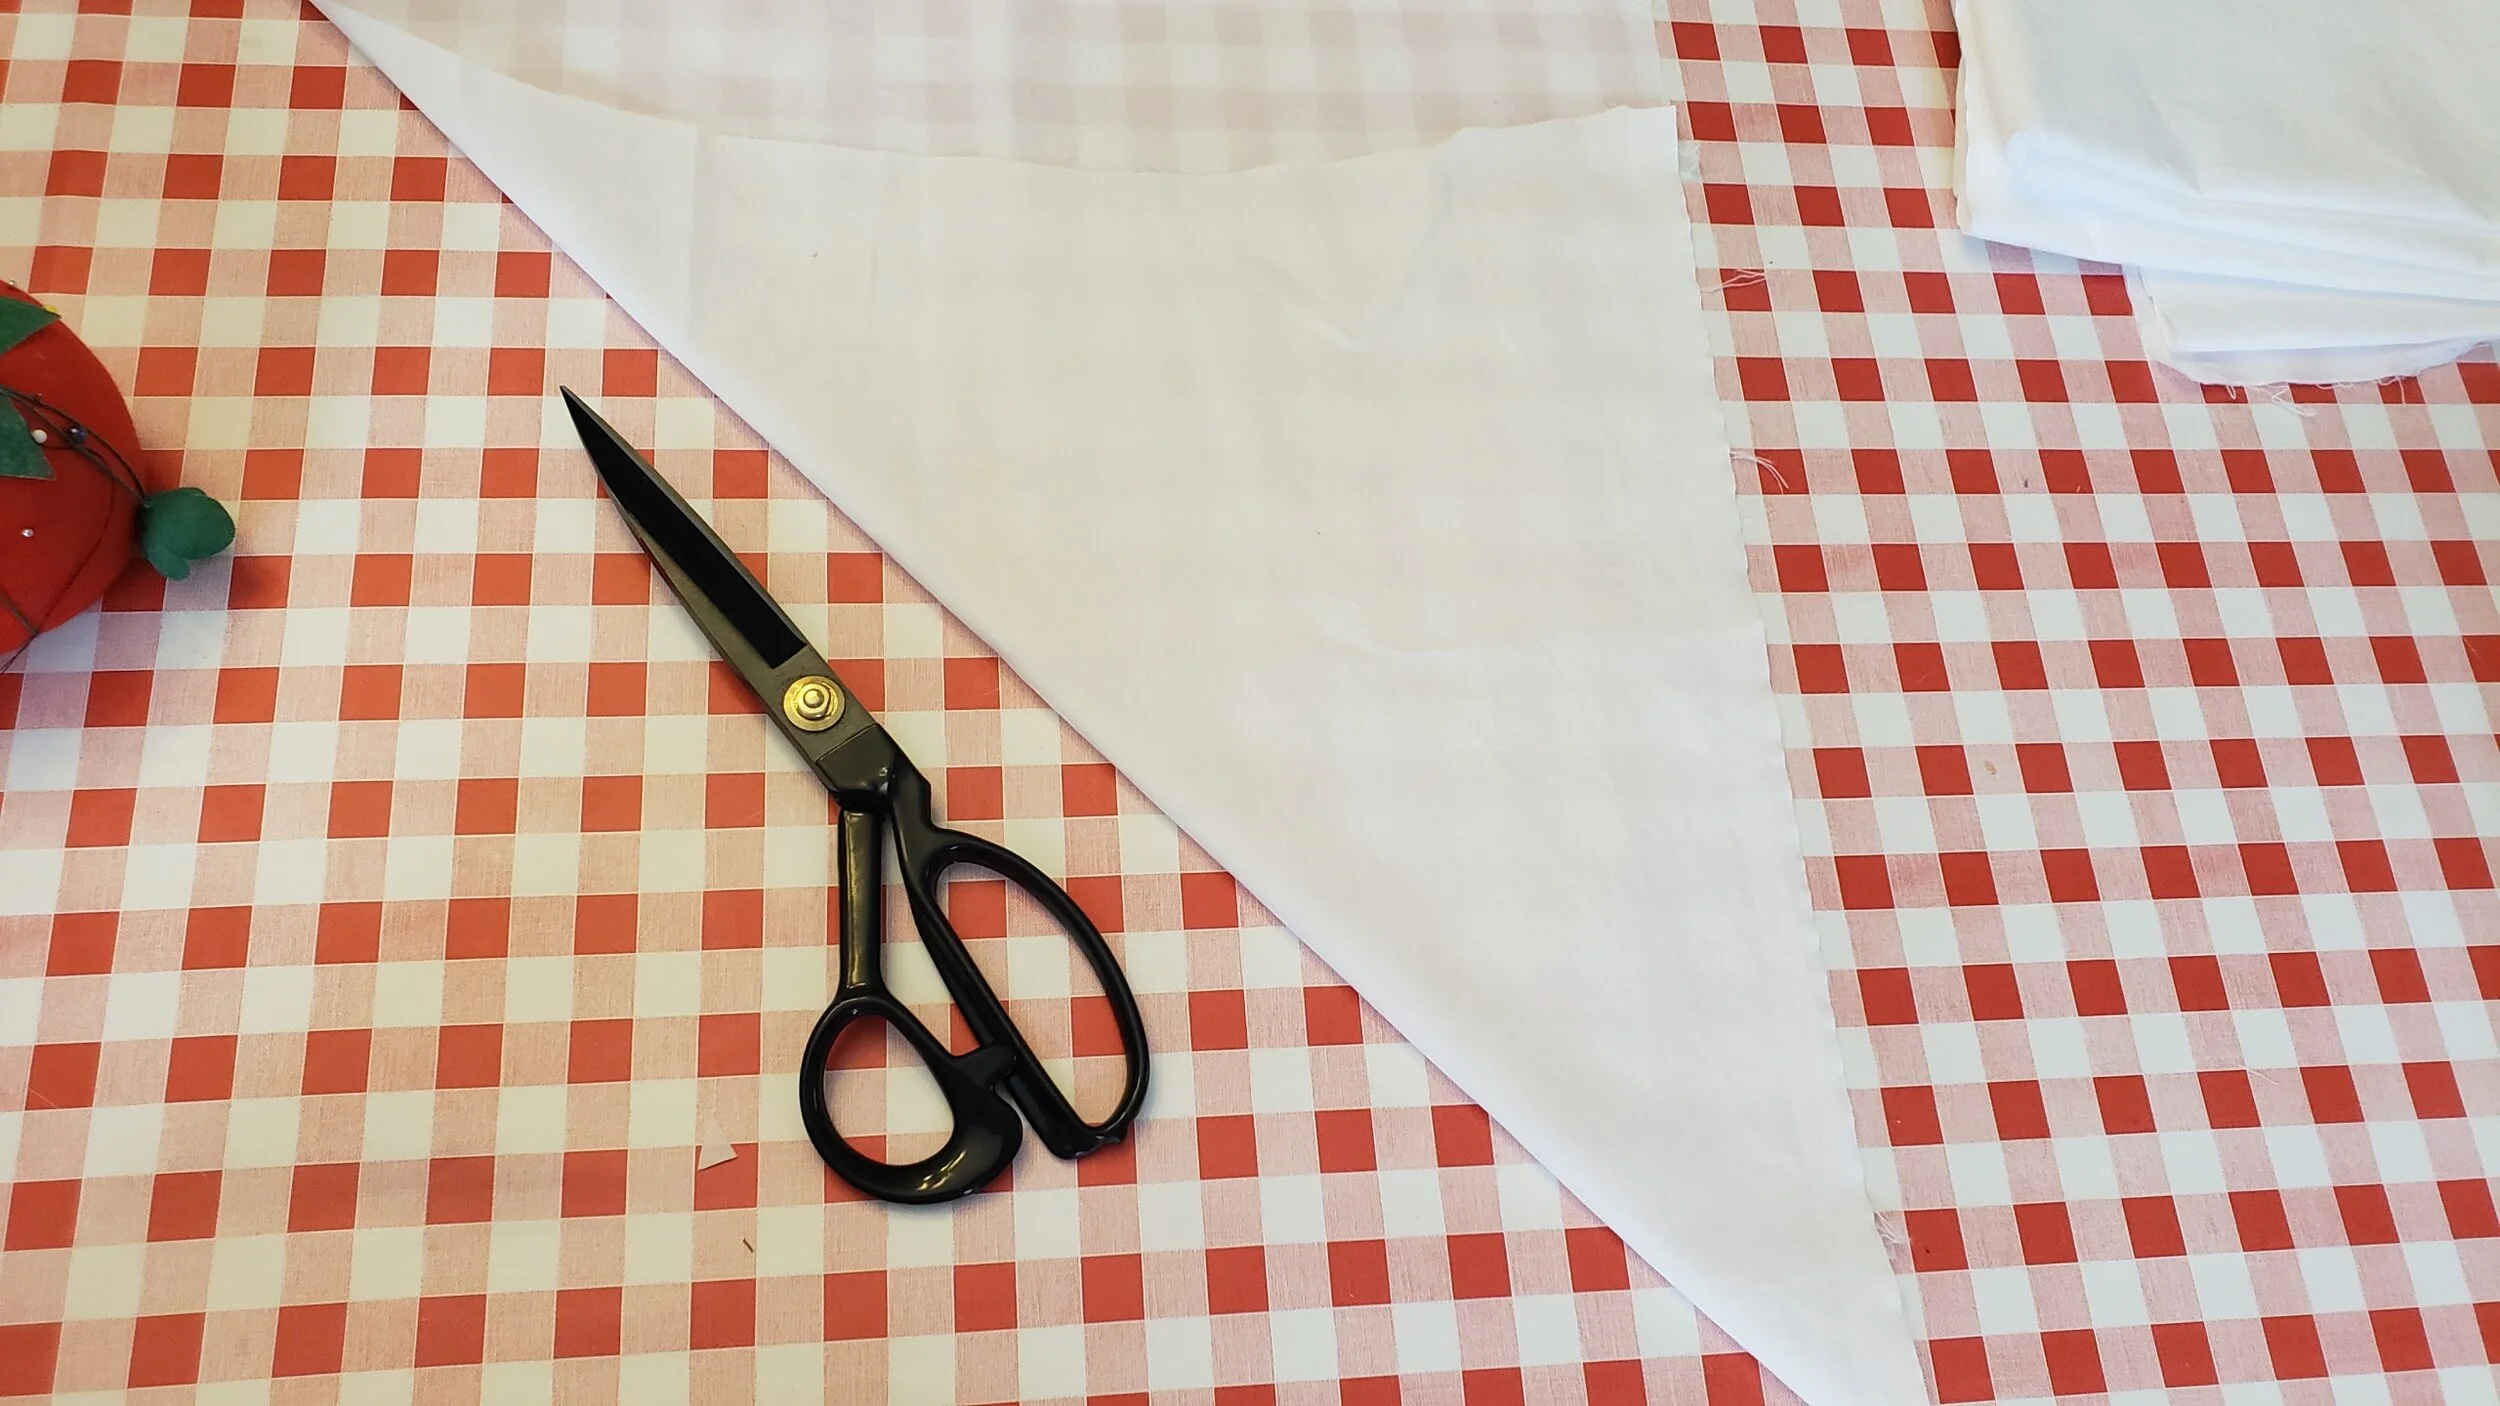
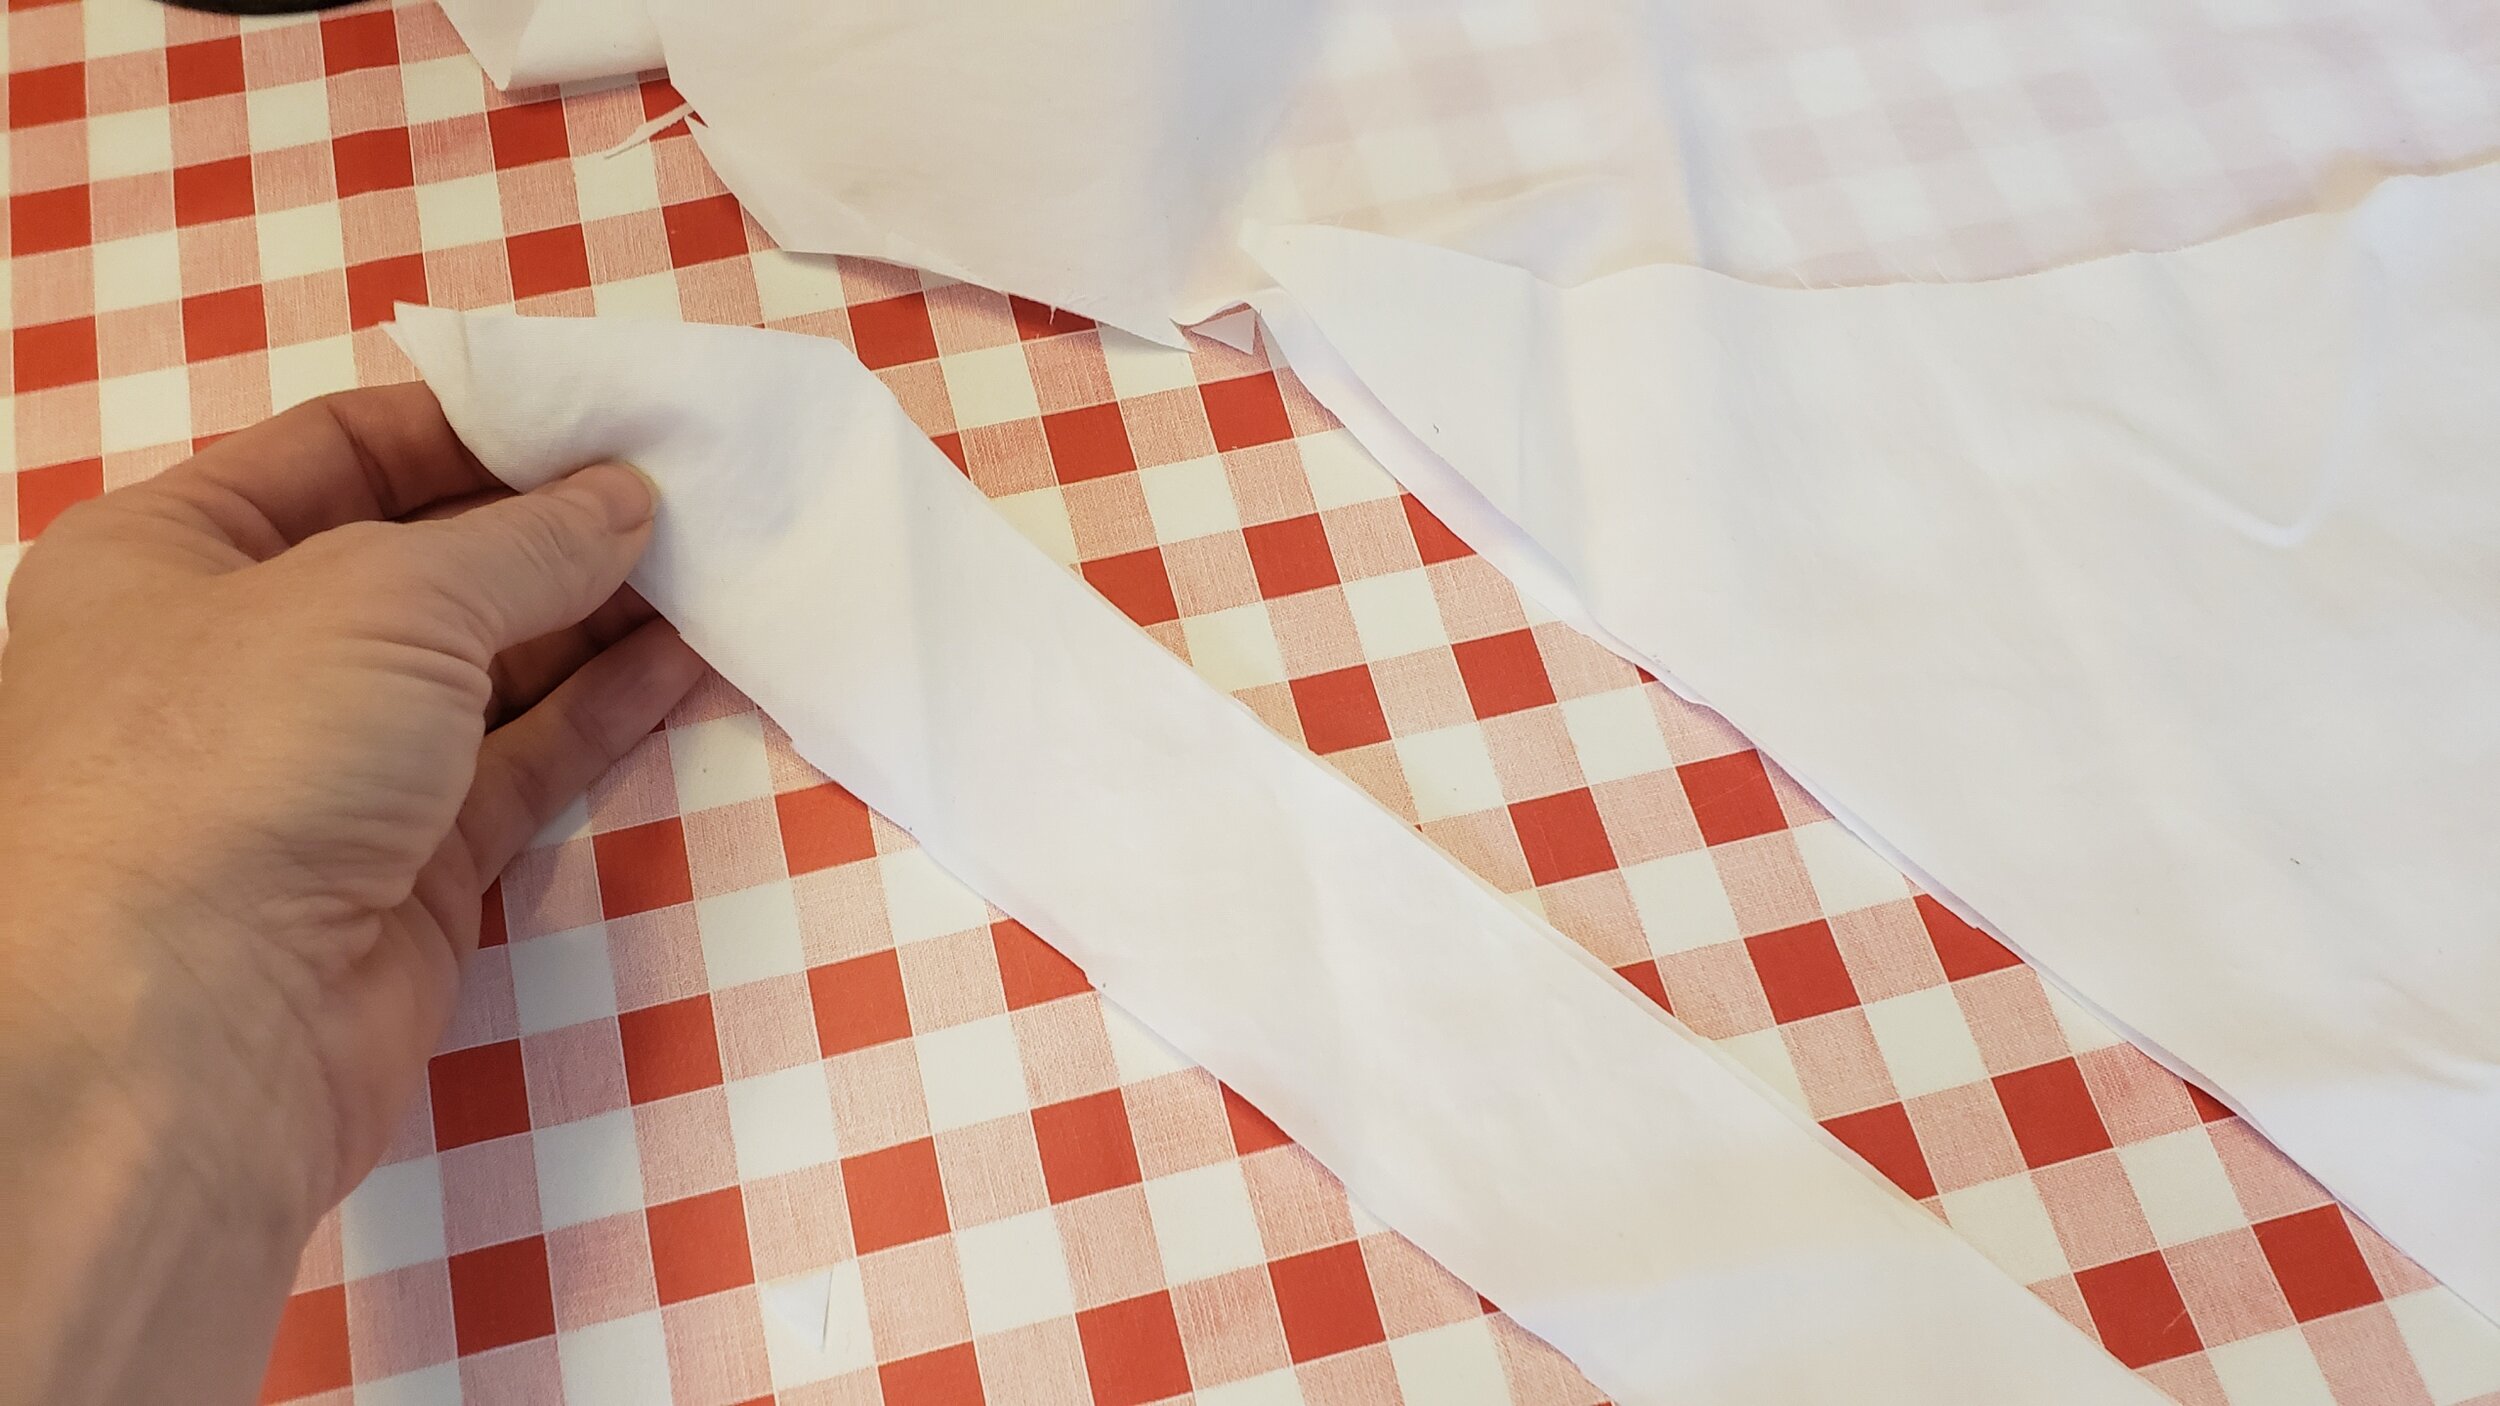
Press your side seams open, and now it’s time to finish off the neckline of the bodice with self-fabric bias binding. With the scraps left over from cutting out the bodice and sleeves, I cut bias strips to make the binding for the neckline and the double-fold bias binding to enclose the waistline seam. It is super easy to make your own binding. You simply fold the fabric at a 45-degree angle, then cut along that bias fold:
Next, cut 2.5” (6.3cm) wide strips with angled ends:
Repeat until you have enough strips to create a continuous bias binding to go around your neckline and around your finished waistline (approximately two yards):
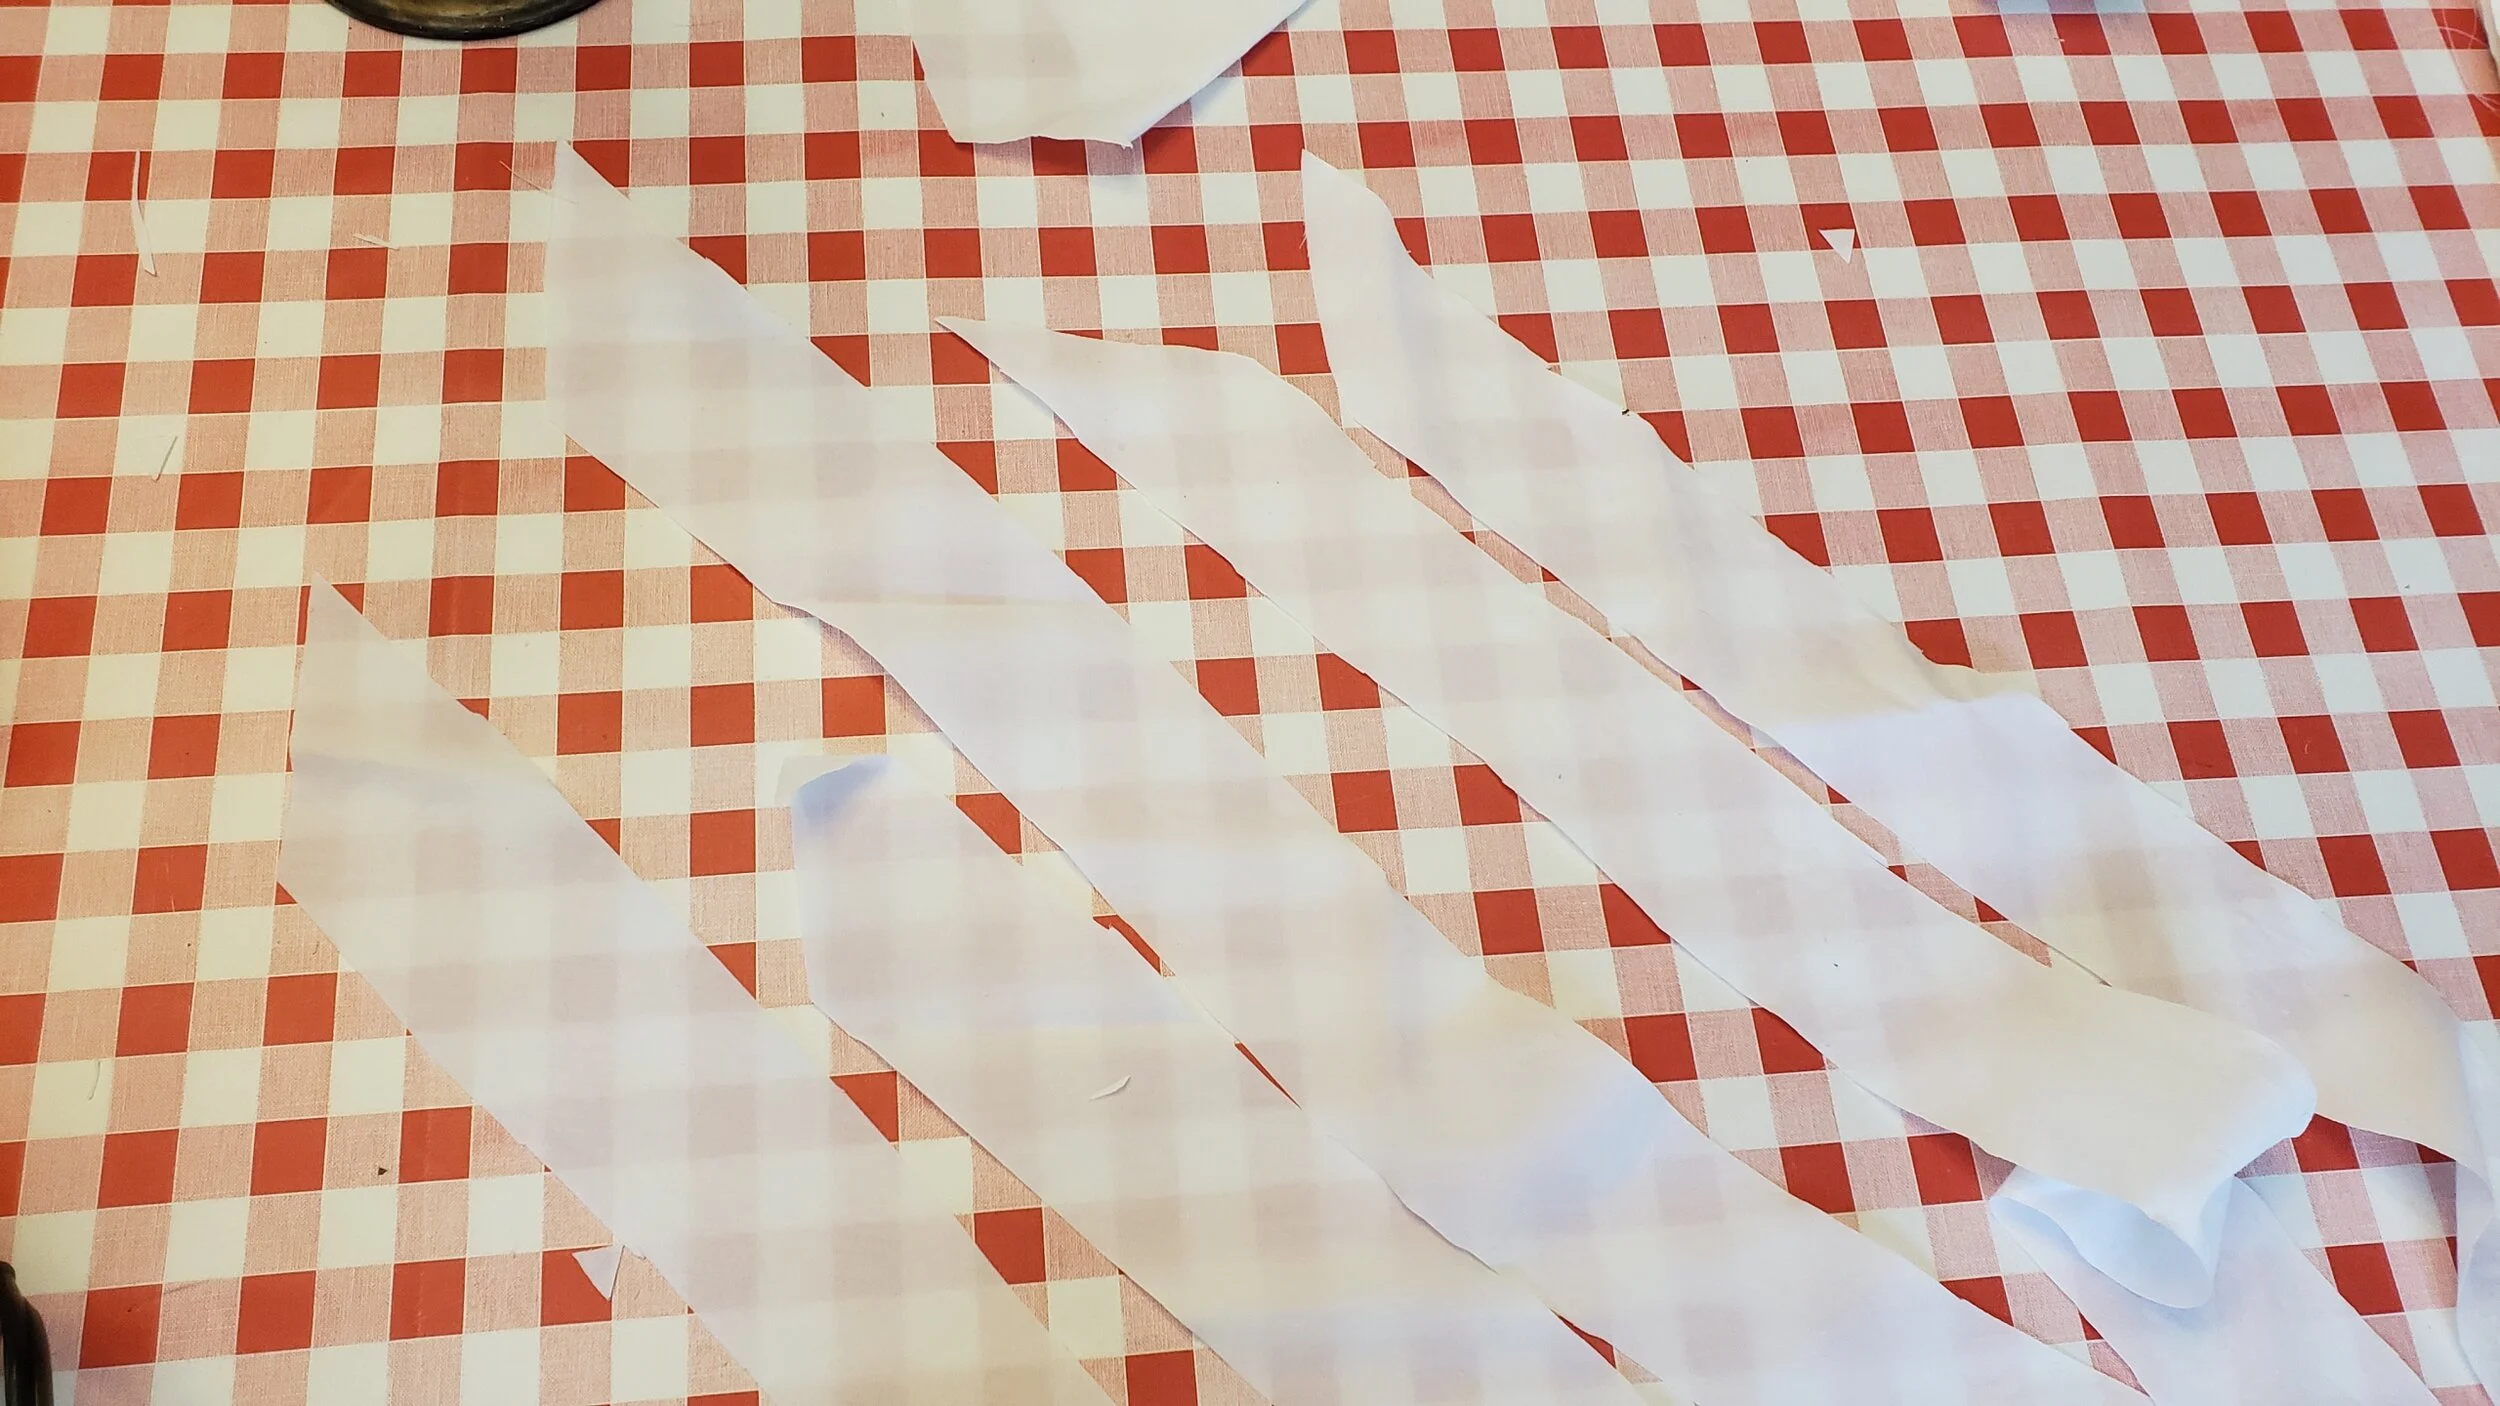
To make one continuous piece of binding, you will stitch each strip to the next one at the angled ends. Below you see the steps to stitch your strips together. First, cross the angles and pin. Next, stitch down the angle, starting and ending at the little notch created by the fabric overlap. Trim away the excess material at each end, then press the seam flat. Continue until all your pieces are joined.


Pin the binding to the neckline of the bodice, right sides together, starting and ending at the center front:
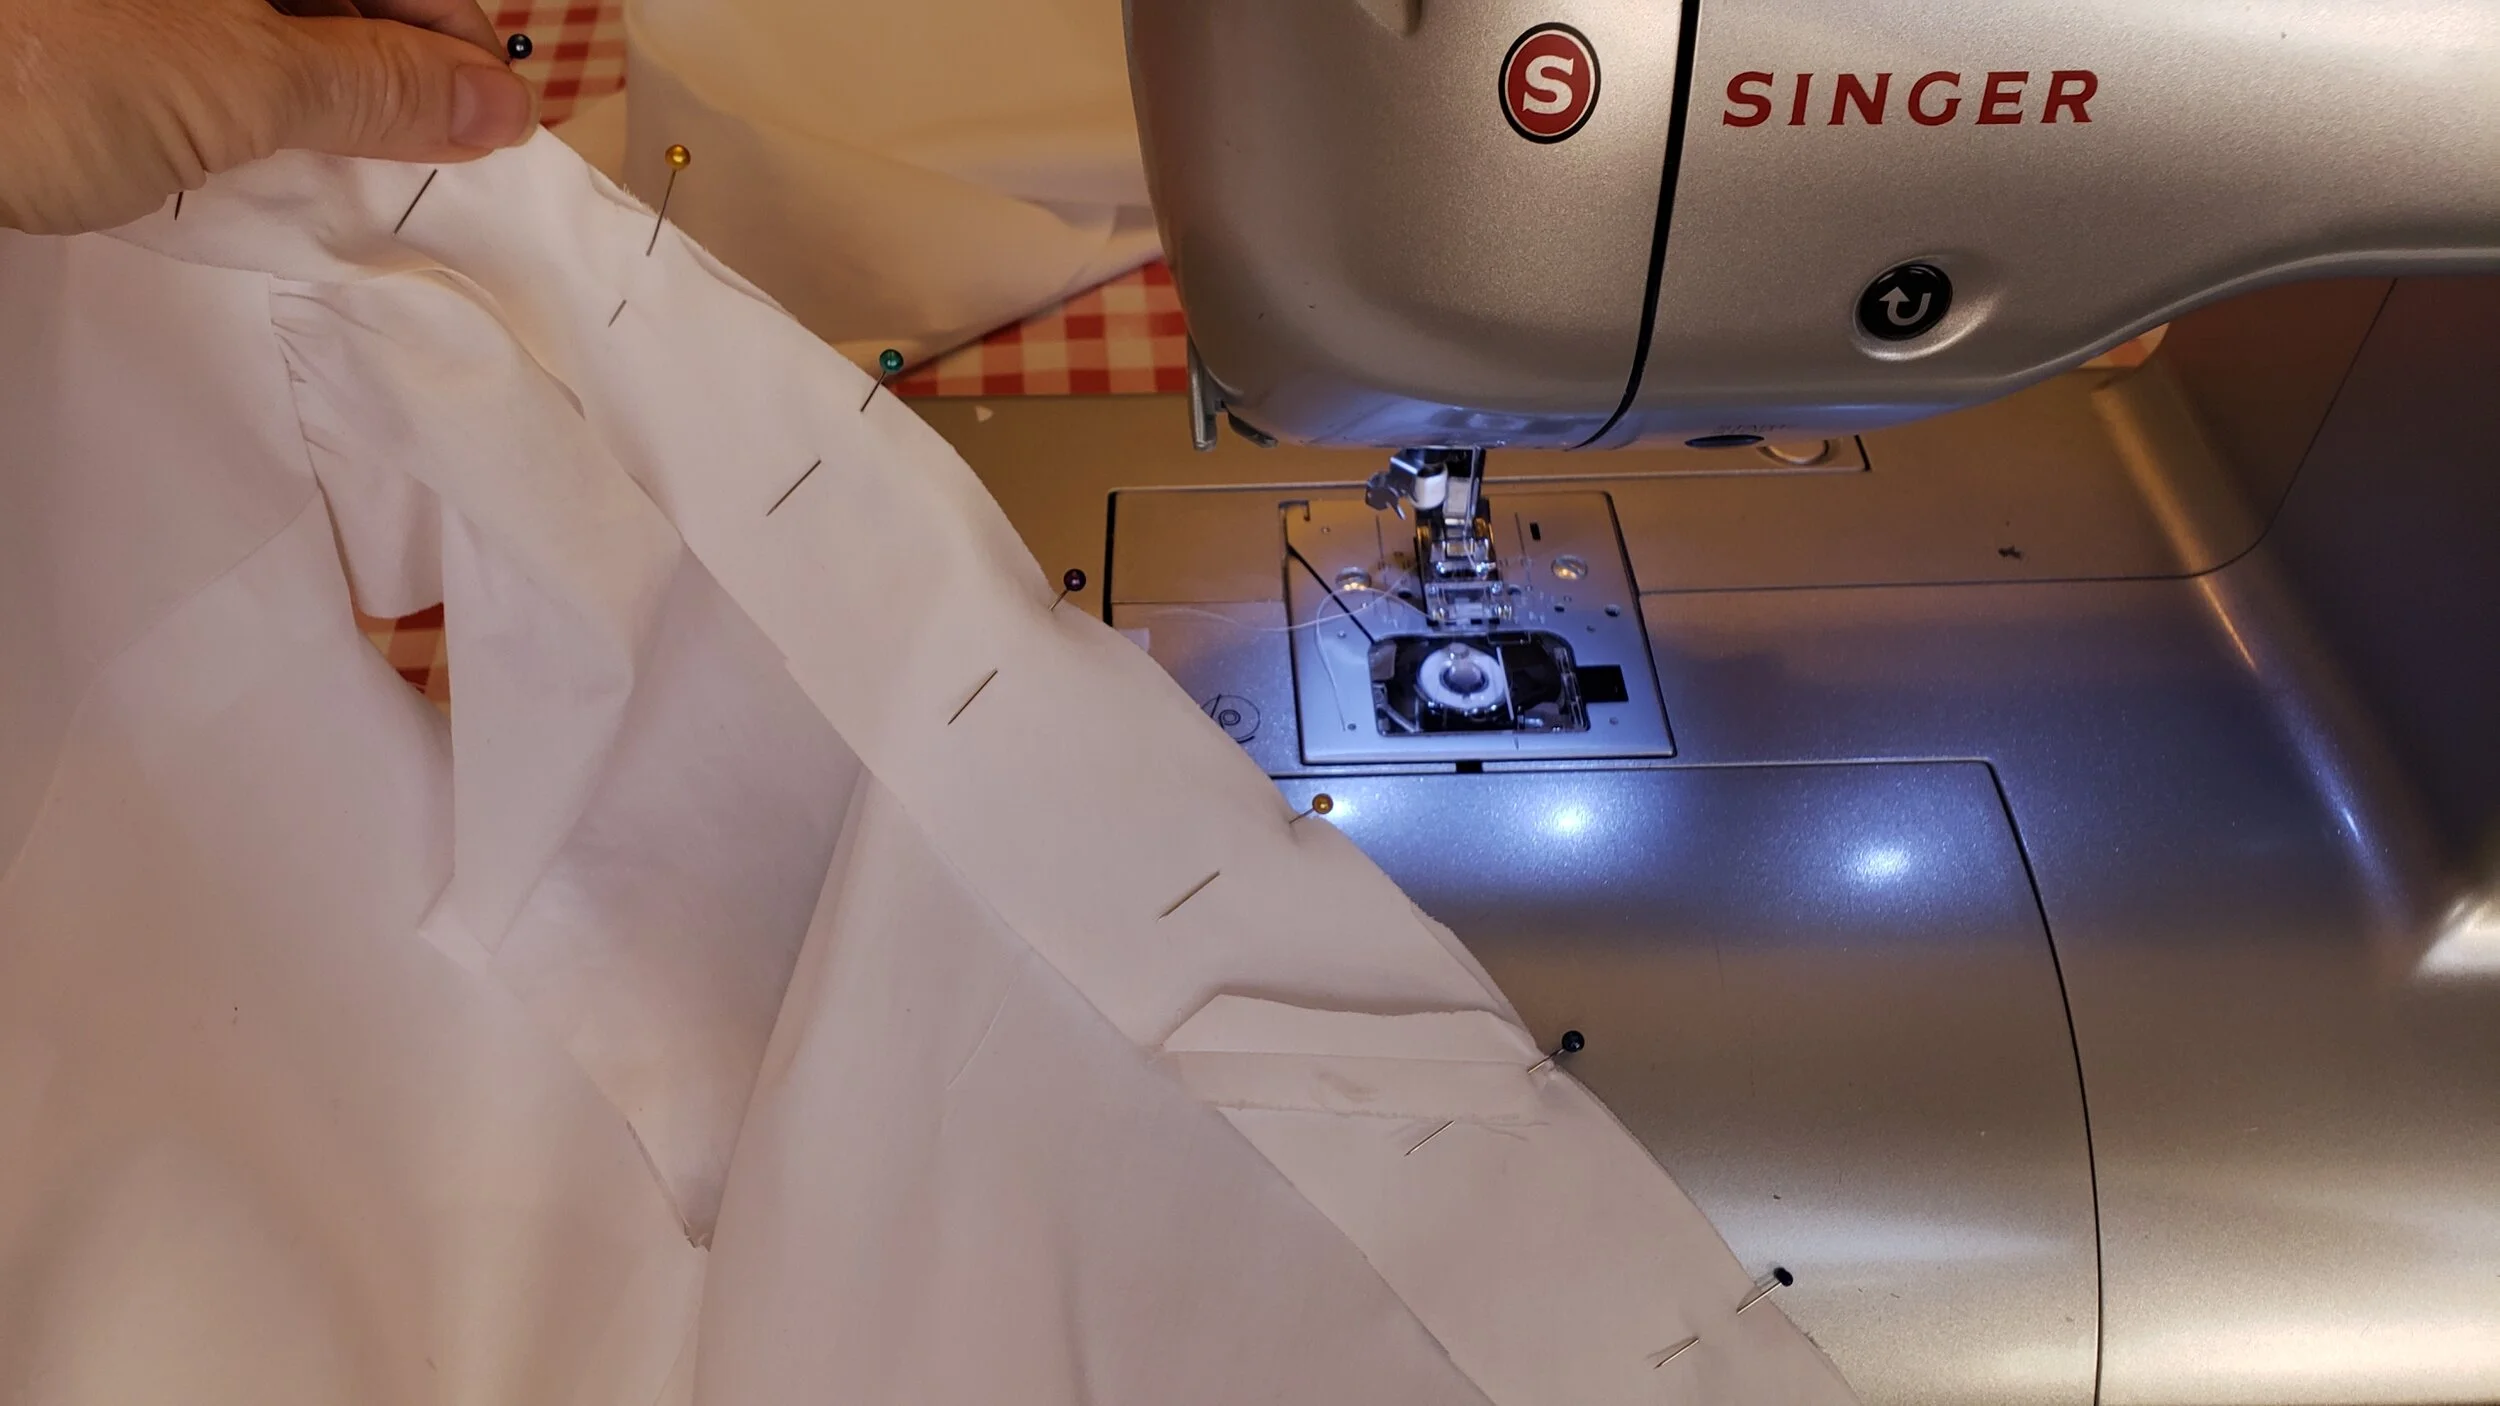
Stitch binding to neckline, taking up a 5/8” seam. Press the seam up away from the bodice, then grade the seam allowance to reduce bulk:


To finish the neckline, turn the binding under twice toward the inside of the bodice, then top stitch in place. You can do this by hand if you are aiming for authenticity, but I did my stitching on the machine, since the lace would hide the stitches anyway.


Next, sew up the sleeves, run gathering stitches as indicated on the sleeve heads, then pull up the gathers, pin and stitch each sleeve into its armhole:
At this point, you are ready to join the skirt to the bodice, but you need to try on your bodice first to check the length of the front pieces. As designed, the two front pieces are supposed to cross over the body with the right fastening over the left at the side. To get the beautiful “V” neckline and gathering of Marianne’s nightgown, you are going to completely ignore the crossover feature and instead run a drawstring through the waistline seam casing (which you will make after attaching the skirt). This means you’ll need to trim down the bodice front so that it fits just beneath your bust and meets in the middle. I tried mine on over my chemise and stays, as that is what you see in the film. I marked the desired length (plus 5/8” seam allowance), then trimmed away the extra fabric as you see below. For me, the total was about four inches at the center front, which narrowed up to the side seam. You will be able to eyeball this on yourself and trim to suit your own unique shape.
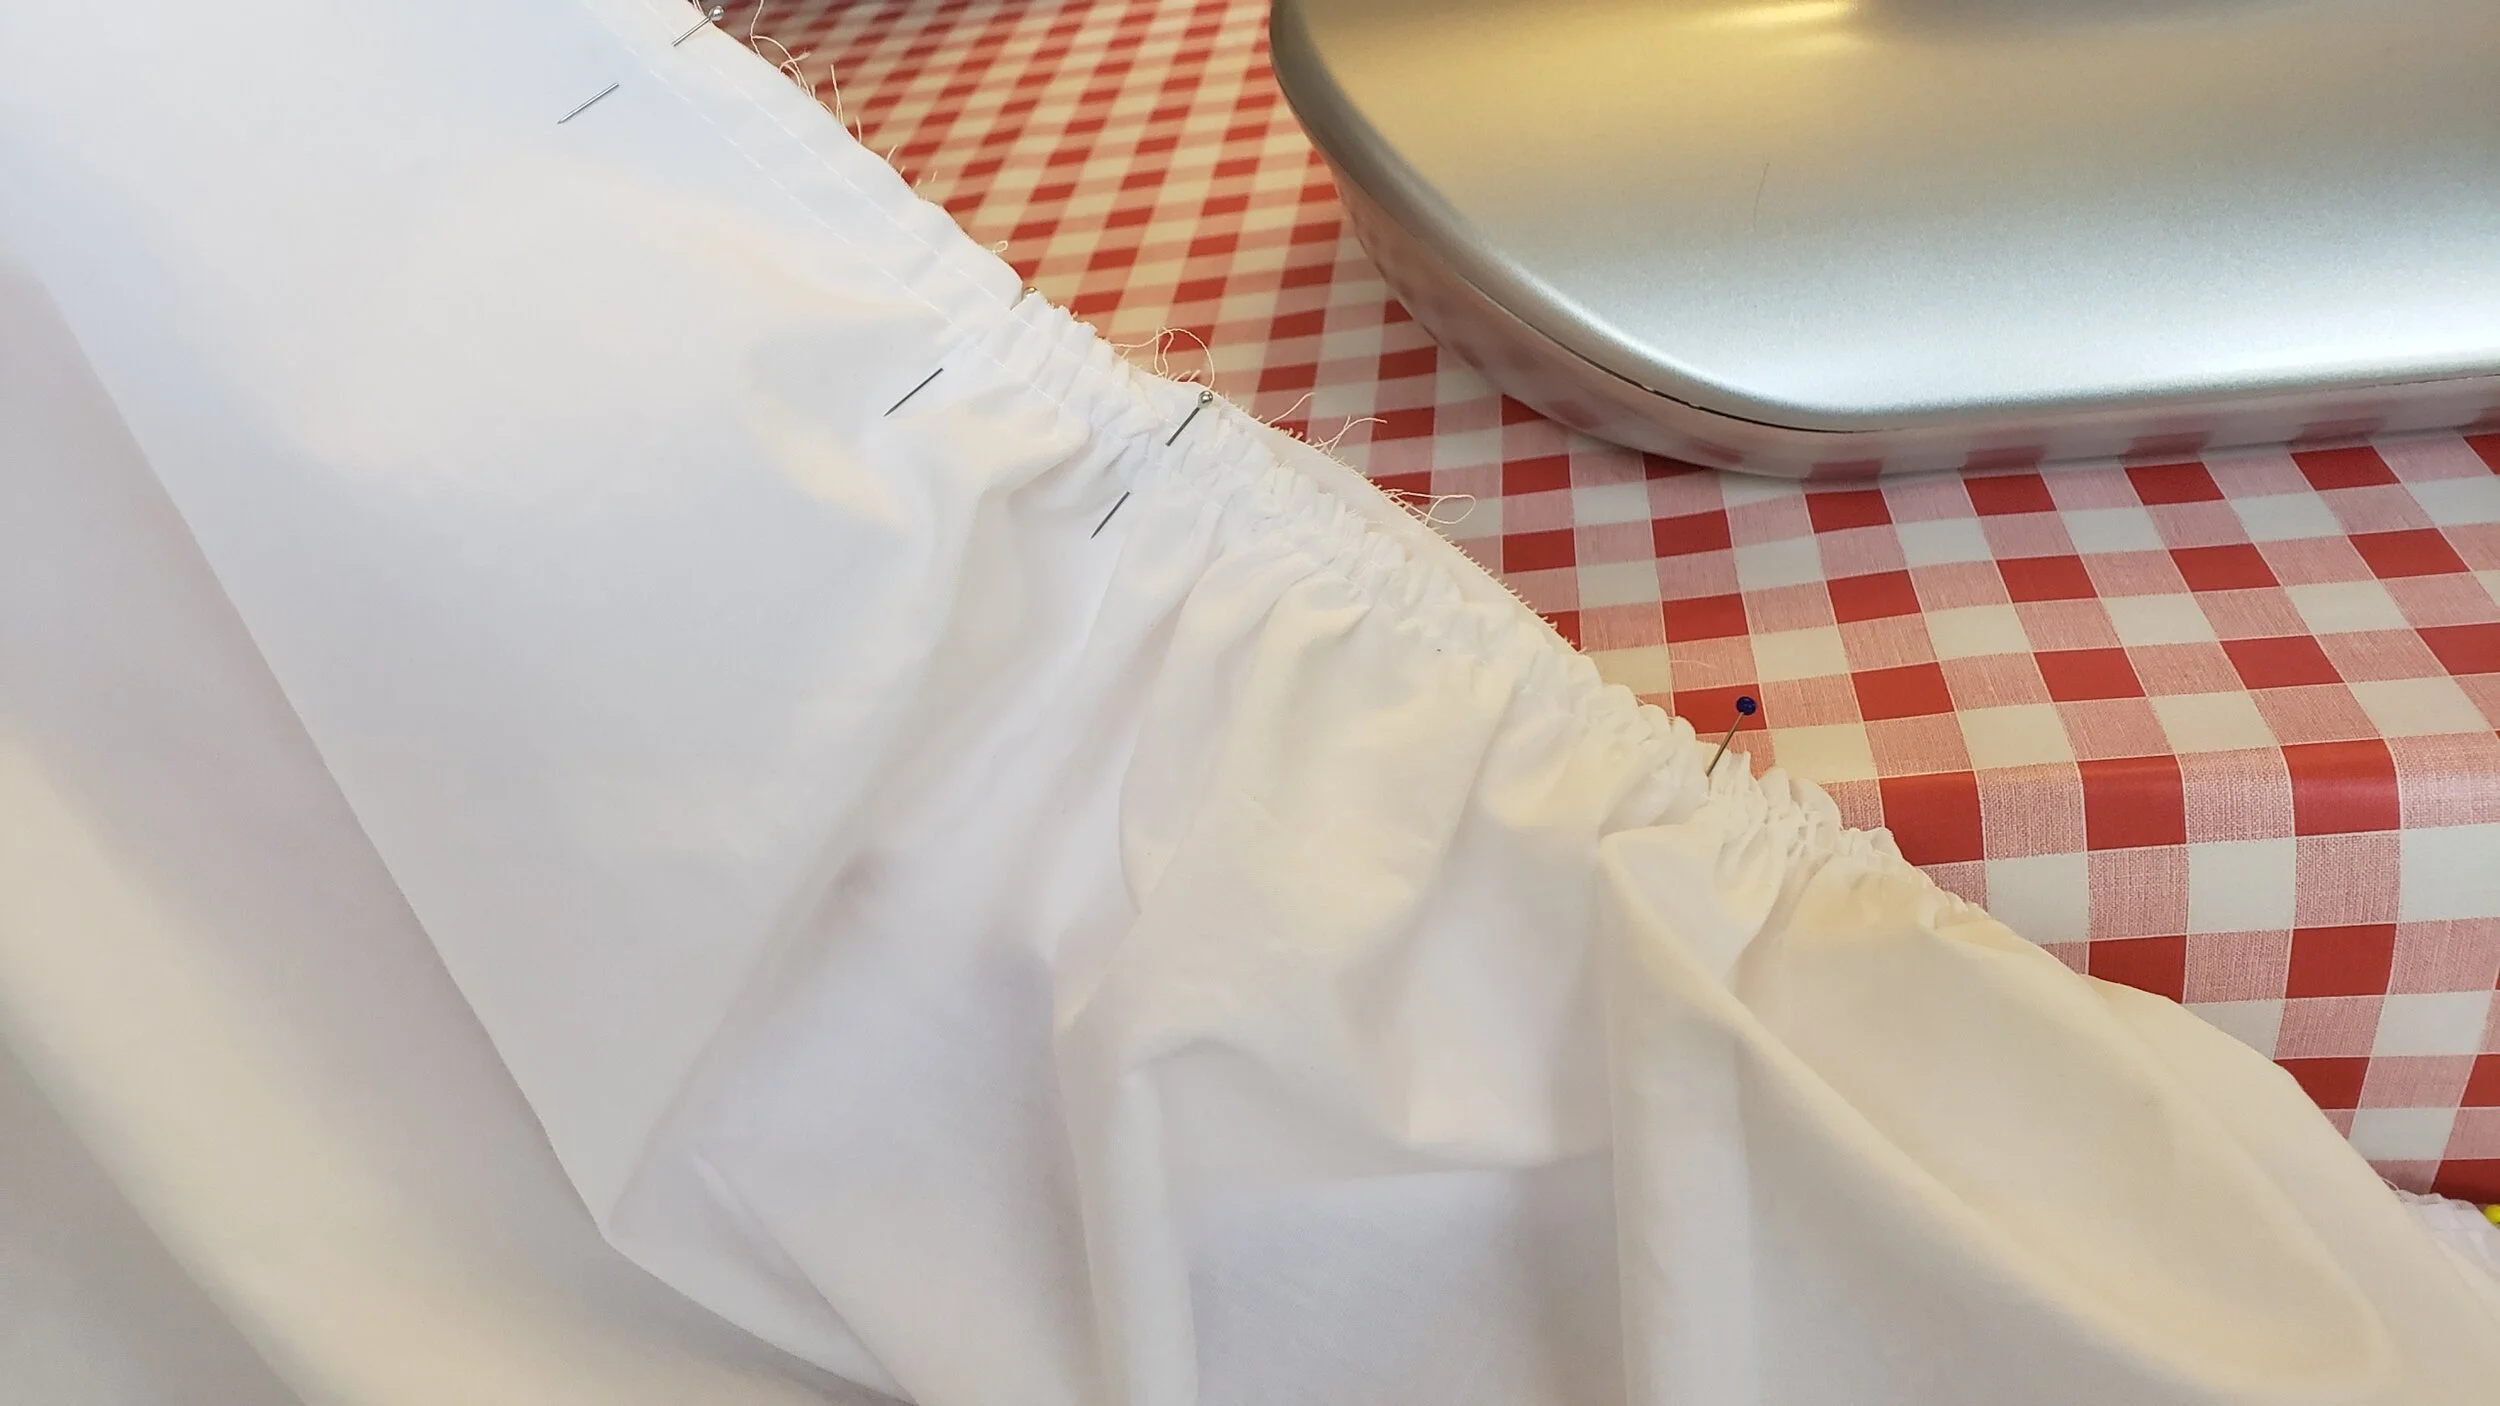
Pin the skirt to the bodice, matching center fronts. You will pin the skirt front smoothly to the side seams of the bodice, then gather the remaining material to fit the bodice back.
Stitch bodice to skirt, then use your remaining bias strips to create double-fold binding that will finish the raw edge of your waistline seam. To make double-fold binding, fold the strip in half and press. Next, open out the strip and fold each raw edge toward the center crease. Press each side, making sure you don’t eliminate the center crease in the process. Use this binding to enclose the waistline seam as shown below:


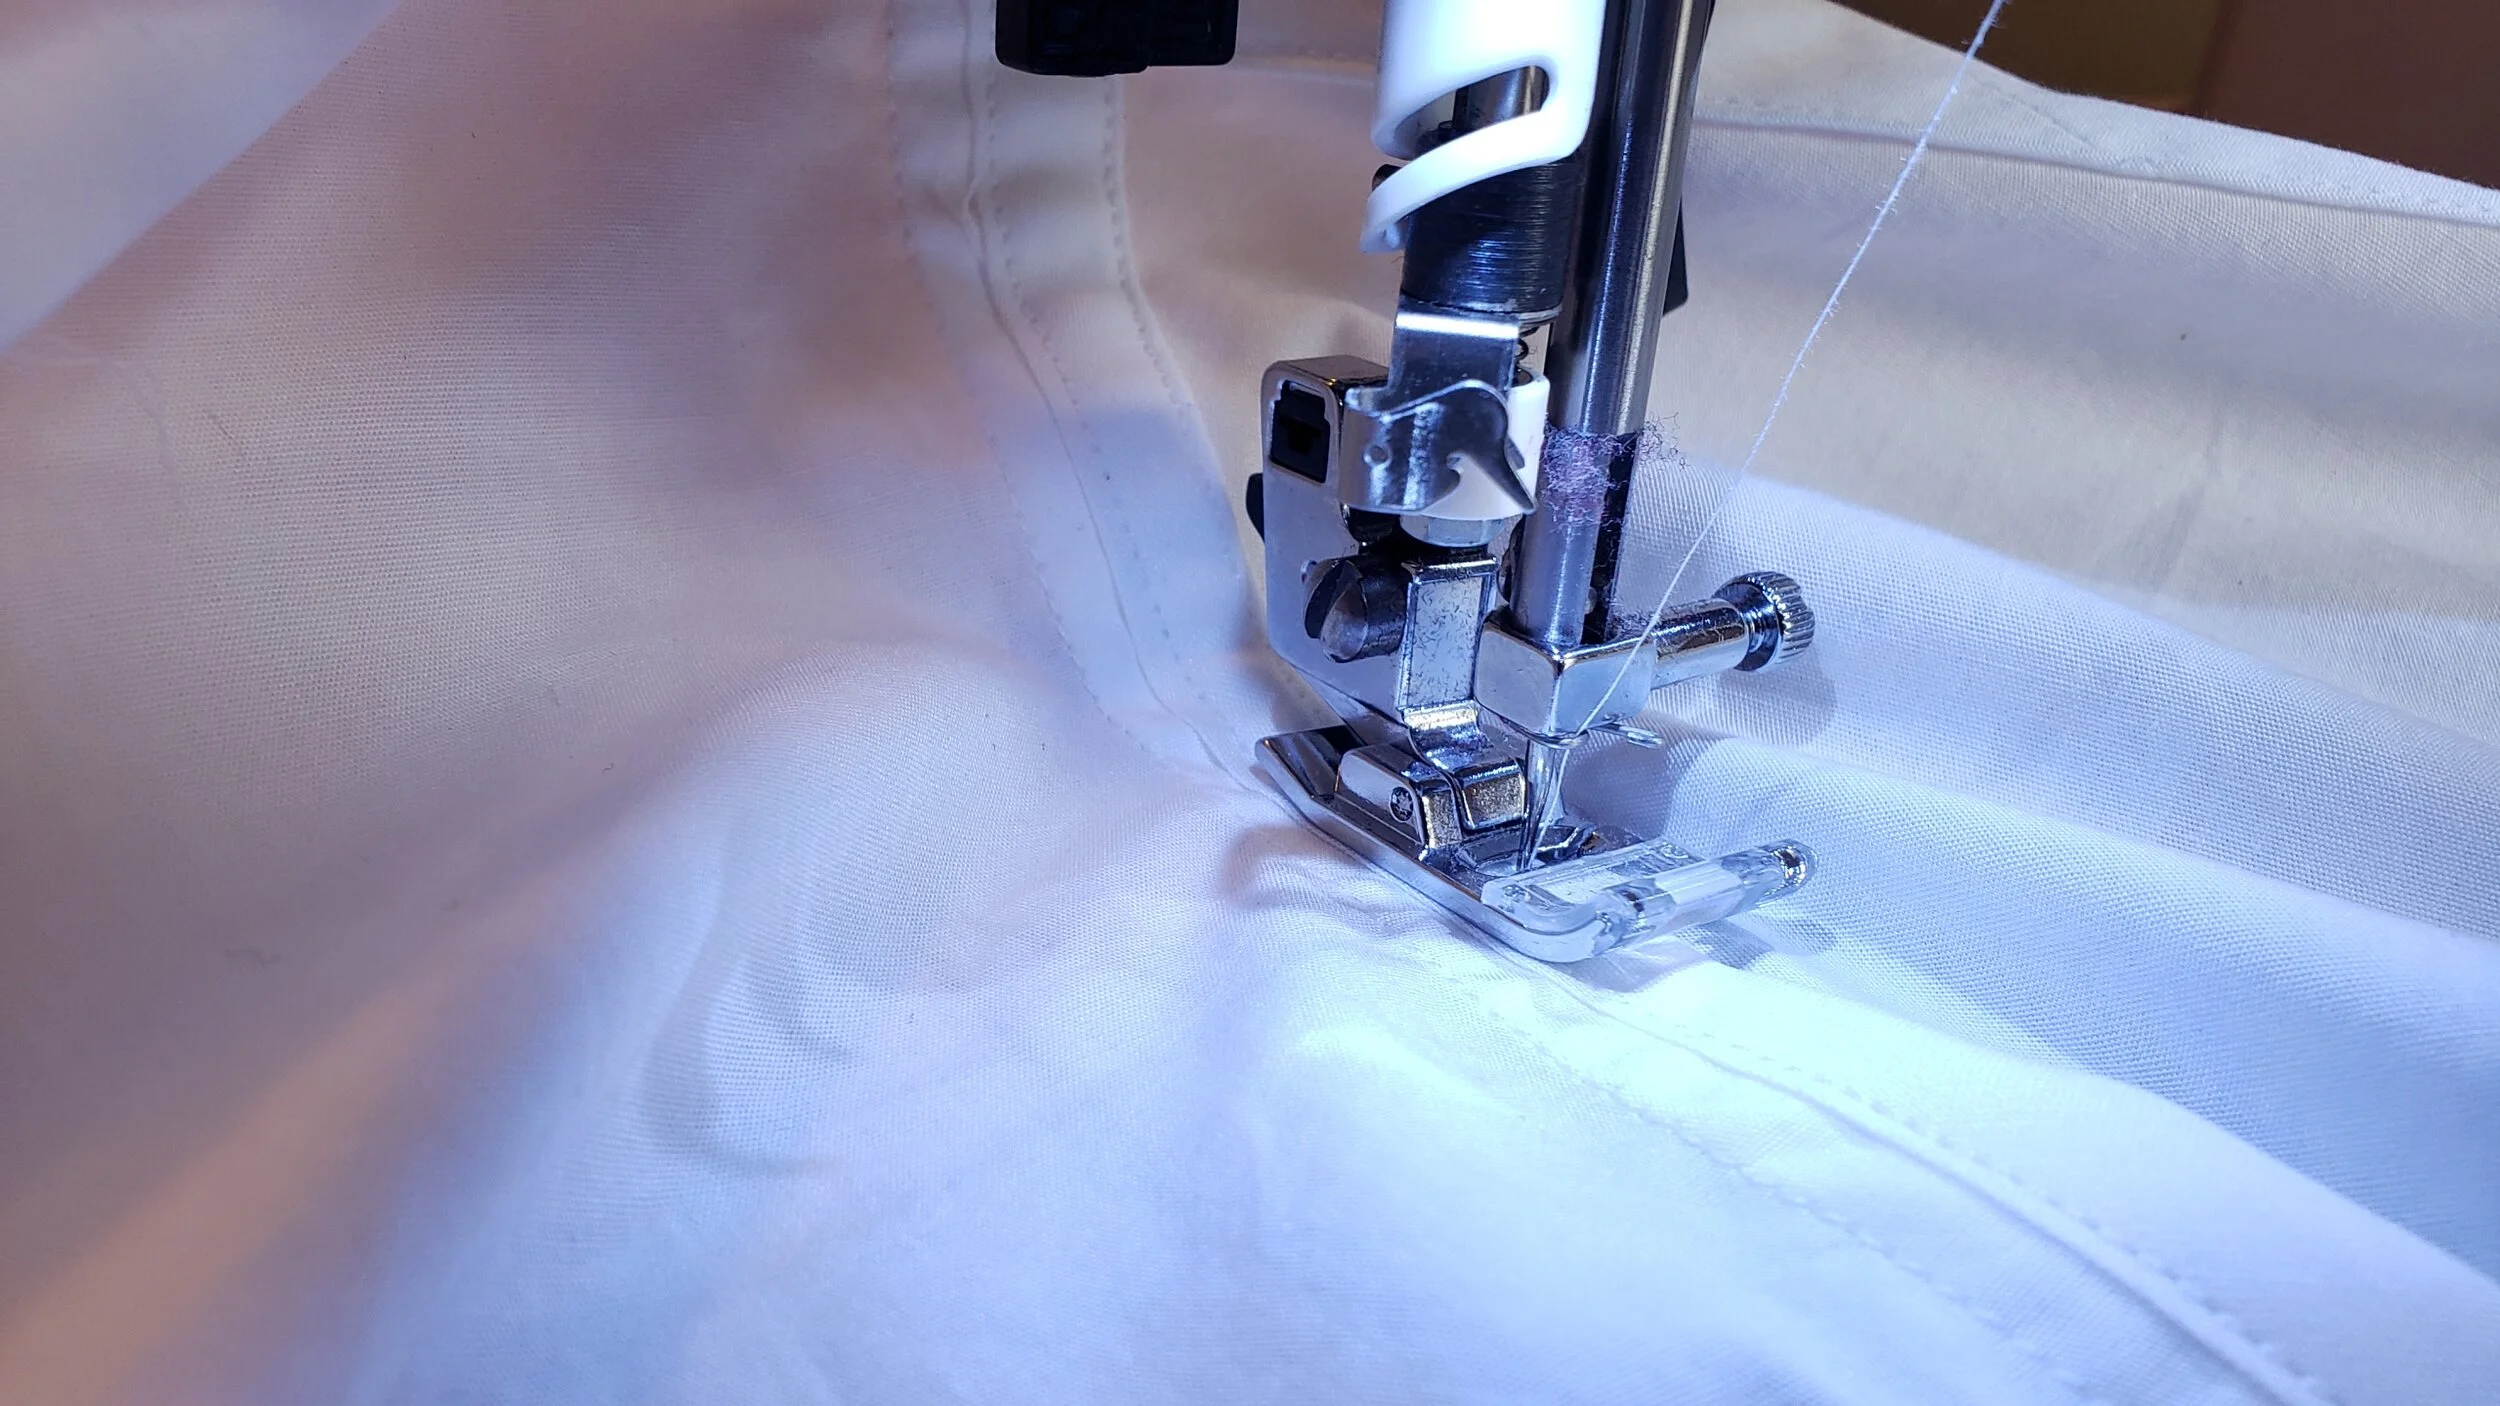
Next, top stitch the bound waistline seam to the bodice, creating the channel for your drawstring ribbon:
Using a bodkin, run the ribbon through the waistline channel, which will gather up the fullness of both the bodice and the skirt:


Now all that’s left is hemming and trimming to finish your beautiful gown! You can turn up a small hem on either side of the skirt front, then again at the bottom of the skirt to finish. Next, turn under the sleeve ends and pin the hem in place. I opted to hem and secure the lace trimming at the same time. First, I made French seams to join the narrow ends of the net lace, then I pinned the lace in place to the inside of each sleeve over the hem. Finally, I caught the lace while whipstitching the hem at the end of each sleeve.

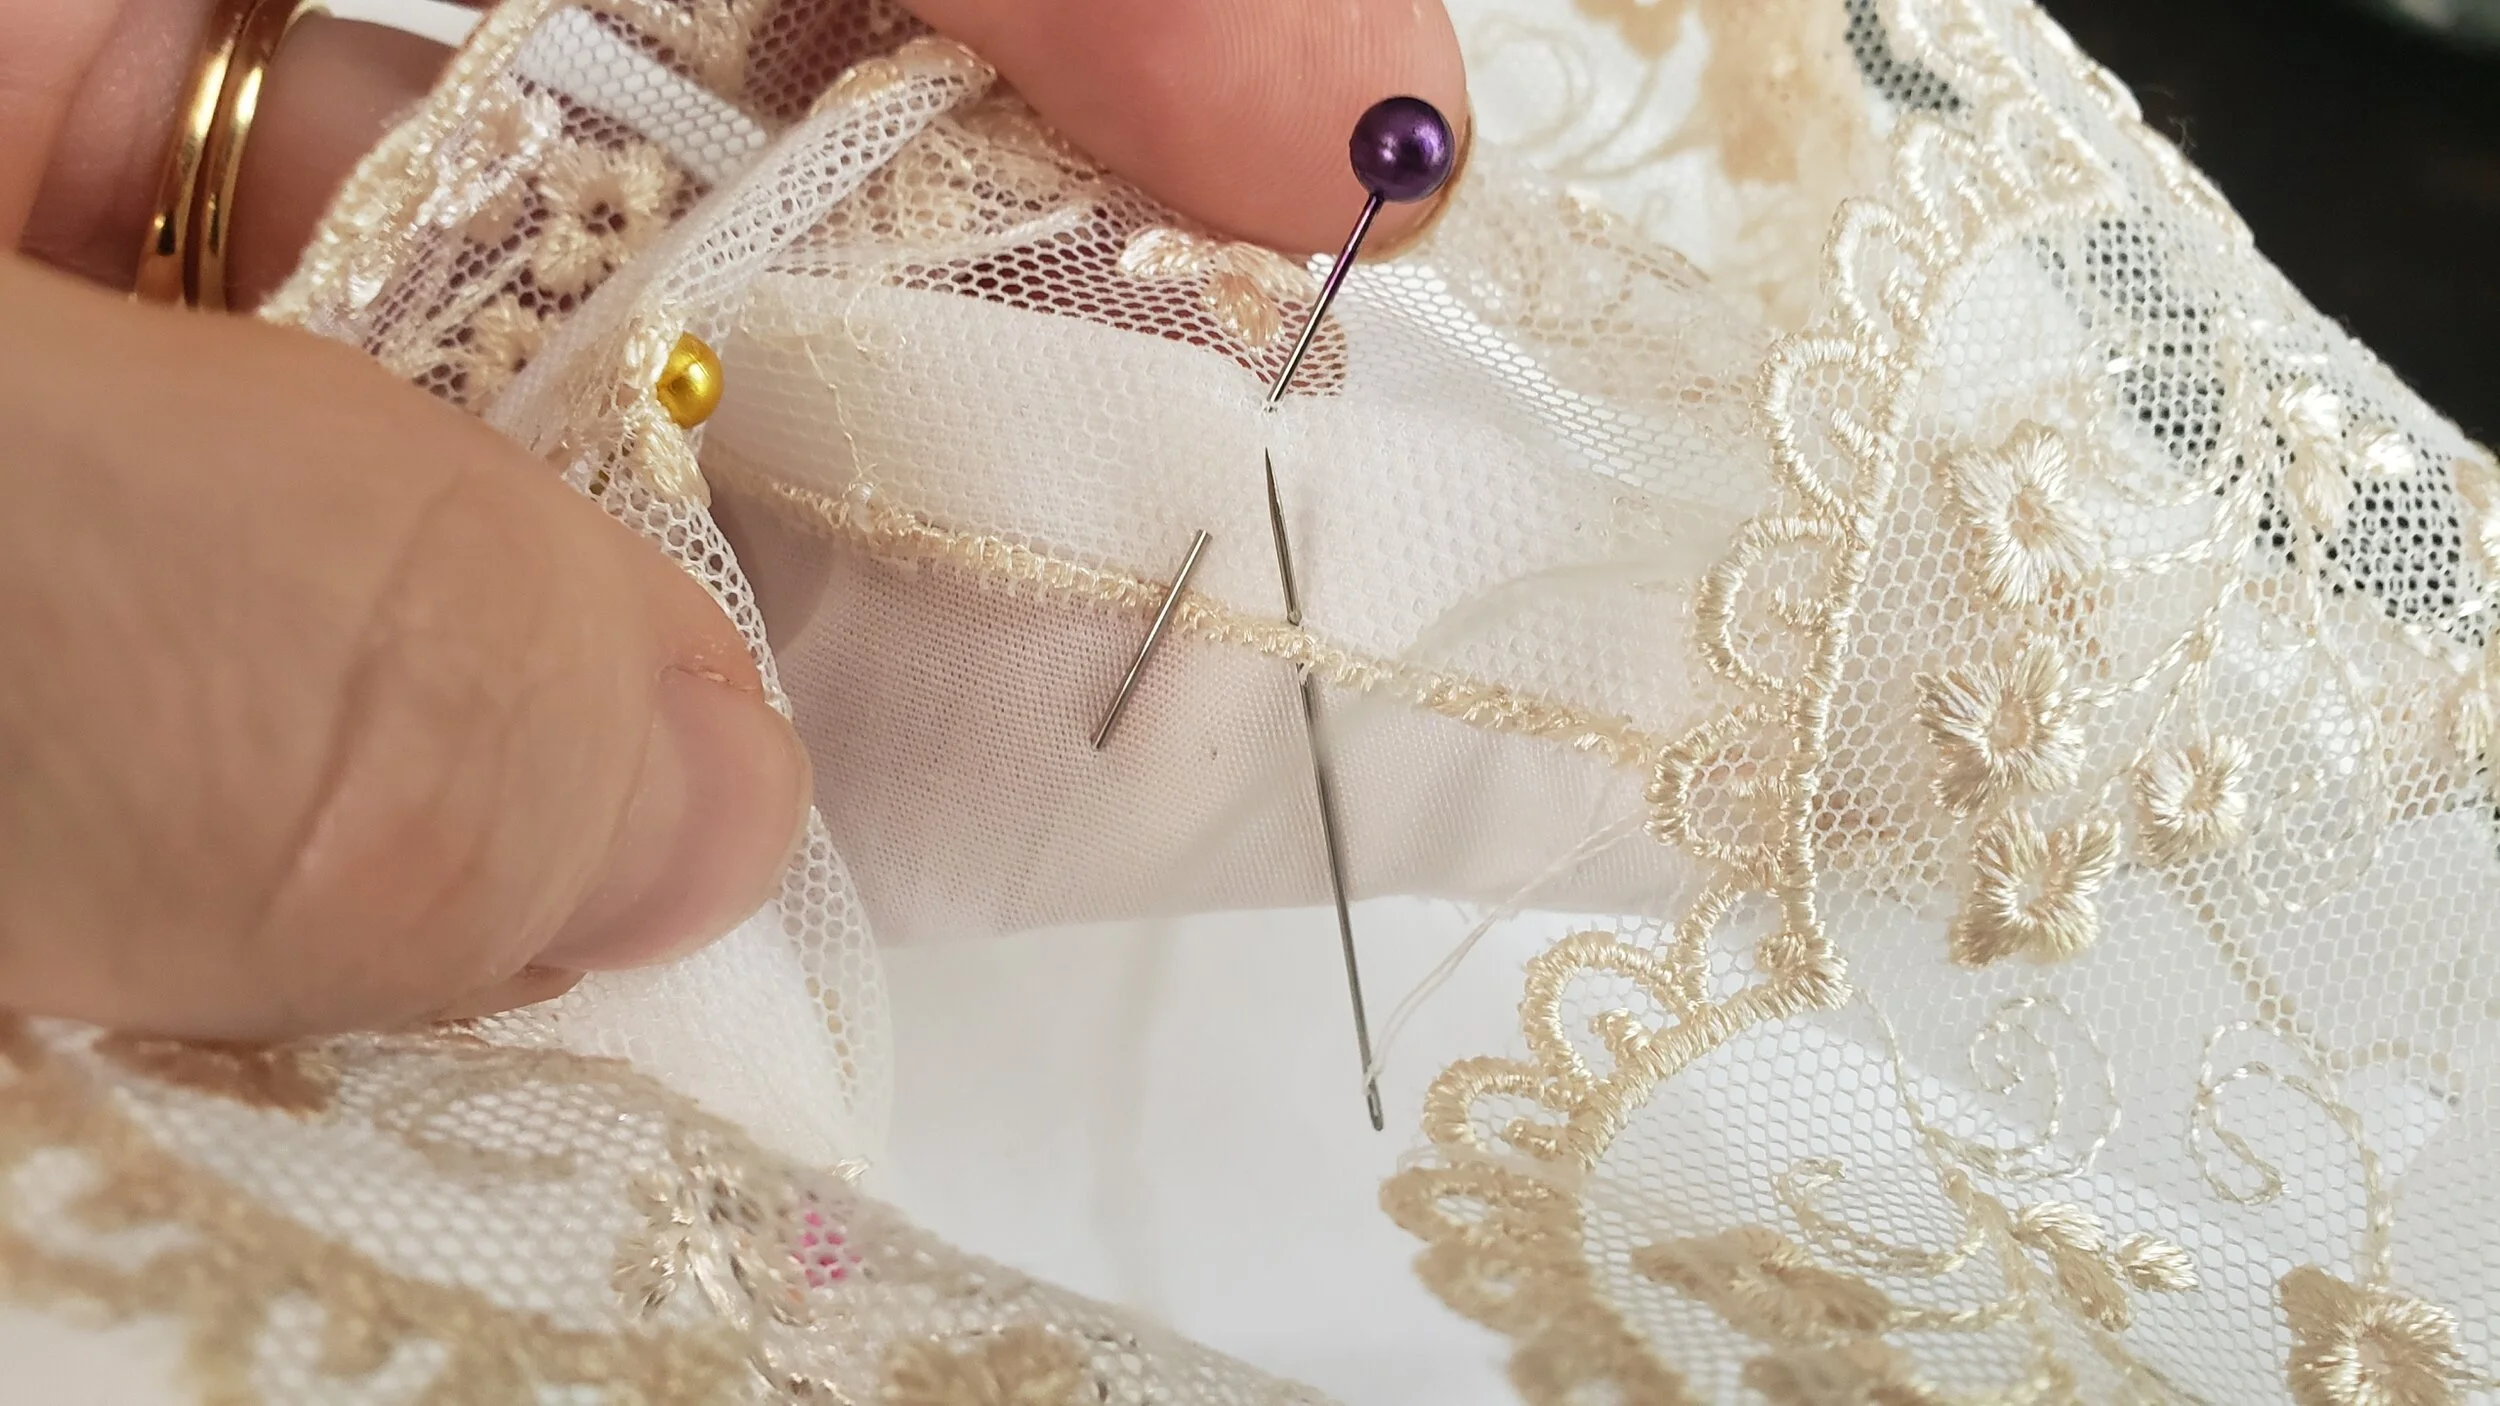
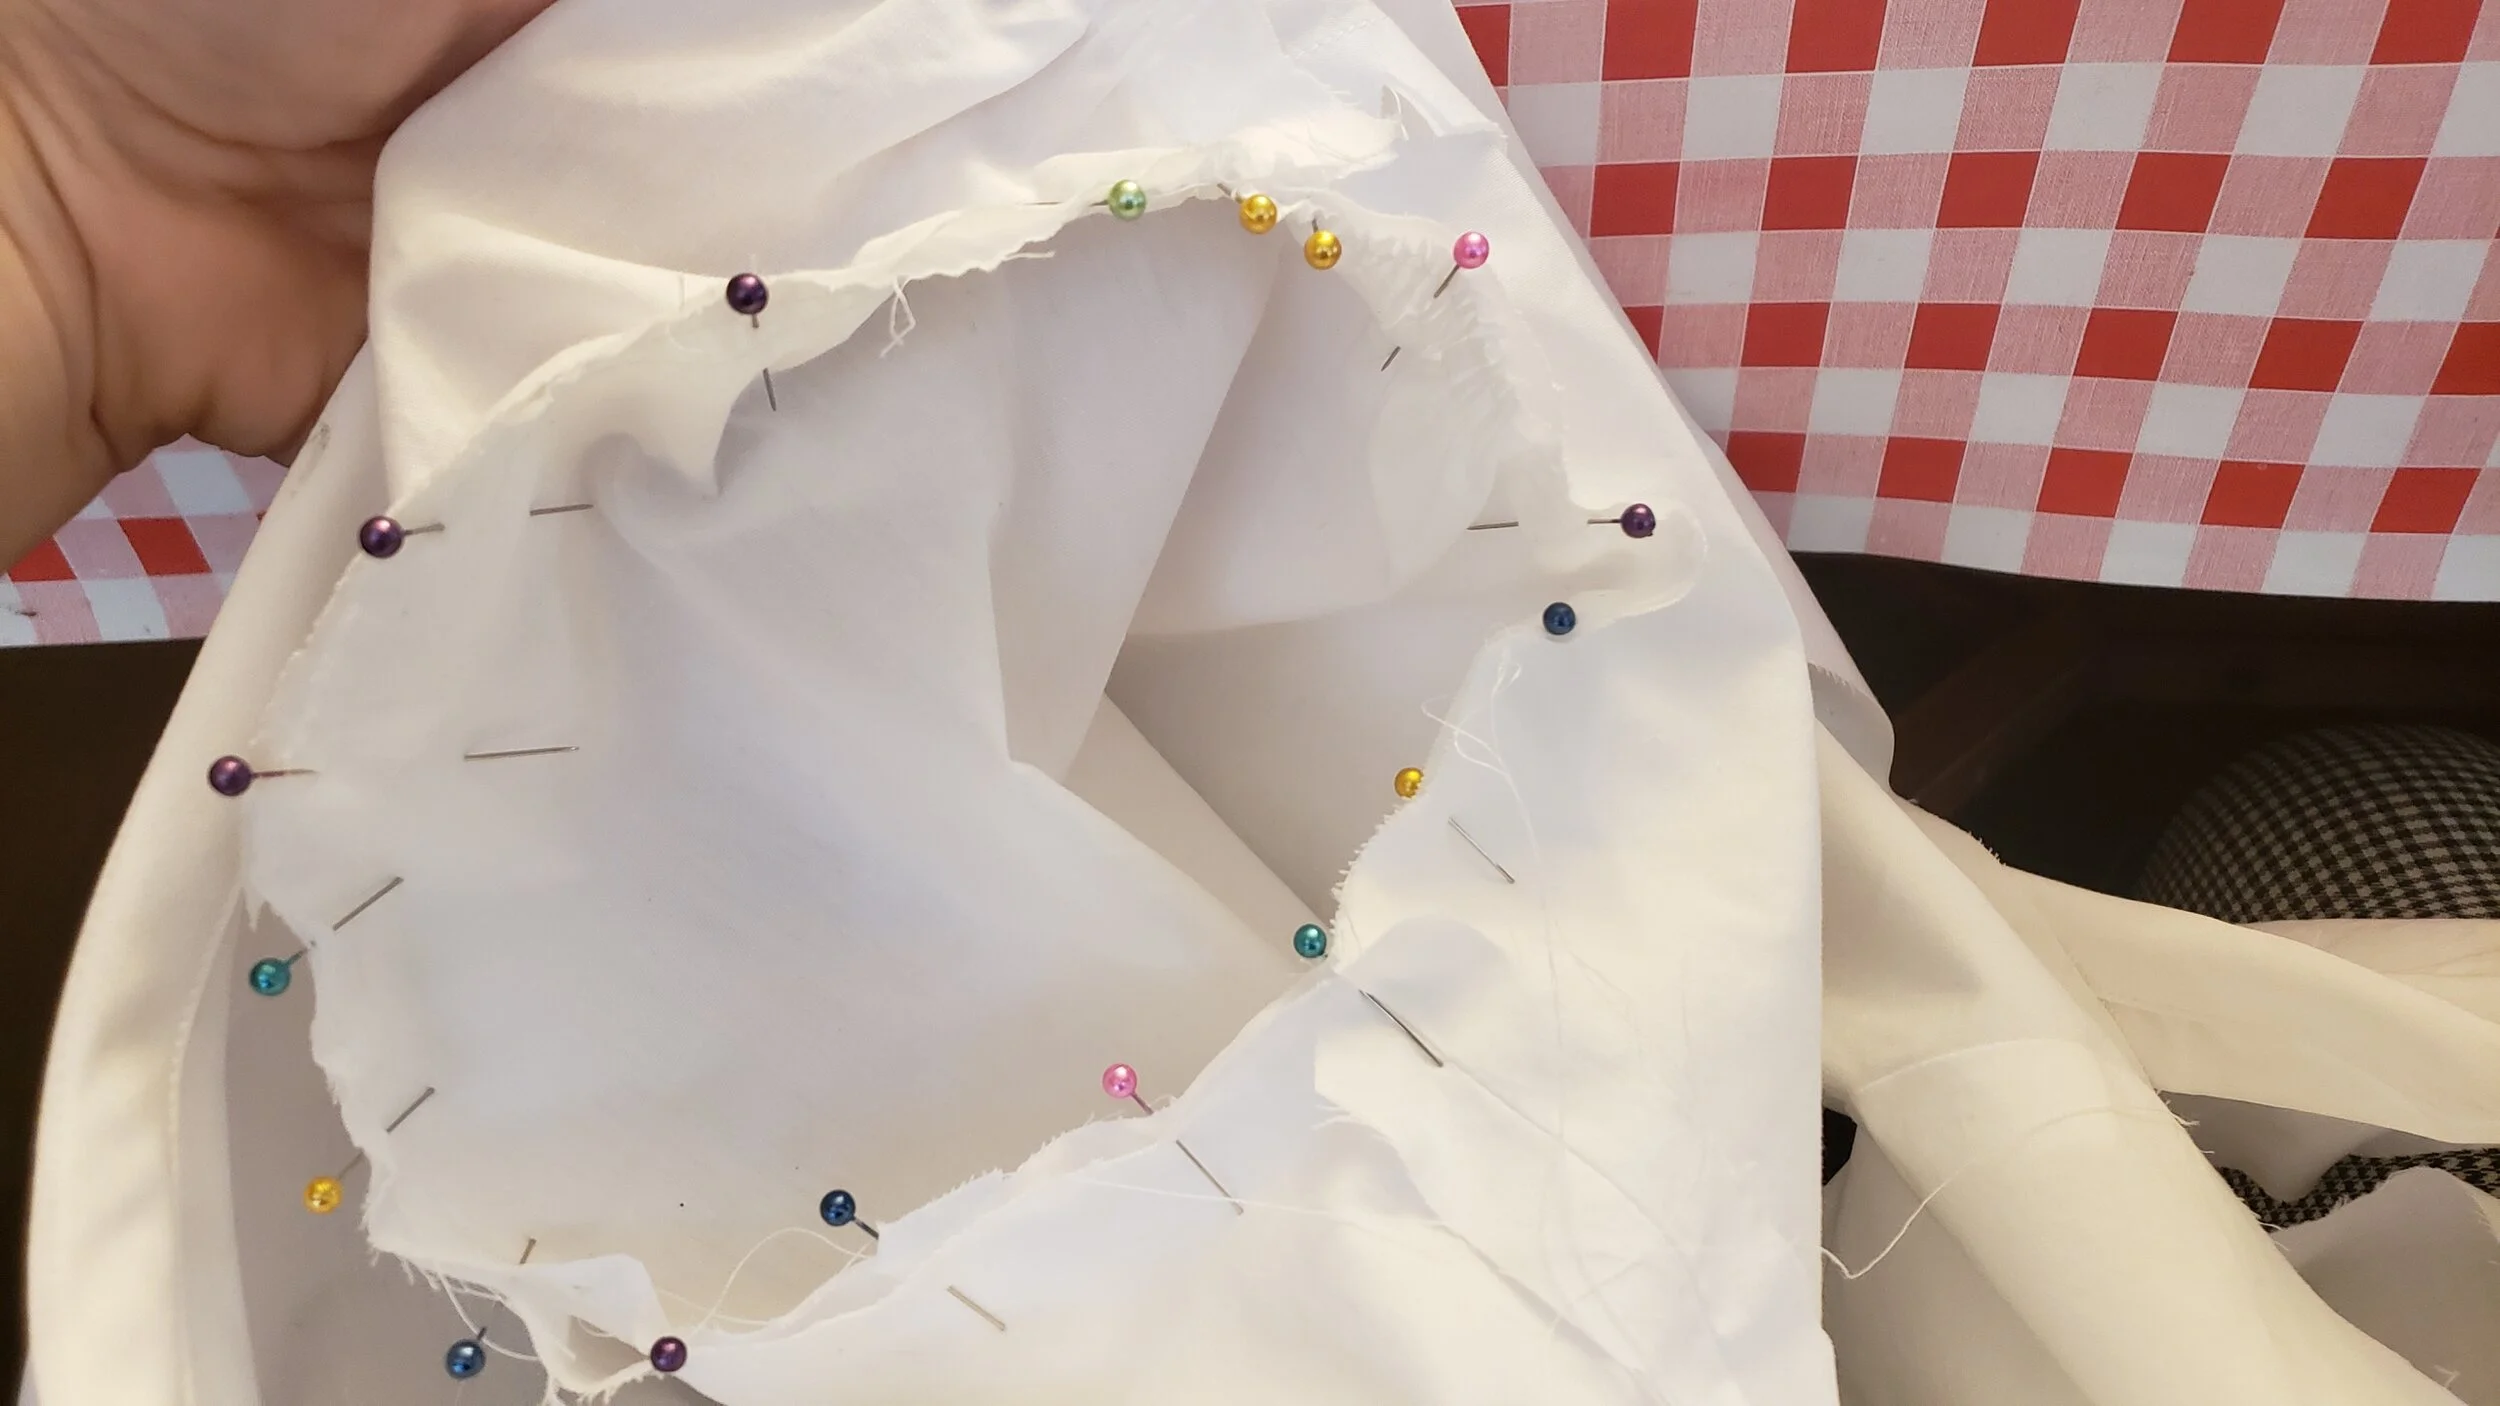
To add the ruffled lace around the neckline, I hemmed the raw ends of the lace, then pinned it in place, matching the center back to the center of the lace and the hemmed ends to the center front at the empire waistline. I didn’t run gathering stitches in the top of the lace but simply pinned my way around, making tiny pleats as I went to take up the fullness of the lace. Finally, I used overcast stitches to secure the lace to the very edge of the neckline.


To complete the gown, you need to try it on and mark where you’d like the center front neckline to close (the drawstring at the waist secures it below the bust, but you’ll want to secure it at the “V” as well). Sew two lengths of 1/8” ribbon, one on each side of the neckline where you’ve marked:

To tie the sleeves and pull in the fullness at the wrist, you will take two 16” lengths of 1/4” ribbon and stitch each to the center of the sleeve seam at the wrist, about an inch from the hemmed end of the sleeve. When you wear your gown, you will tie the ribbons into pretty bows, as you see my helper do in the video at the end.
You now have an absolutely beautiful Regency nightgown or dressing gown to add to your wardrobe. Most ladies slept in a chemise, which was comfortable and practical, but to lounge about the boudoir while getting ready in the morning or curling your hair at night, this gown covers the plainer chemise and makes a truly Romantic statement at the same time. ENJOY!

Me, doing my best Marianne impression!