
How to Insert a Lapped Zipper (with video!)

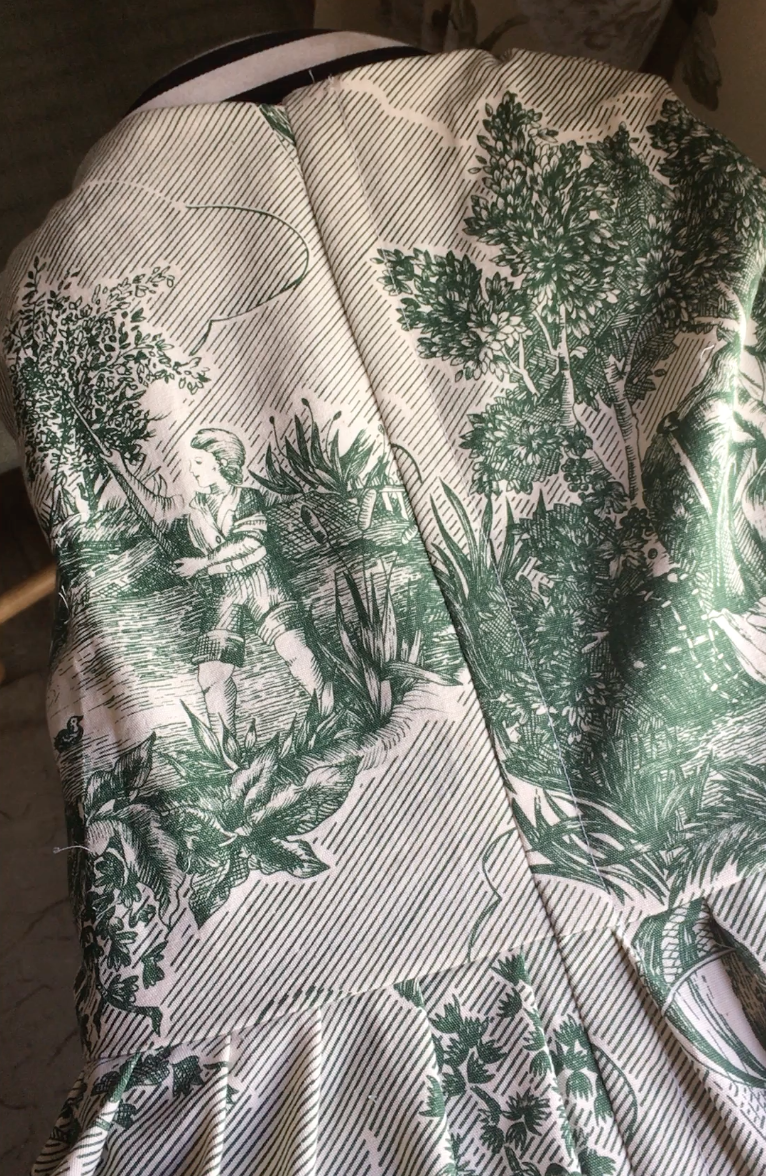
1950s-style shirt dress with lapped zipper opening in front.
I've never been a huge zipper fan, and, since my favorite historical fashion periods fall long before the invention of the zipper, I've been pretty safe. But, of course, once you jump into the 1940s and 1950s, you run into more and more zippers, and it was inevitable I'd have to get cozy with them eventually! For years, my default has been the invisible zipper, which hides in a seam beautifully, leaving only an elegant pull at the top. But those zips take special feet to insert them neatly and correctly, and they can be a bear to get just right. So when I found an original 1950s dress with a lapped zipper opening, I decided to see if it was possible to fall in love with sewing zippers the vintage way. Lo and behold, it is, and I am delighted to share this "new" old method with you so you can insert your own zippers with minimal pain. While my samples here show back and front seams, you can also insert a lapped zipper into a side seam.I've made a video of all the steps, which you can watch below, but I've also got photo instructions in this post, since it's often more enlightening to see something laid out step by step so you can refer back to each section as you go. Without further ado, let's insert a lapped zipper!
First, baste the seam closed:
It doesn't matter if you're working on a front or back or side seam, you'll start like most conventional zipper instructions tell you to, by basting the seam closed for the length of the zipper:
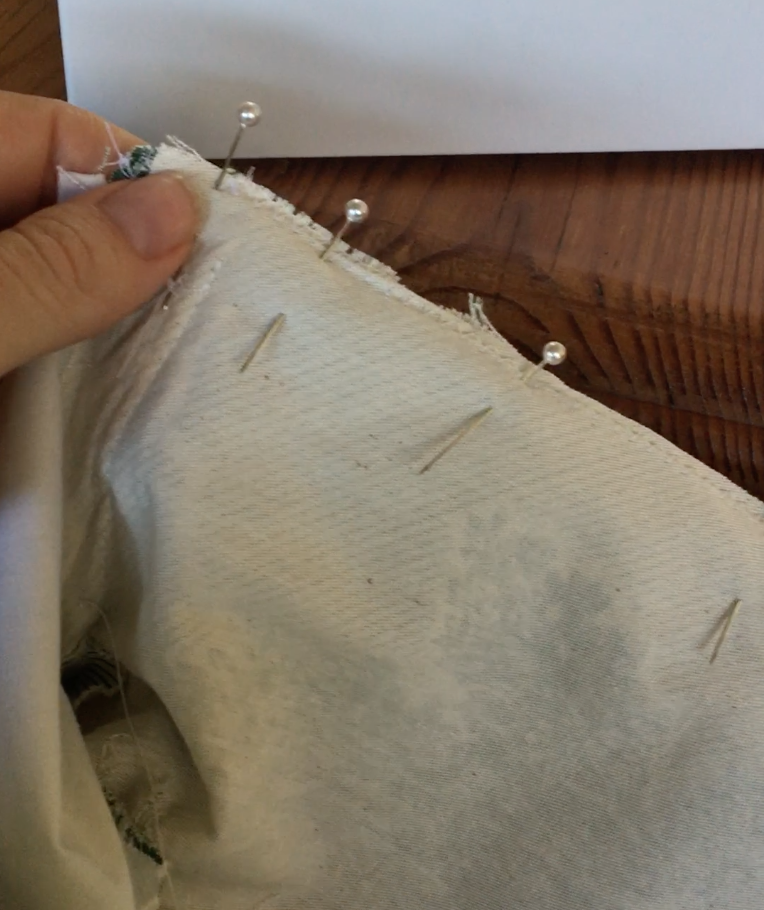
Seam pinned and ready for basting.
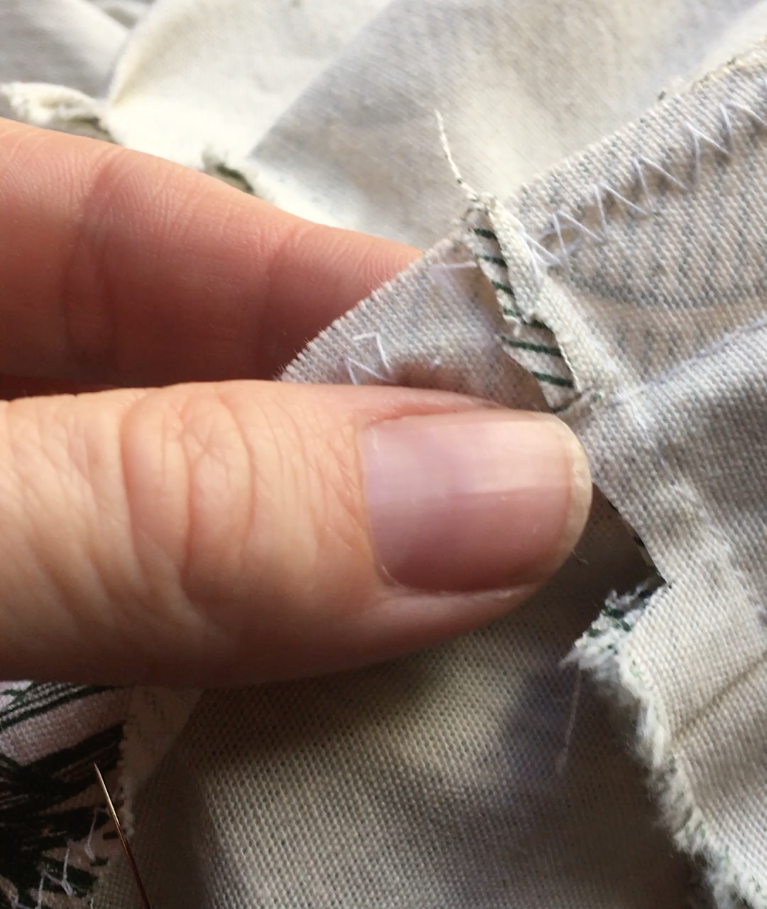
After stitching, press the seam open neatly:
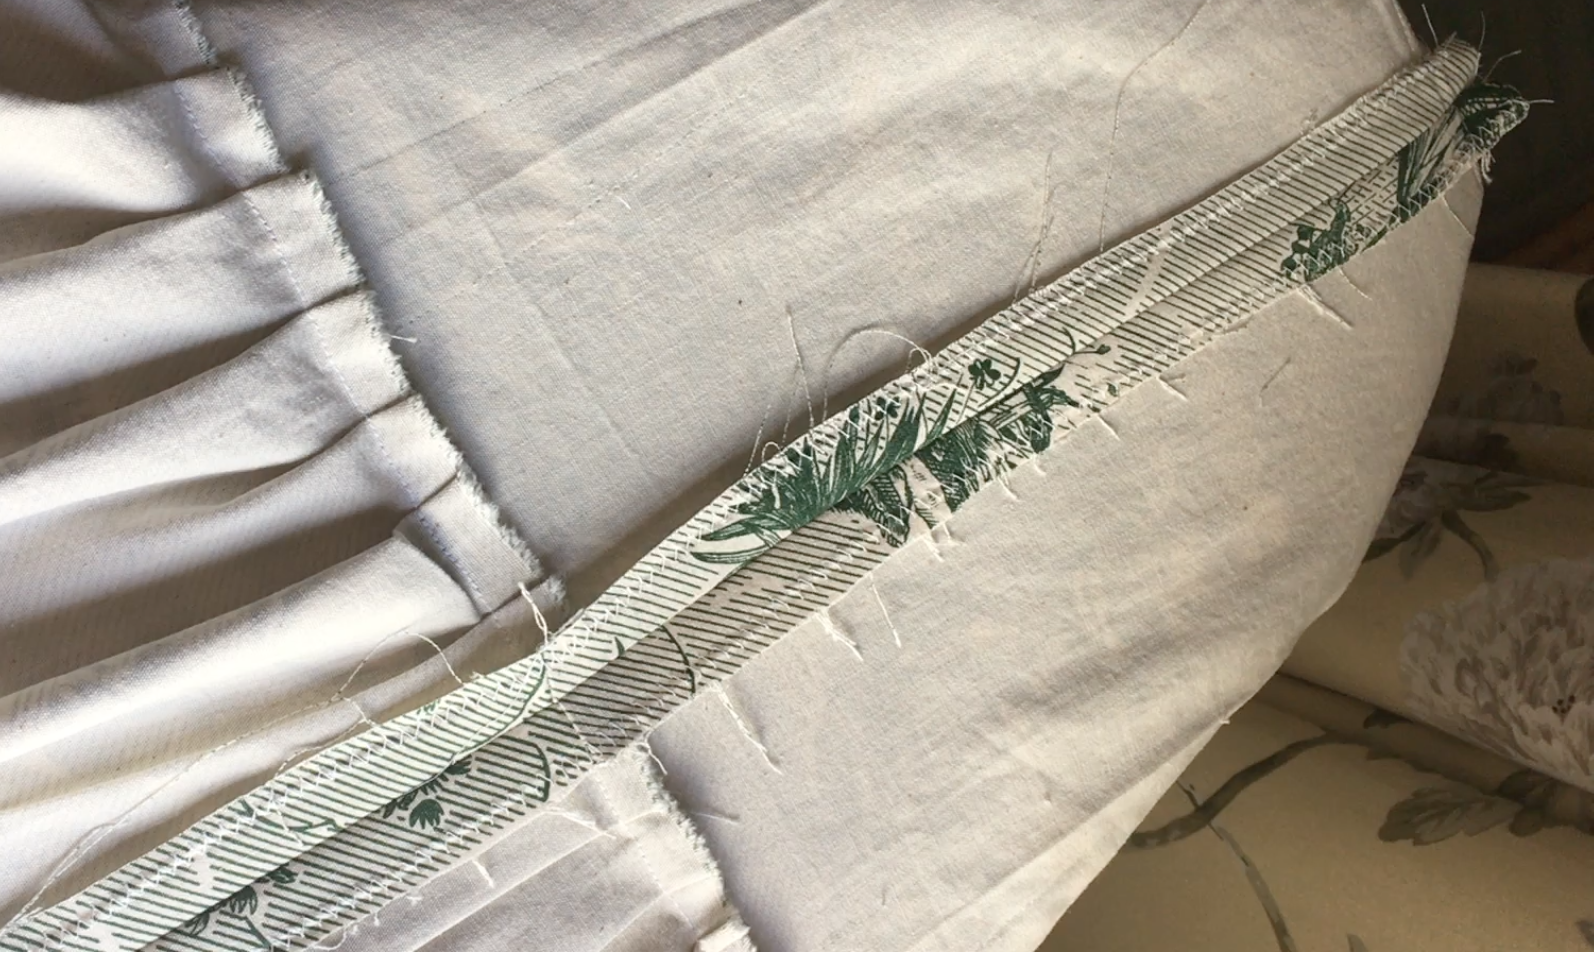
Seam basted and pressed open.
One quick note: I like the finish the fabric edges with a zigzag or overcasting stitch so I don't get a lot of frayed threads bothering me while I work, even if the seam will eventually be enclosed in lining, as on this sample dress. In my photos, you'll see the edge of this back seam have been zigzagged.
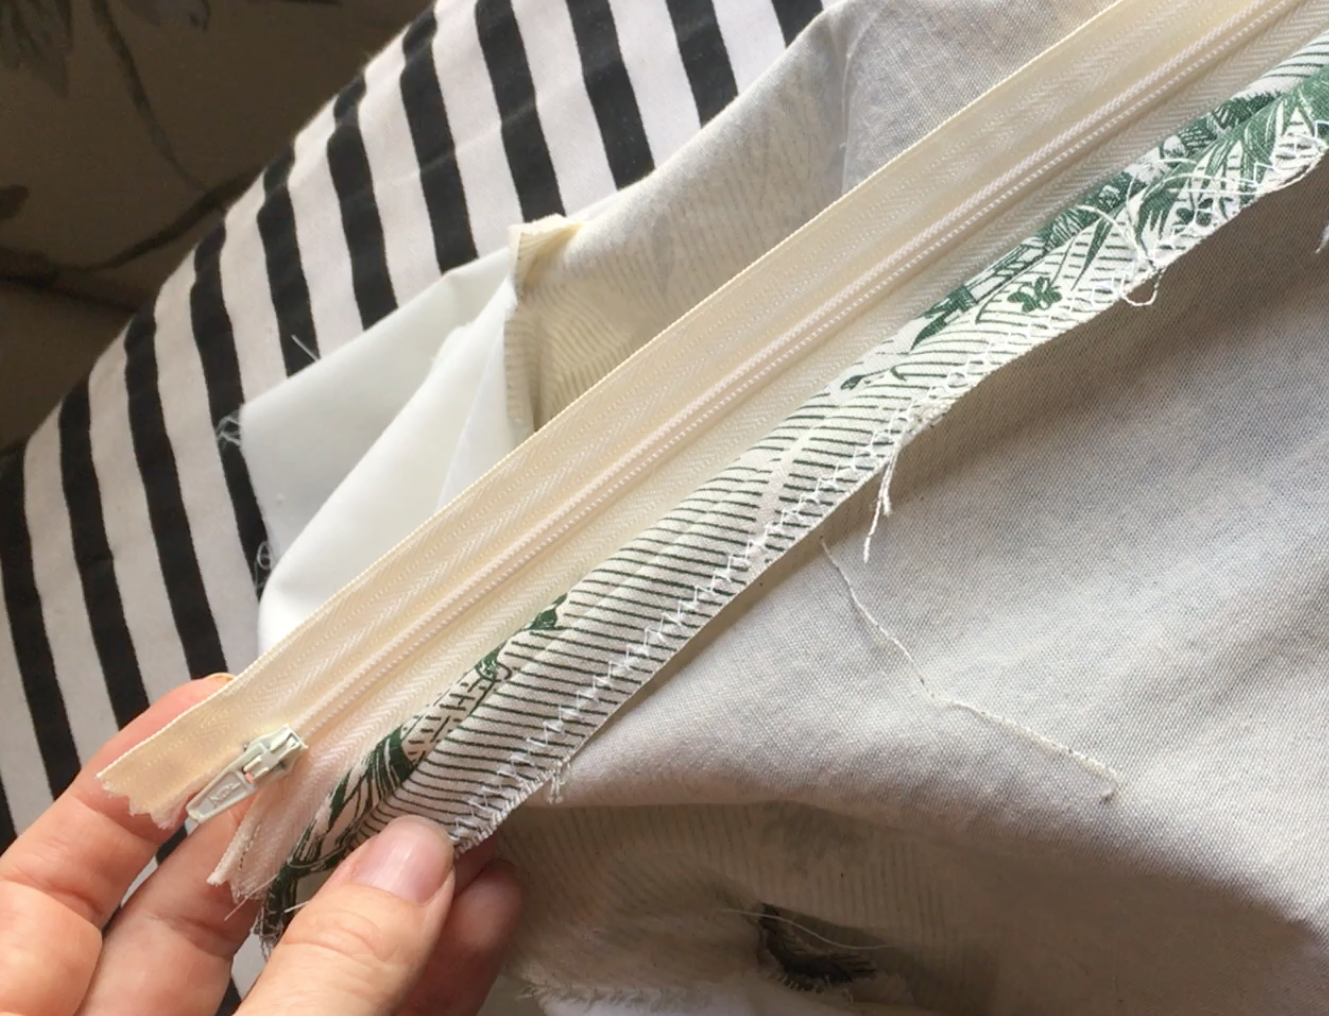
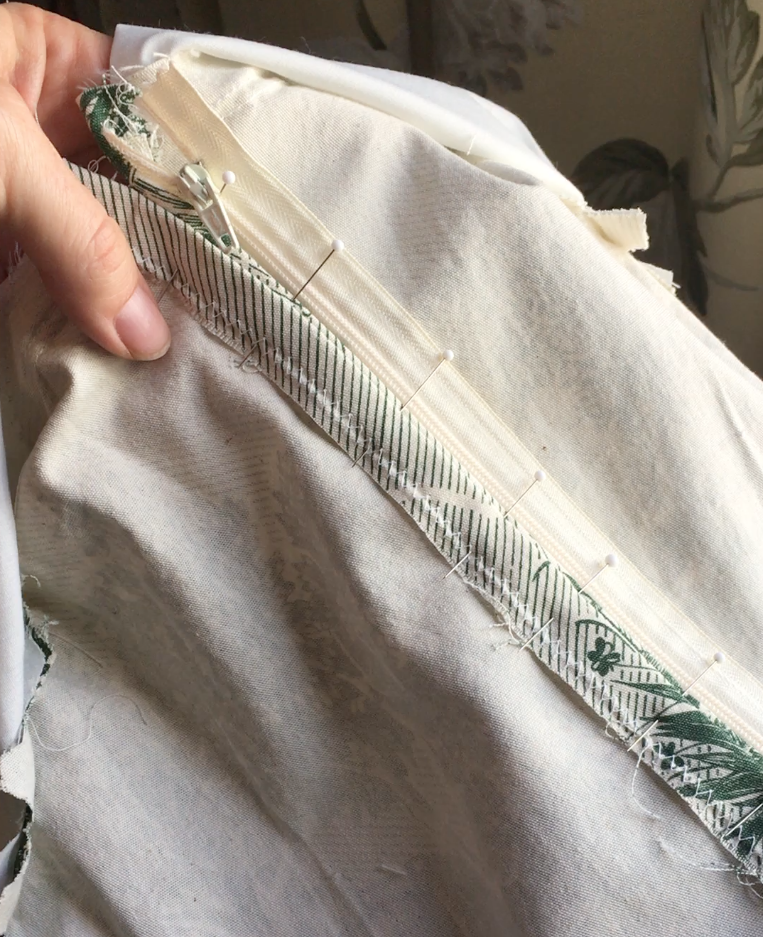
Next, position the zipper:
Now let the zipper lie flat over the center back seam, just as you'd do with a conventional zipper insertion:
Time to place the zipper!
Line up the zipper's teeth with the basted seam.
Zipper pinned in place and ready to sew to the seam allowance.
Stitch the first half of the zipper tape to the seam allowance:
Stitch down the outer edge of the zipper tape, taking care to go only through the seam allowance and not the dress beneath.
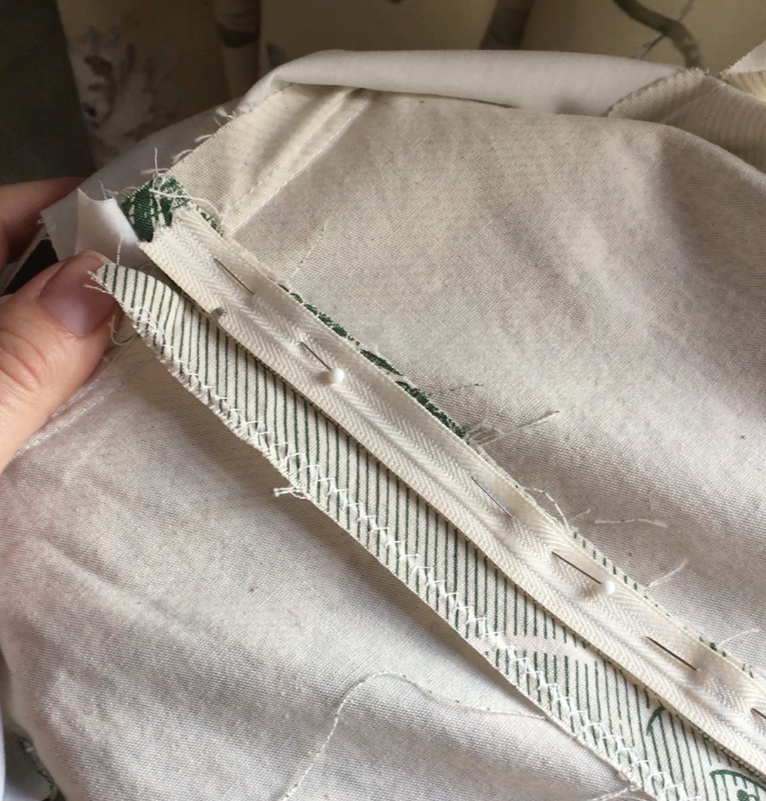
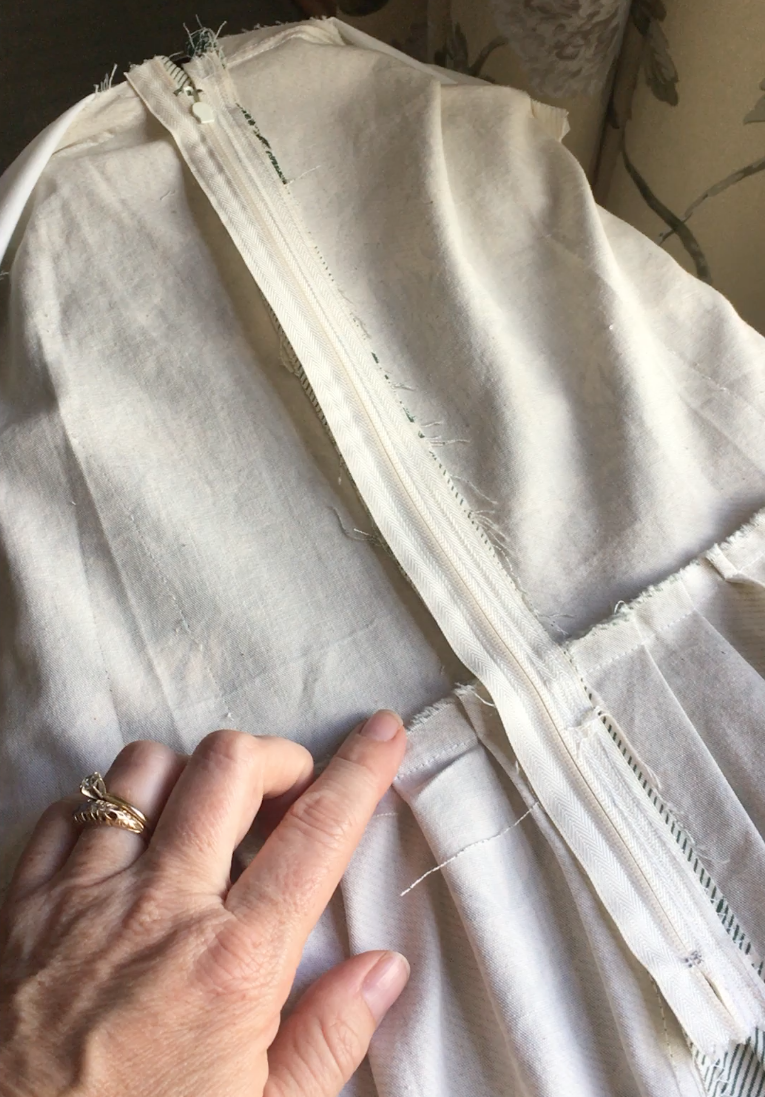
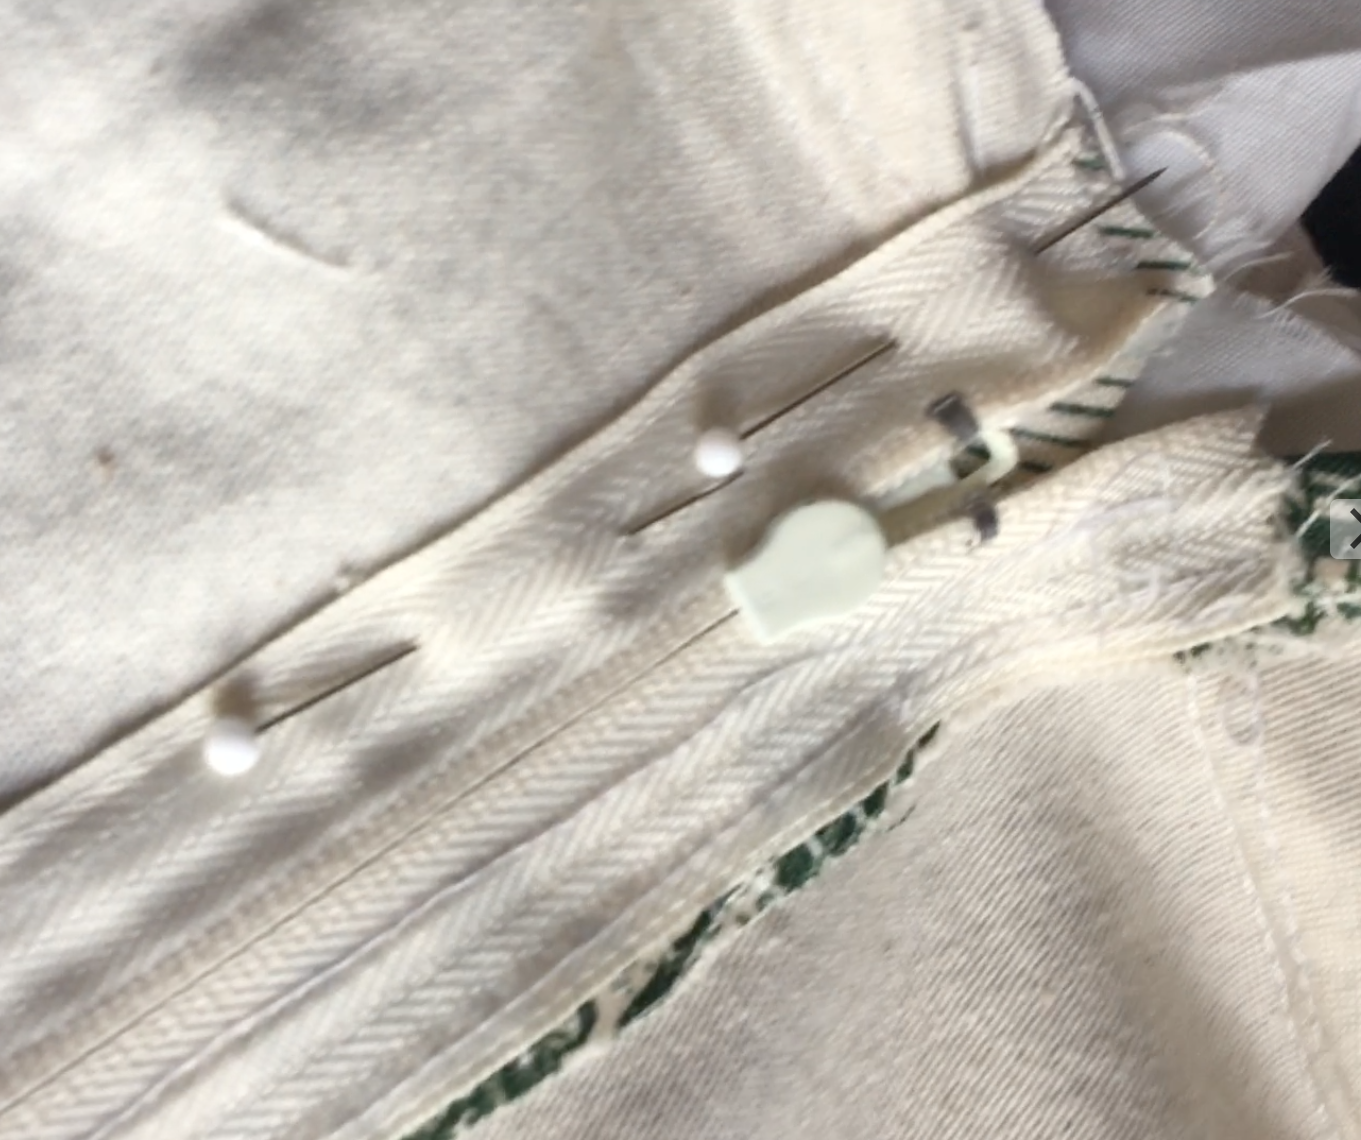
Now fold the zipper away from the dress, zip it closed, and pin it:
Close the zipper and fold it out away from the basted seam.
Pin the folded seam, leaving a scant 1/8" next to the zip teeth.
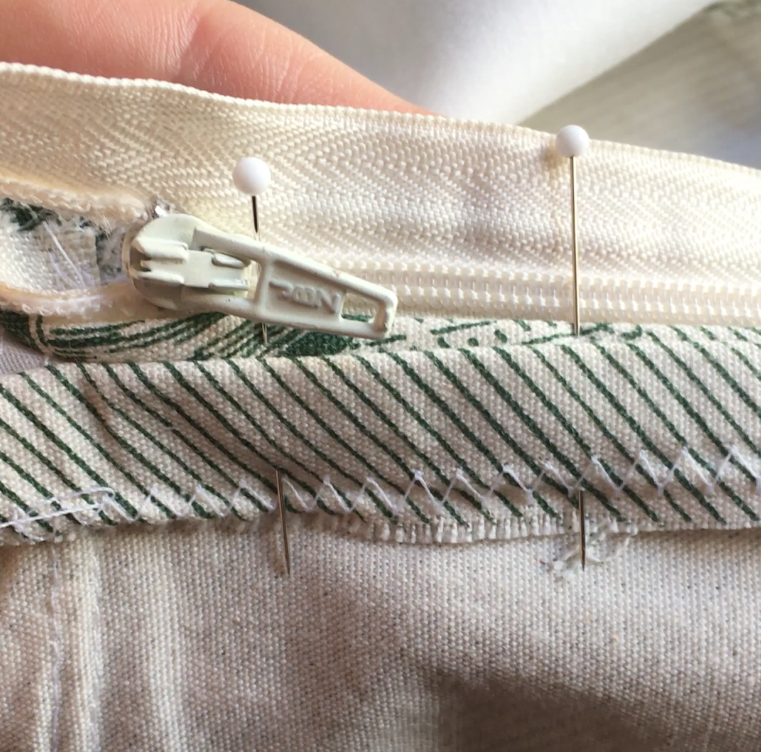
Detail of the pinned dress seam.
If you use thick fabric, trim it down at the waistline seam to avoid bulk in the zipper closure there.
The entire seam is pinned away from the zipper except for the scant edge next to the teeth.
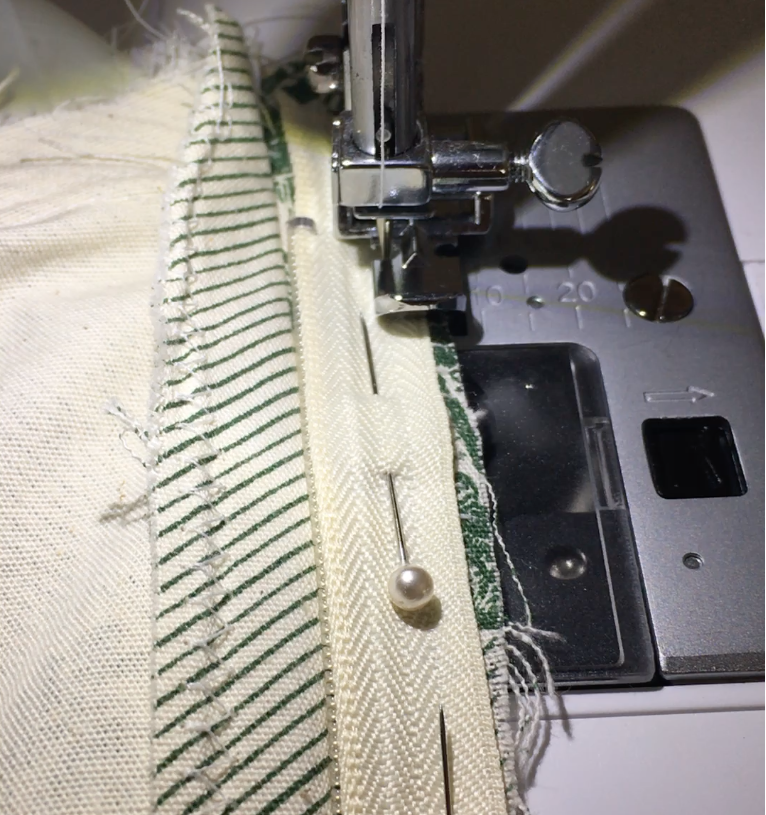
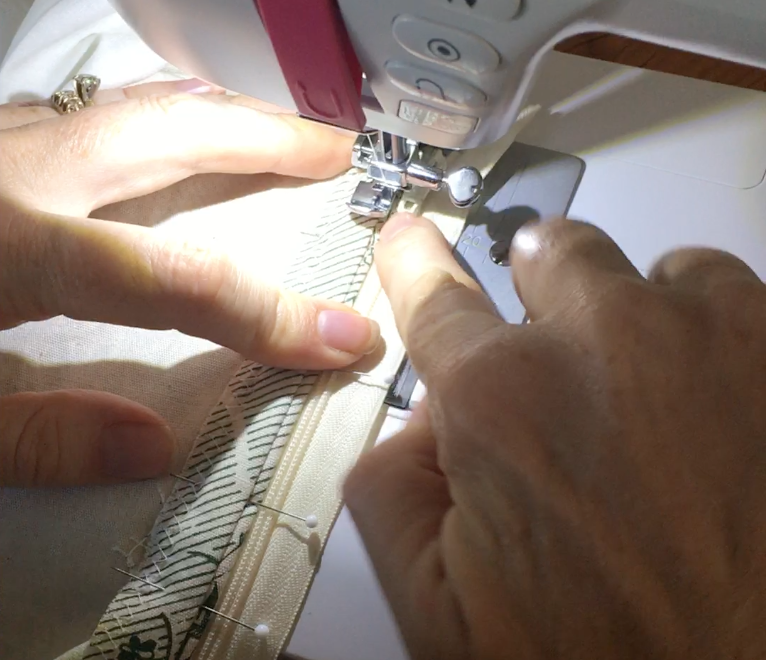
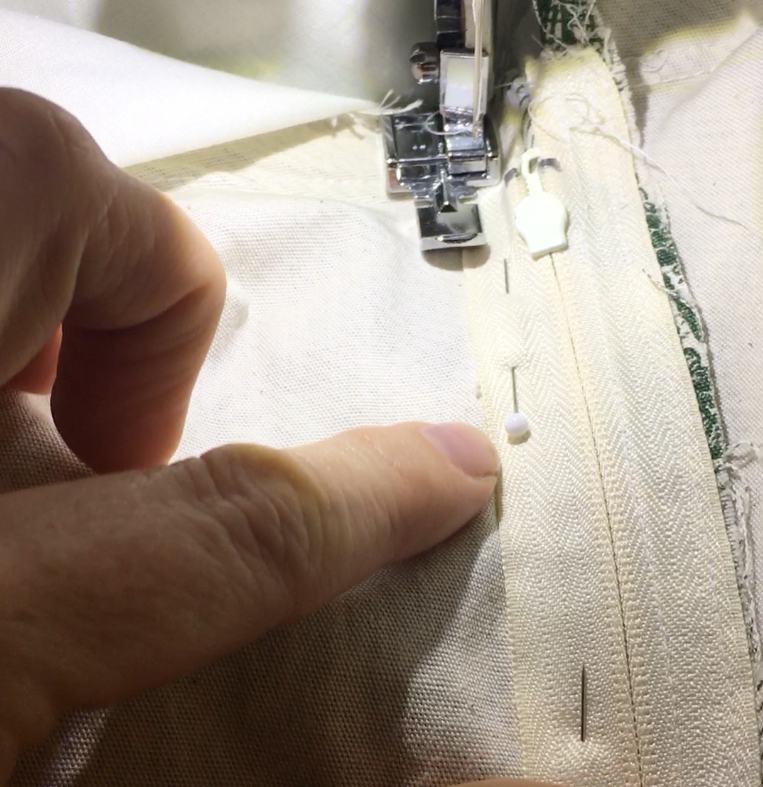
Next, stitch the seam allowance in this area:
Stitch to the pull, then leave your needle in the fabric, lift the presser foot, and push the zipper's pull back up past the foot:
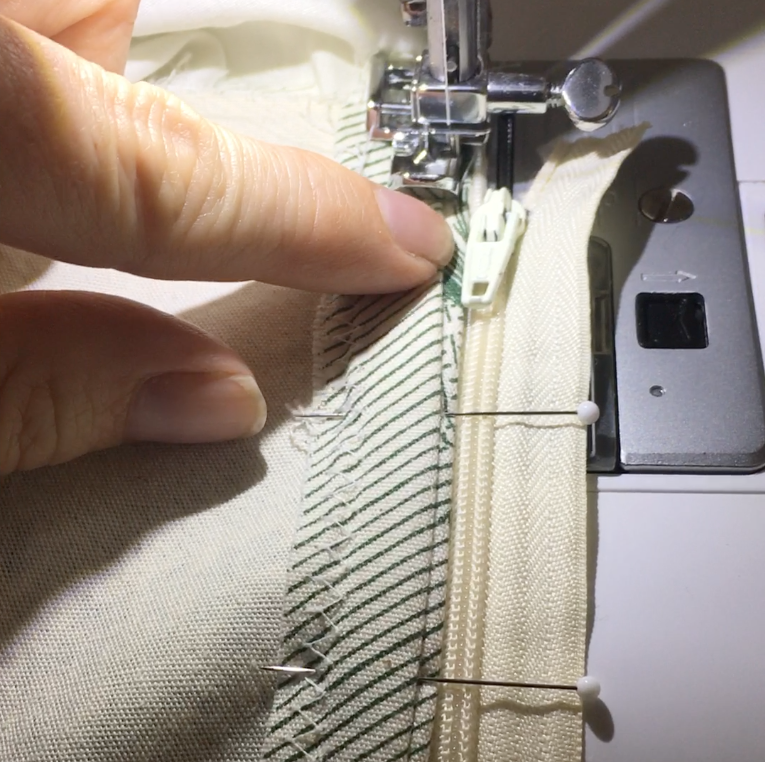
You'll need to navigate past the zipper's pull to create a perfect seam by the teeth.
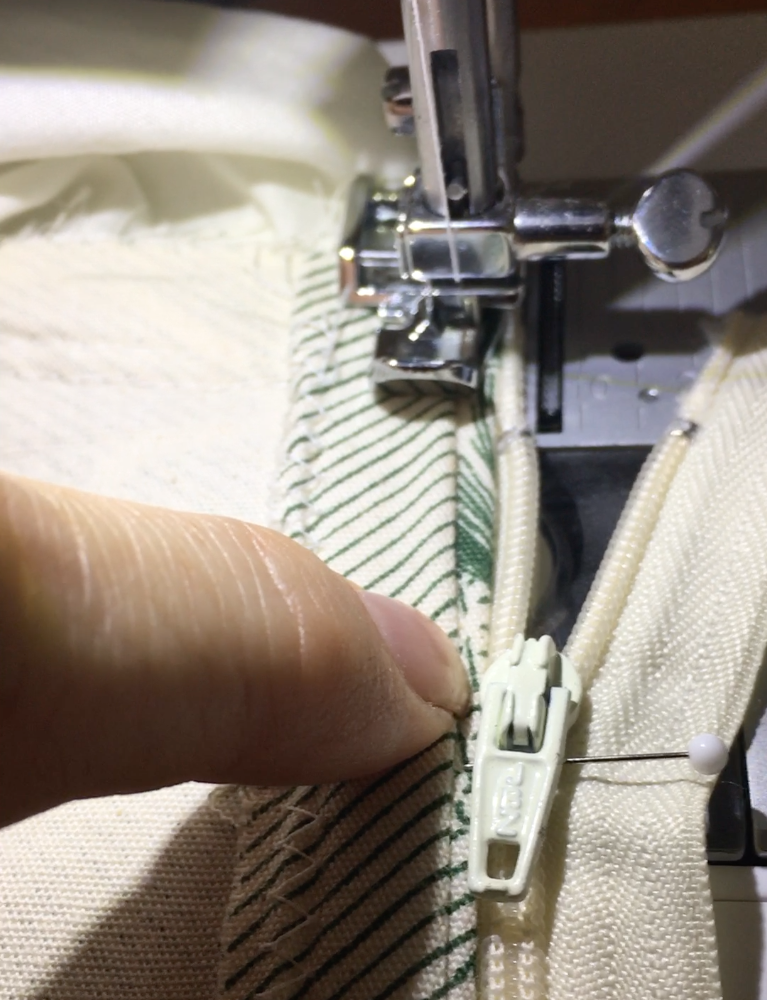
Unzip the zipper an inch so you can stitch down without hitting it.
After you've gotten past the zipper, leave the needle in, raise the foot, and push the zipper's pull back up, closing the zip.
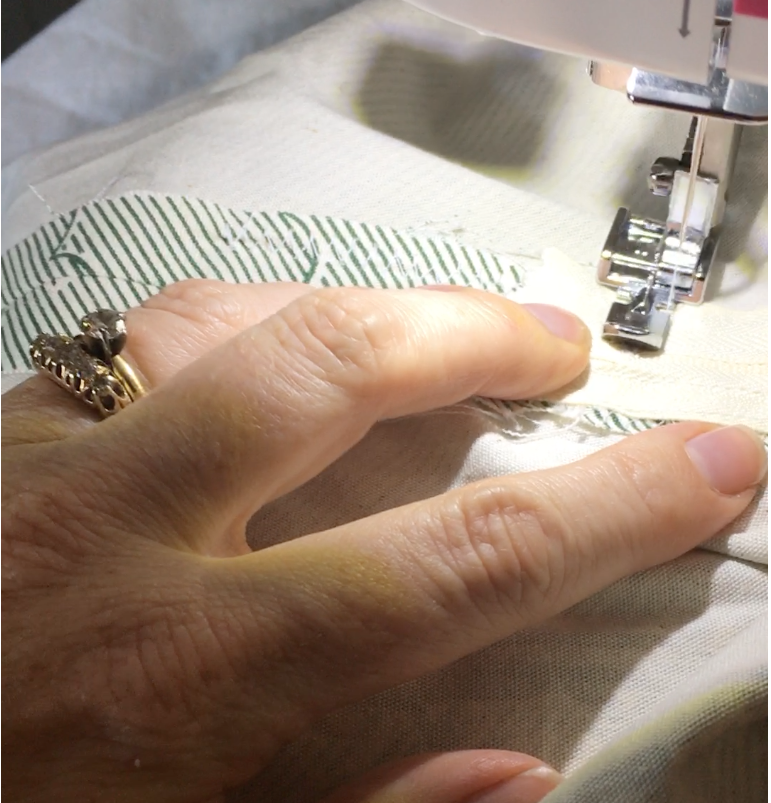
Now stitch down the rest of the seam:
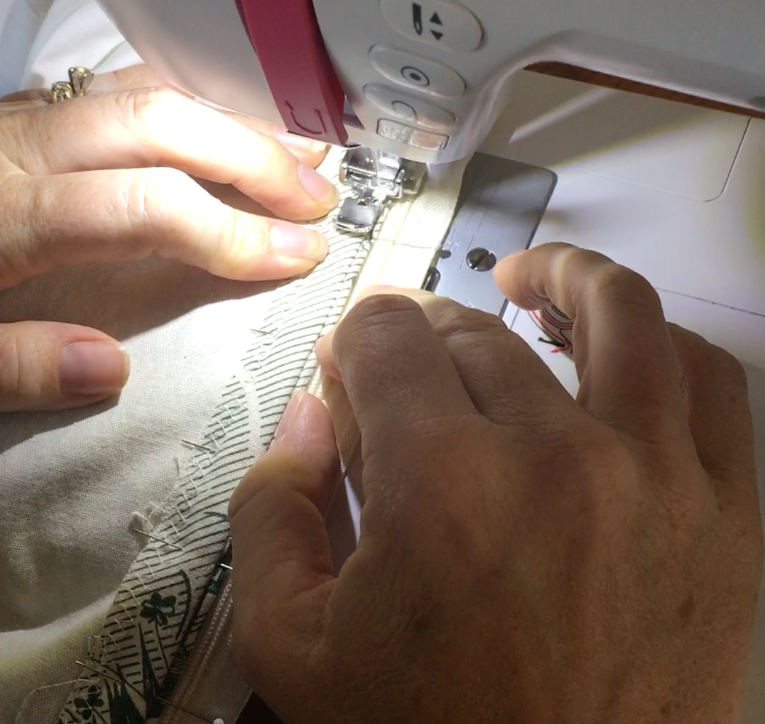
Stitch down the rest of the scant edge to the bottom.
Detail of the stitches next to the zipper's teeth.
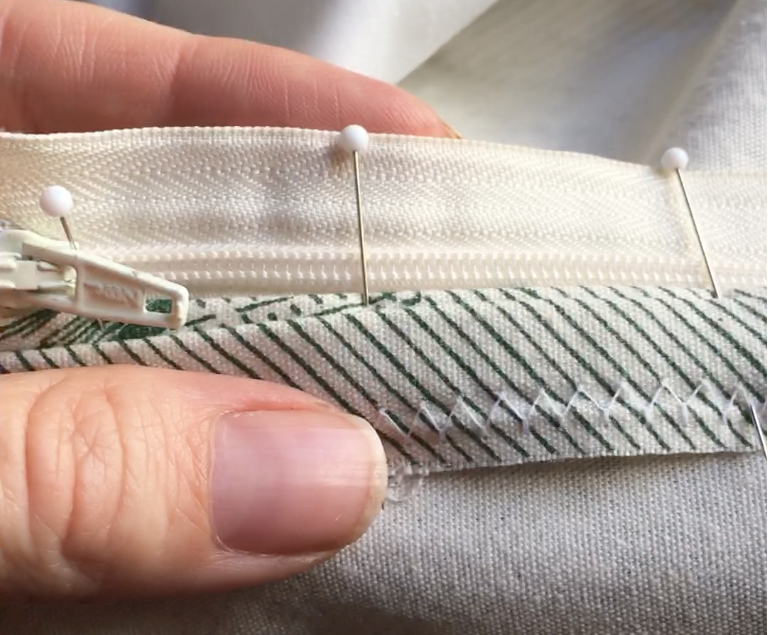
Secure the second half of the zipper:
Fold zipper back down over the entire back seam.
Pin the other half of the zipper tape down.
Stitch the second half of the zipper, down the outside edge of the tape.
Turn and stitch across the zip at the end, above the stop.
Finished lap closure. Time to unpick the basting stitches and open it up!
Use your seam ripper to carefully unpick the basting stitches down the seam. Rolled up tape will help you pull all the loose threads out afterwards.
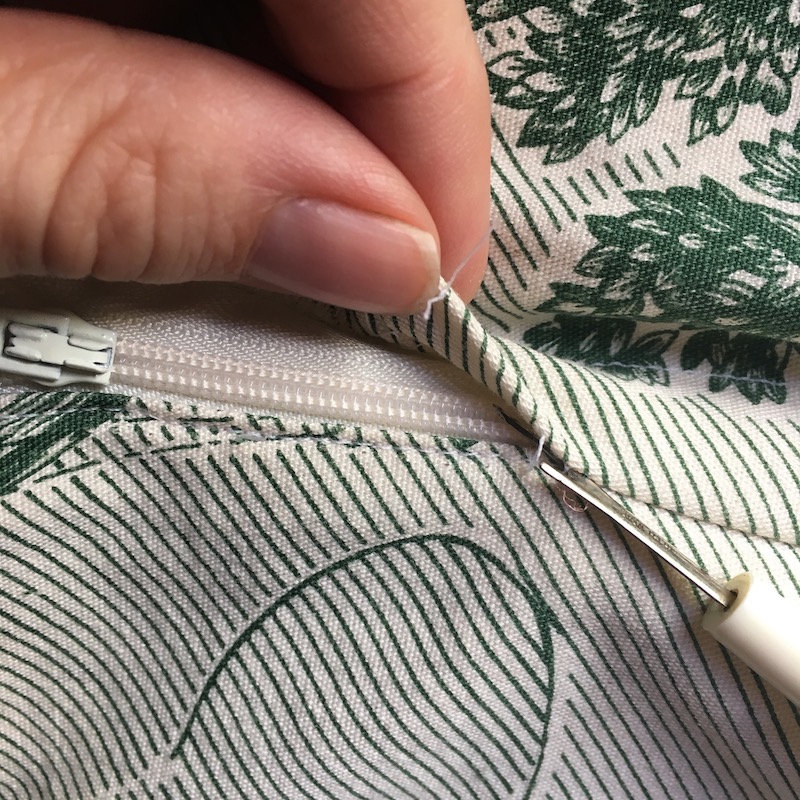
Unpicking the basting stitches over the lapped zipper.
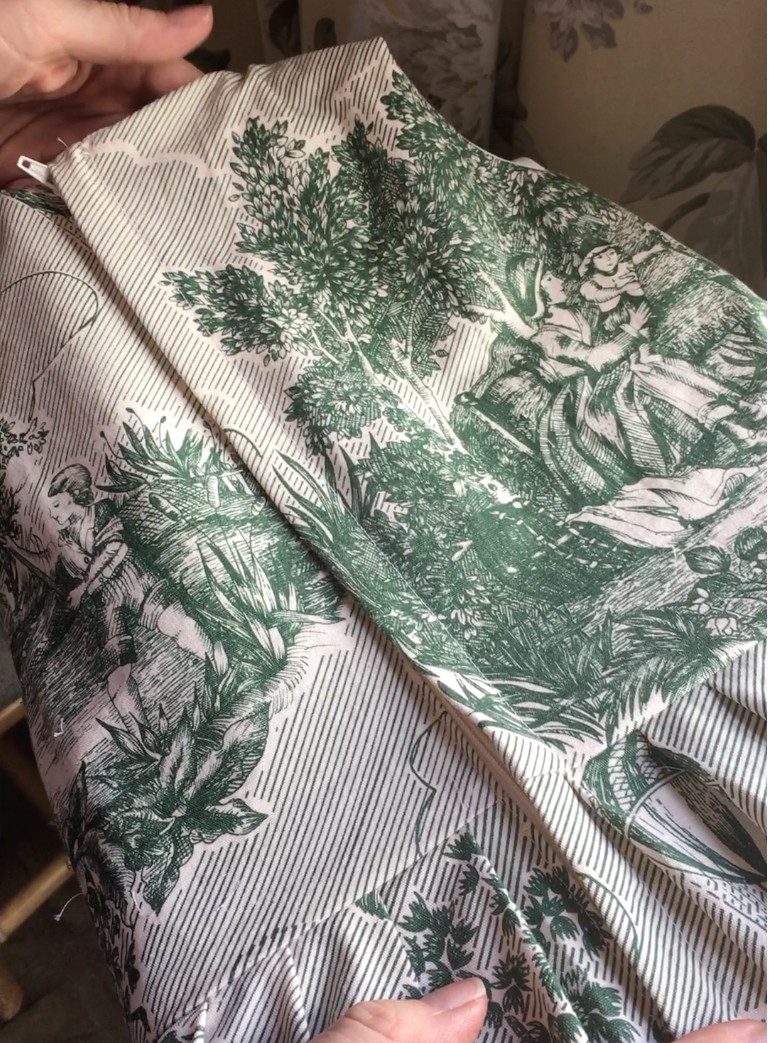
Closure with basting stitches removed.
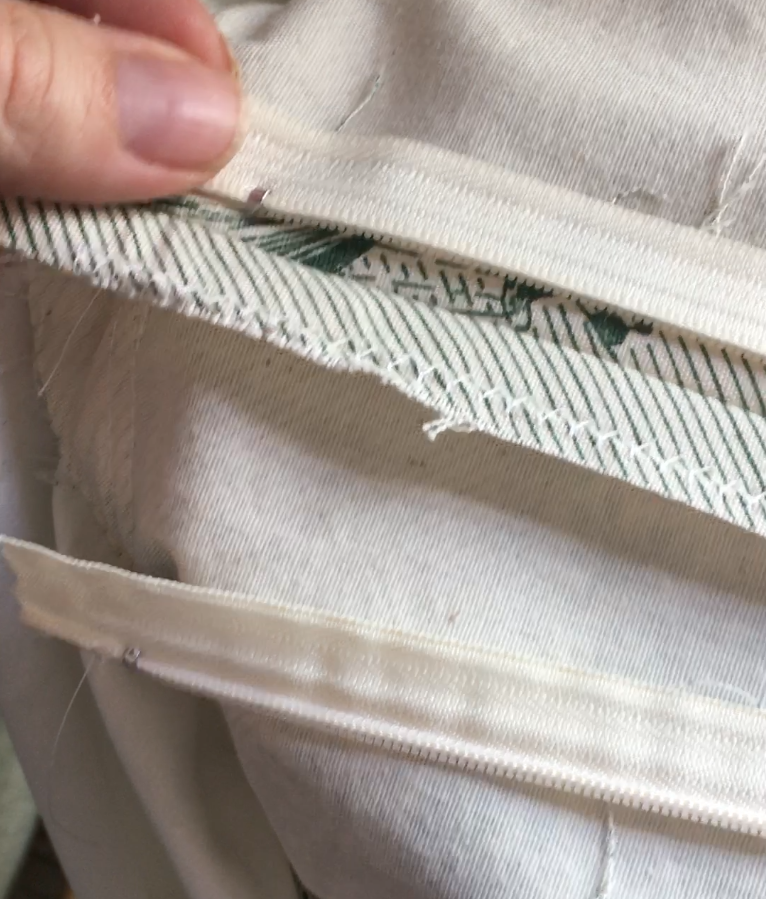
Finishing a lined dress:
If you've lined your bodice, you will now need to fold under the center back edges and secure them to the inside of the dress on either side of the zipper. The first half is the easiest, as a simple 5/8"fold will place the fabric directly next to the zipper's teeth on the tape:
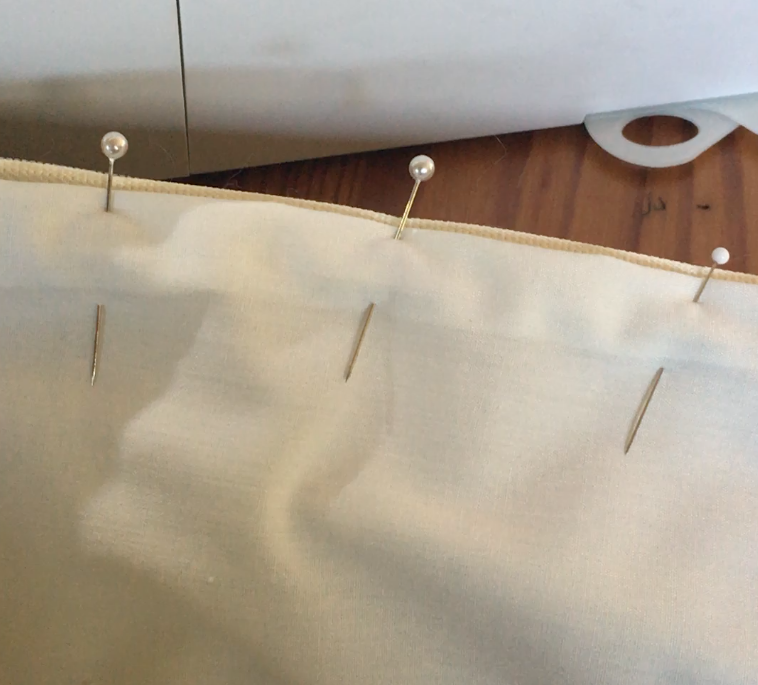
Lining pinned inside to the zipper tape on the first edge.
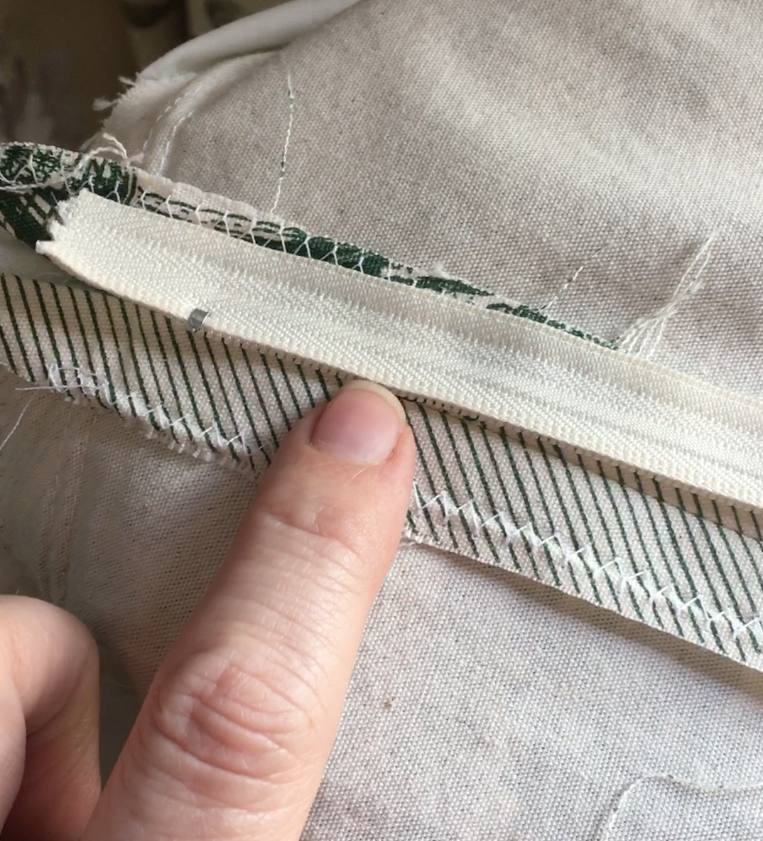
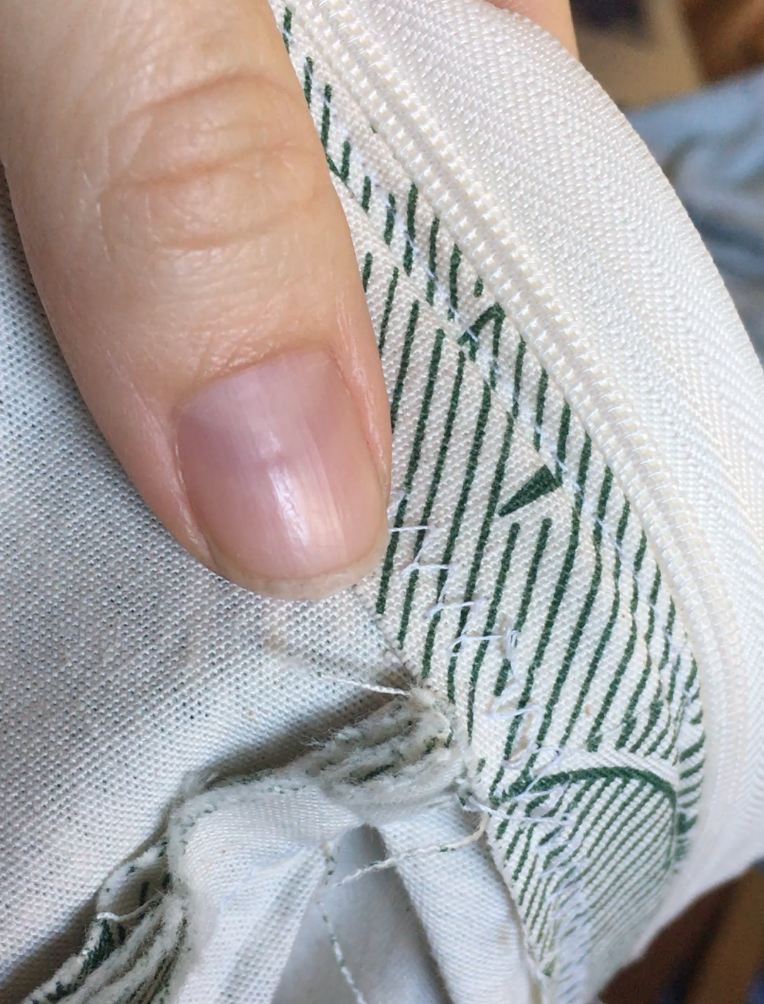
The other half (under the lap) can be folded under and pinned in place as well, but you won't want to whipstitch it in place, as you'll end up enclosing your zipper:

Lining pinned inside the lapped side of the zipper.
Instead, you'll do a line of small running or tacking stitches through the zipper tape and the lining below the teeth to secure the lining and finish off that edge.And there you go! You've got a beautiful, functional closure that doesn't scream "ZIPPER!" quite as loudly as a conventional zipper closure -- and that I actually find easier to do than an invisible zipper. If you'd like to see how to replace the front button closure on my Ladies' Classic 1950s Shirt Dress with a lapped zipper, watch my video, as I explain the little tweak to the instructions that will see you through. Happy sewing!