
Easy Alterations to the Regency Gown Pattern

Modifying my Regency Gown Pattern is extremely simple. I've shown in my Diary of a Dress how to add a train, make an overskirt and add other fancy embellishments to a ballgown. The purpose of this section is to demonstrate how the bodice can easily be changed to button up the front rather than down the back (especially nice for nursing mothers!). I'll also include instructions on how to modify the skirt front for expectant moms.Regency clothing is very appropriate and comfortable during pregnancy--and so much prettier than a lot of the extremely casual maternity clothing you find off the rack today. The dress used in the illustrations below is one I made for myself after the birth of my third child. But button-front bodices aren't just for nursing moms. They are beautiful and authentic and fun to make when you want to do something different. You'll also see that I combined the undersleeve and short sleeve pattern pieces to make a different type of long sleeve. There really is no limit to the number of unique and pretty modifications you can make to my basic pattern. Just turn on your imagination and get to work!
Pattern Layout:
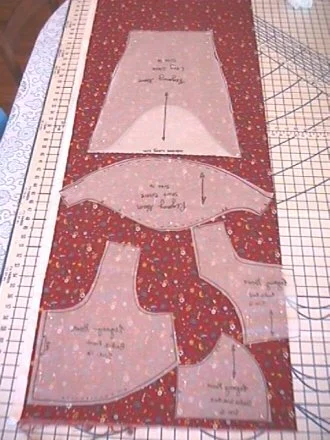
In order to make your bodice open in the front, you will not place the bodice front pattern piece on the fold. Instead, you will place it one inch from the selvedge. This gives you enough room for the seam allowance and the front overlap. And, of course, you need to place the bodice back piece on the fold, since it won't open now. However, you must lay the bodice back piece on the material so that one inch of the center back hangs off the fold (eliminating the material originally needed for the back overlap). In the illustration at right, you can see the suggested pattern layout for all of the bodice pieces and the sleeves (the dress I made included the short sleeve with an attached undersleeve, as you will see below).
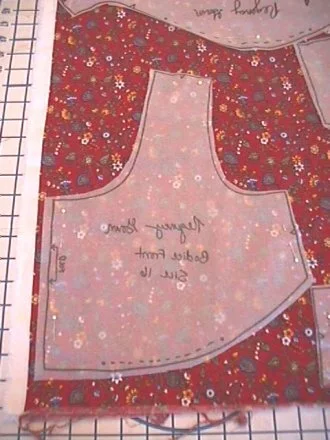
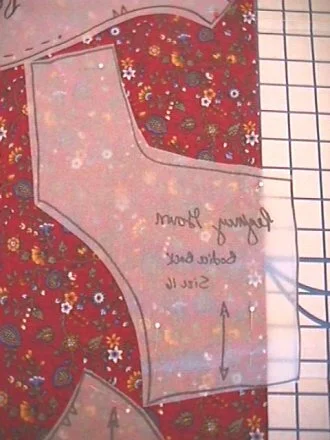
Here are close-ups of the bodice front and bodice back layouts, showing how the bodice front is given extra material at the selvedge and how the bodice back piece hangs off the fold by one inch. (Note: if you are over a size "D" bra, I recommend adding 1 5/8" to the front for overlap.) You will also see that I raised the back neckline, since I want to use this dress as a daygown in Fall and Winter.

Cutting the Lining: I find it easier to cut out the lining by laying my newly cut bodice pieces on the lining fabric. You don't need pins to hold the fabric in place, and all the alterations you've made to the bodice pieces don't have to be repeated when you cut out the lining. Just a simple trick, but it does save time!
Notes on the Skirt
When you cut out your skirt back, you will still cut it on the fold, but do not cut the placket opening down the back! Instead, you will cut the placket in the skirt front. With the opening in front, there is more of a tendency for the placket to "pop" open unexpectedly when you sit down, so I recommend fastening the placket closed with hooks and eyes or snaps. You can also run the front button closure right down the placket if you like. This makes for a different look, although I prefer the plain placket so that it doesn't draw attention to itself.
Altering the Sleeves
One nice way to make a long sleeve is to attach the undersleeve to the short sleeve. This makes for a long sleeve with a fuller top (like those seen in the 18-teens and 1820s). I like to put piping between the two sleeve pieces to make a teensy little bit of a sleeveband. You can leave it out, but I think it makes for a nicely tailored look. In the images below, you will see how I attached the piping to the top of the undersleeve. After trimming away the excess piping from the undersleeve, I pulled out just a bit of the piping cord from each end and trimmed it off. This makes each end of the piping casing flat so that it is easier to sew over when you stitch the long sleeve seam. (If you omit this step, your presser foot will have to climb over two bulging pieces of piping in the seam allowance.) Once the piping was in place and trimmed, I pinned the short sleeve to the undersleeve and pulled up the gathering stitches to fit. After stitching the short sleeve in place (using the zipper foot, since I was following the line of the piping beneath), I pressed the sleeve.

Sewing piping to the top of the undersleeve.
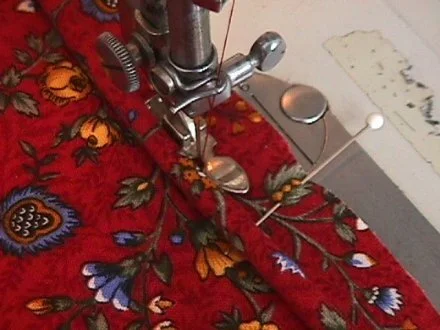
Detail of sewing piping.
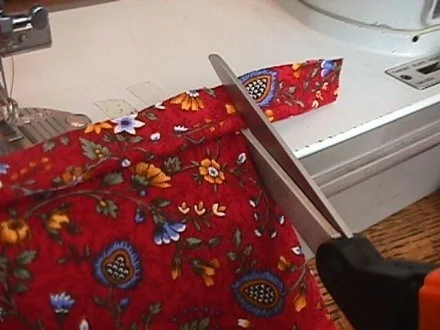
Trimming off the end of the piping after sewing it to the sleeve.
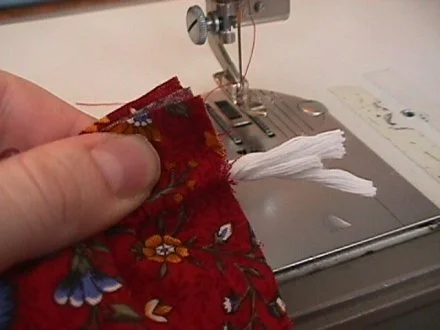
Pulling out one inch of the cording from the end of the piping.
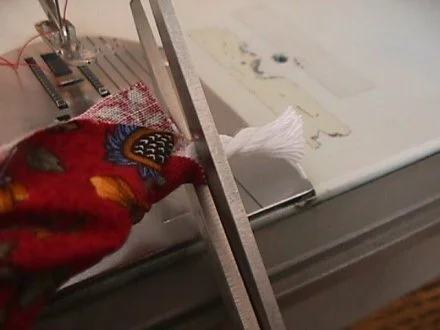
Trimming off an inch of the cord.
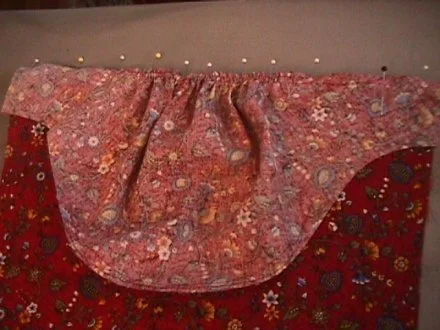
Short sleeve pinned to top of undersleeve over piping.
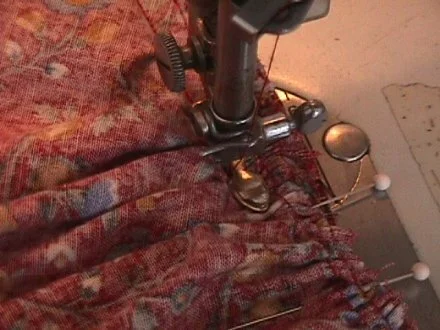
Sewing the short sleeve to the undersleeve.
Sleeve with piping between top and undersleeve.
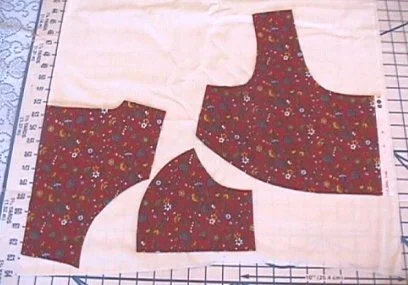
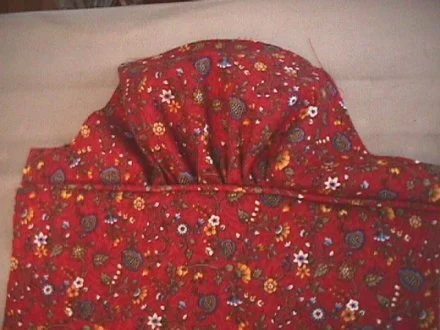
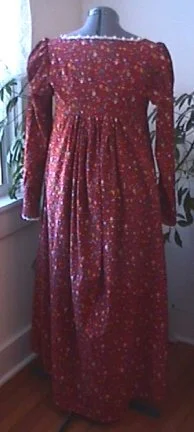
Here is the bodice with the sleeves sewn in. Below are pictures of the completed gown. You really can't see the front skirt placket--it blends in nicely with this wonderful reproduction print fabric from Patchworks!
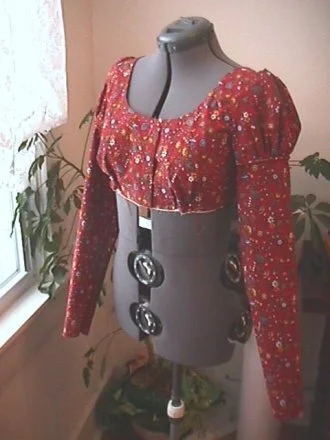

Full-length view.

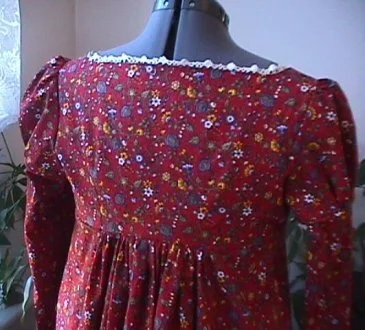
Close-up of the bodice.
Full-length back view.
Close-up of bodice back.
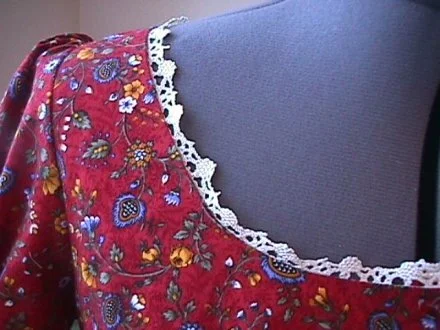
Close-up of lace at neckline.

Close-up of sleeve details.
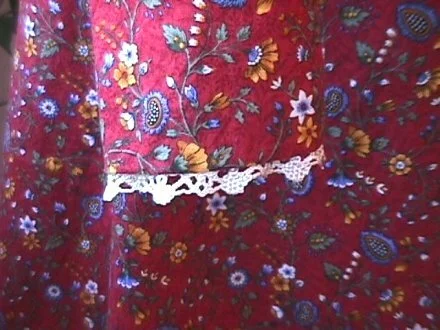
Close-up of lace on sleeve.
For the Expectant Mother. . .
Making room in the skirt front for expectant moms is a cinch. All you'll need to do is to move the skirt front pattern piece away from the fold (keeping it straight with the grain line). If you want maximum fullness, back it away as far as you can from the fold without the skirt side seam falling off the selvedge edge. Want just a little extra fullness? Move the front piece about two to four inches from the fold, as illustrated below. This gives you four to eight inches of extra room. When you get to the step in the pattern where you attach the skirt to the bodice, all you have to do is run gathering stitches across the skirt front, matching skirt center front to bodice center front before you pull up the gathering stitches. Piece of cake!
