Stitching Up the Lilly Rose Pattern
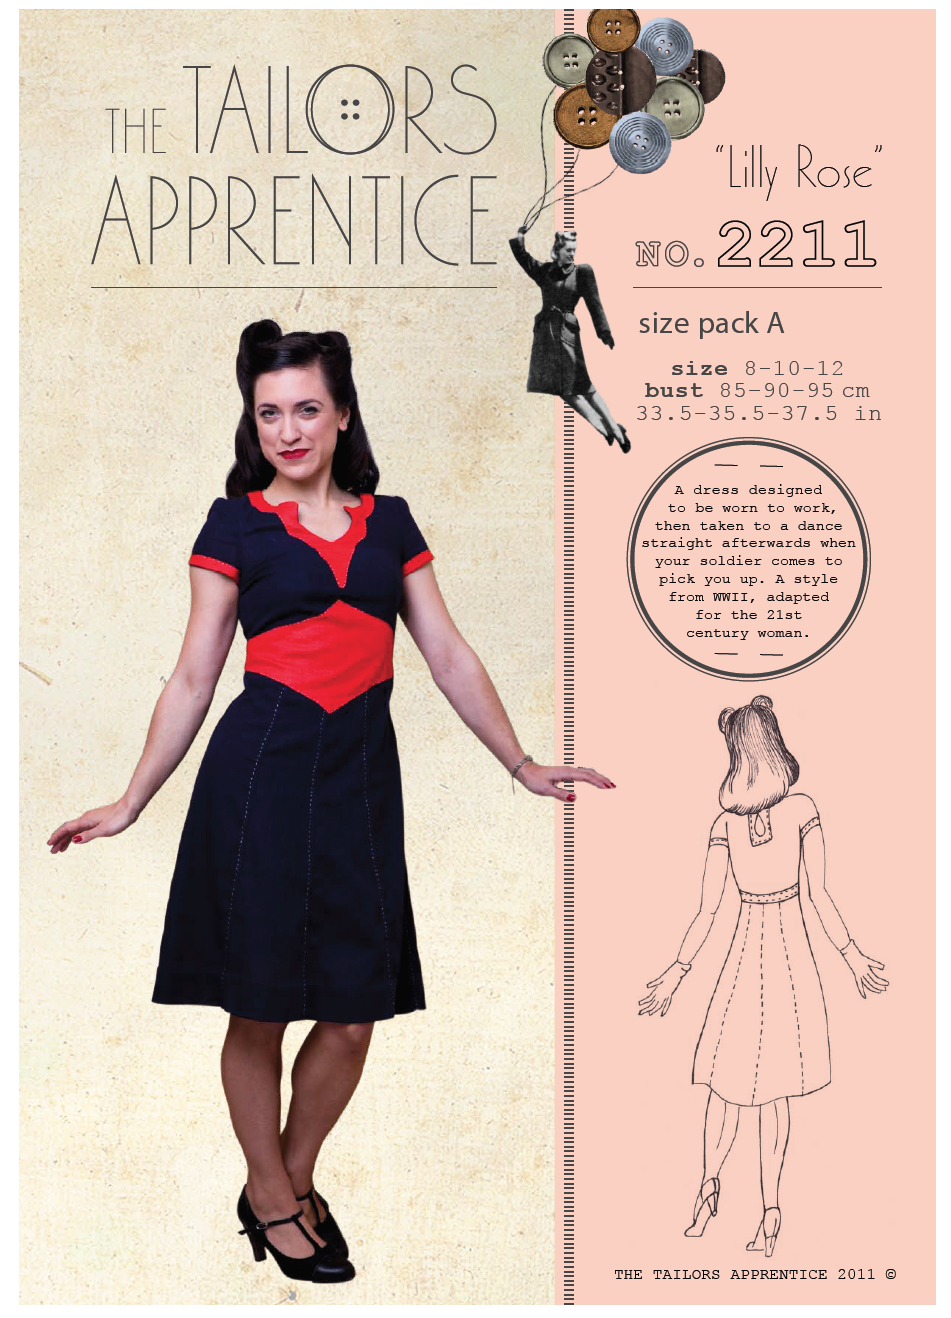
Lilly Rose Pattern
My friend Lorna McKenzie of The Tailor's Apprentice asked me in 2011 to review the Lilly Rose pattern she was developing from an original 1940s design. Unfortunately, I had just moved to Kenya and was expecting a new baby at the time, so I never did get around to sewing the dress. But I can't stand leaving a project undone, so five years later (!!!) I asked Lorna if I could still stitch up the pattern and provide feedback. She graciously sent me a review copy, and I got started!The Lilly Rose design idea came from a stash of original patterns and dress designs spanning the 1920s to 1950s by a Miss Violet Page, whose work ended up in a cardboard box destined for the rubbish bin. Some thoughtful soul sent Lorna the box, and the Miss Page collection was given new life.The Lilly Rose pattern also resembles a lot of the beautiful styles seen in the WWII years, including this Hollywood pattern, which has a similar keyhole neckline and sleeve binding:

Hollywood Pattern
I love fashions from this time period and have treasured photos of my
wearing beautiful outfits during the war years. So Lorna's ePattern was definitely right up my alley. My only hitch was finding good fabric that would work for this time period. Out in our rural area of South Africa, the "local" fabric shop is a tiny one about 15 miles away with a very limited selection of mainly upholstery and quilting fabrics. I couldn't put in a two-hour trip to go to a larger shop, so I just settled for a blue poly-rayon blend and a similar fabric in a shade of red I liked:
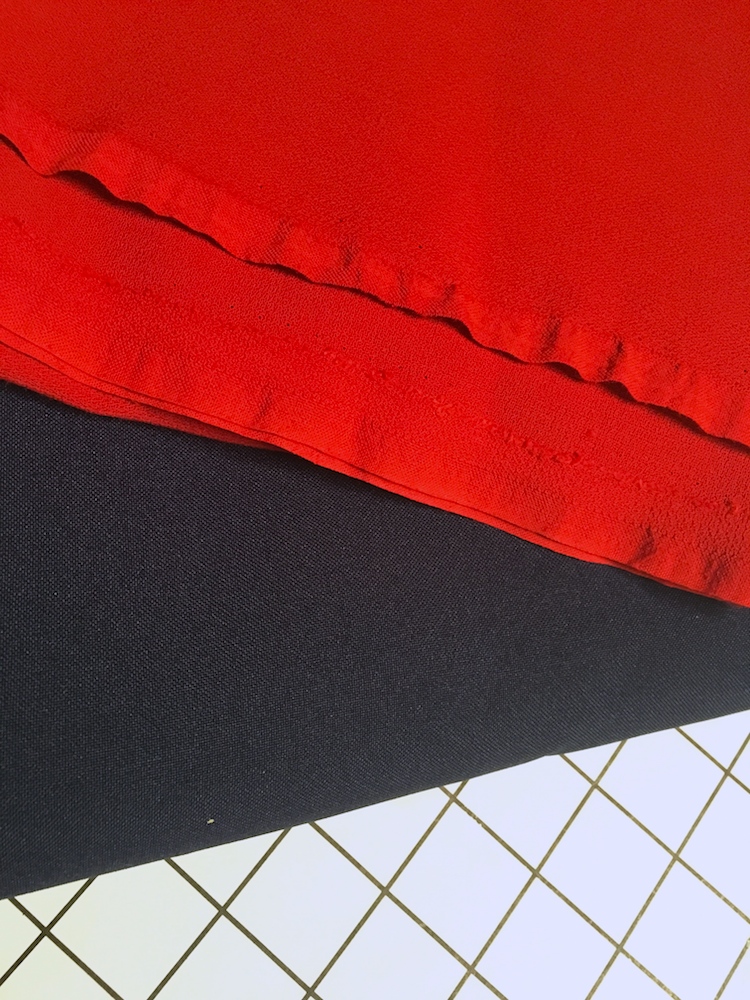
Fabrics for Lilly Rose dress
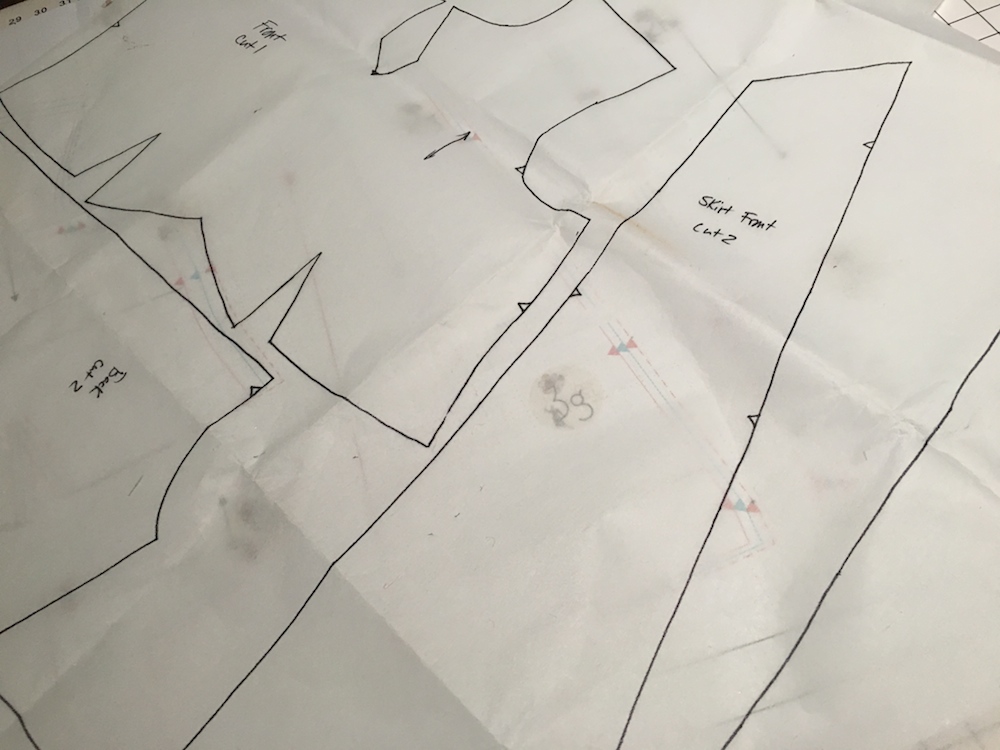
The Lilly Rose is a lovely pattern, but I did find several omissions and one pattern piece "oops." Heaven knows I've made exactly the
in my own patterns that are caught well after publication, so I know how it is to miss something! ;-) I made notes as I worked on this dress, and I've already shared them with Lorna. She's indicated she plans to revise the pattern to include corrections to all the issues I outline in this post.First off, this is an ePattern, so I printed it out and taped it together to trace my pieces:

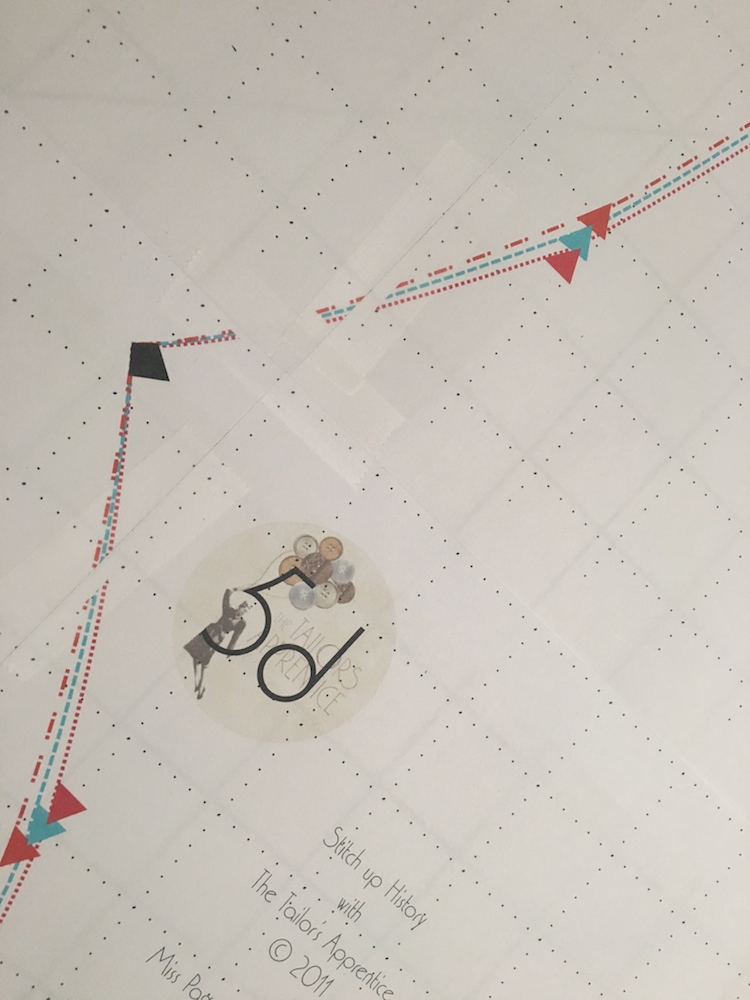
Pattern sheet taped together
As I've found with all ePatterns (mine included!), not all printers will print to the margin (even if I've formatted for A4 and Letter size). So there are inevitably blank spaces that you have to eyeball when you match up edges, as you see in the two images below:
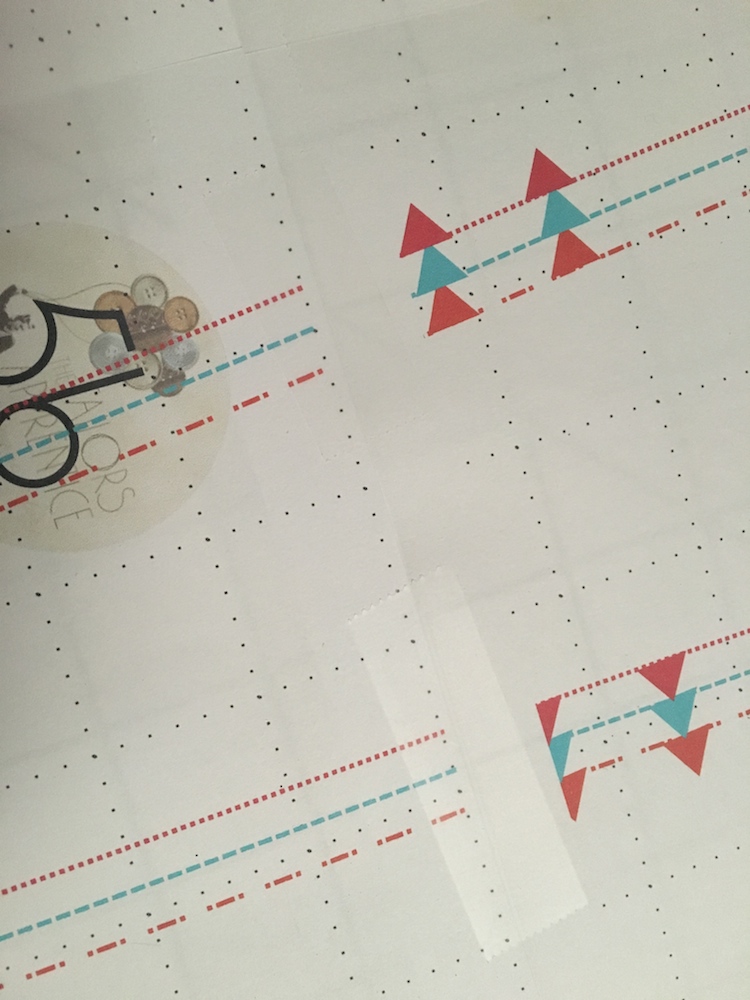
Missing lines
Matching lines
There's no need to freak out about missing lines. The grid on Lorna's ePattern is helpful to judge that you've got the lines matched correctly in spite of the gaps, but you can usually eyeball things accurately without them as well. It's like putting together a jigsaw puzzle. It's very important to line up all the sheets
before
taping so that you are aware of any jiggling that needs to be done first. Once you've got it all puzzled out, tape together and cut out your pieces (or trace them onto interfacing, which is what I prefer):

Laying interfacing over the original for tracing...
Pattern pieces traced onto interfacing
One problem I noticed almost immediately is that the front neckline facing piece isn’t symmetrical:

Facing piece folded over to show that the curved sides are not symmetrical
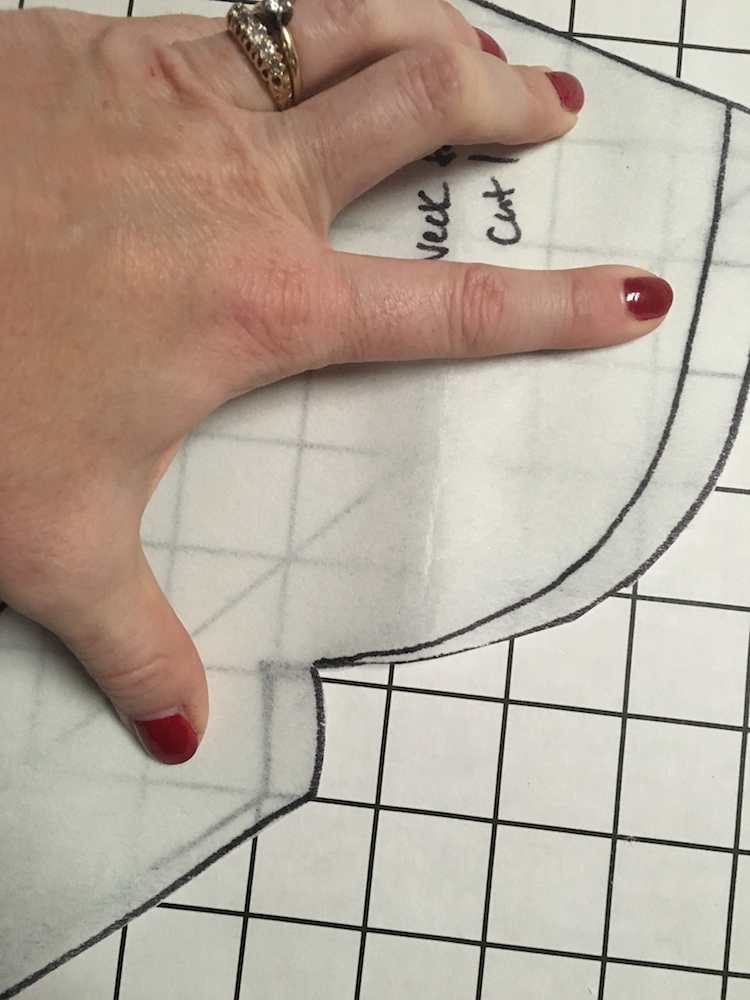
Close-up of the neckline facing.
The correction is very simple: just trim down the wider half to match from the point up the curve, then trim the notch to match the other side. Worked like a charm.Another note is that the sleeve bias binding piece isn’t labeled on the pattern sheet. I figured out what it was, but that missing label might throw a newbie.Once I had all my pattern pieces traced, I cut out my bodice muslin and basted it together for a try-on:

Bodice Toile Front

Bodice Toile Back
There is no seam allowance listed by the front darts on the pattern sheet or in the instructions. Unsure, I took up a 3/8” seam, but when I fit my toile, i realized they had to be bigger, so I changed to 5/8”. On the mannequin, I could see that the bodice was just about perfect, but I am very short-waisted, and I could see that the contrasting waistband was going to cut across the hips if I didn't change it:

My natural waistline.
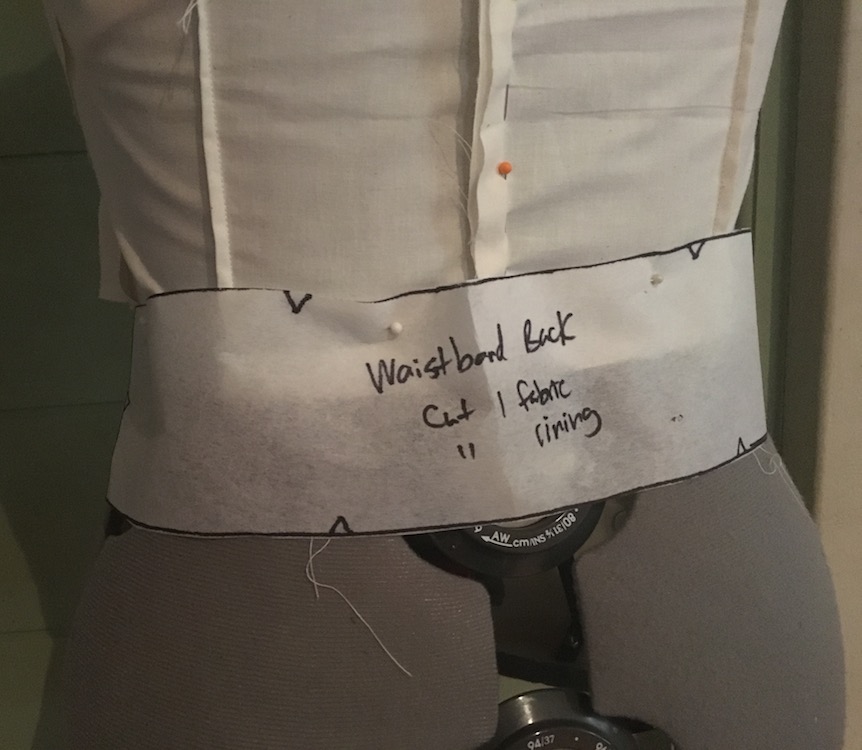
Waistband Back
The waistband is quite wide in front as well, which would work perfectly on ladies with a long torso, but I'm not that gal:

Front waistband piece in place
I could see that the midsection was going to hit me across the hips if I sewed it to the bodice as-is, so I decided to shorten the bodice back a bit, then go ahead and sew up the dress with the wide belt and try it on to see how the dress looked as designed. Below are photos of the steps with my comments in the captions:

Bodice stitched together. The fit on my mannequin and on myself was glove-perfect.

Bodice Back
Quick note on a pattern quirk:
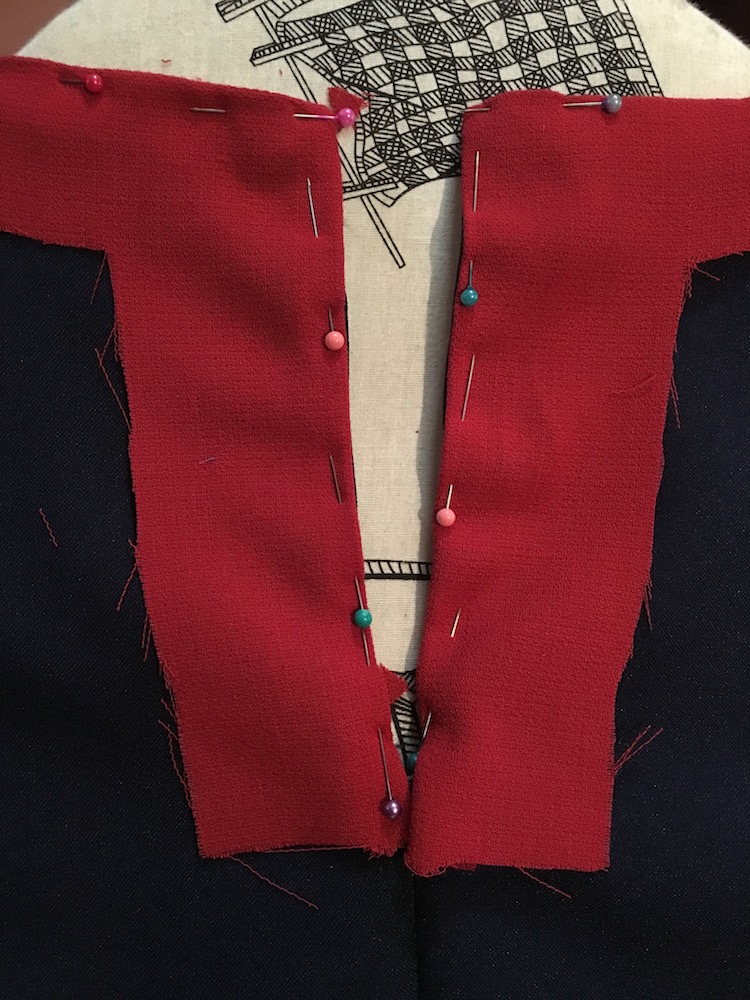
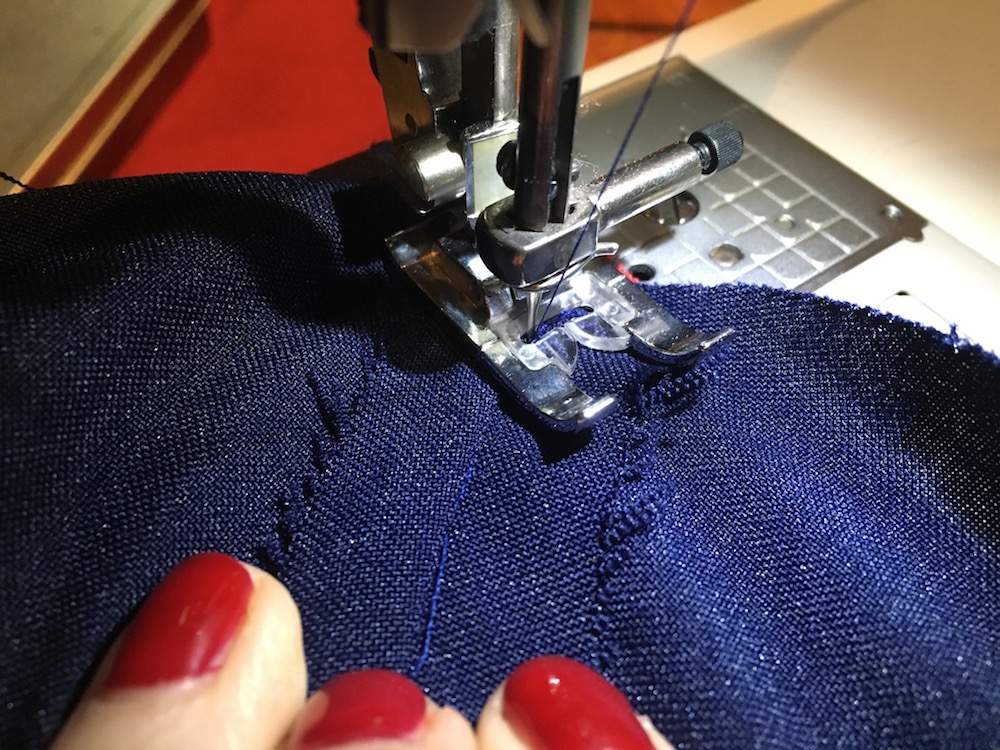
The instructions say to sew up the bodice side seams when the shoulder seams are sewn up, but this doesn’t leave an opening for a placket/zipper, which is actually called for at the left side seam. The pattern piece needs a mark to show where to stop stitching to allow for the placket or zip closure, and they need to mention leaving the left side of the bodice open. The instructions also never say to sew up the center back bodice seam and don’t mention if you’re supposed to stop at the notch to allow for the back keyhole opening. Is the seam meant to be sewed all the way up, then reopened with a seam ripper after the facing is sewn on? Or does the facing go on with that part of the back open? I tried both ways but wasn’t really happy with the final result, as the bottom of the contrasting facing doesn’t lie very flat but has to be coaxed into place and hand-stitched.You'll see this in my photos below. Lorna has made a note of this for her pattern revisions, but you'll need to decide how to navigate this step for yourself in the meantime.

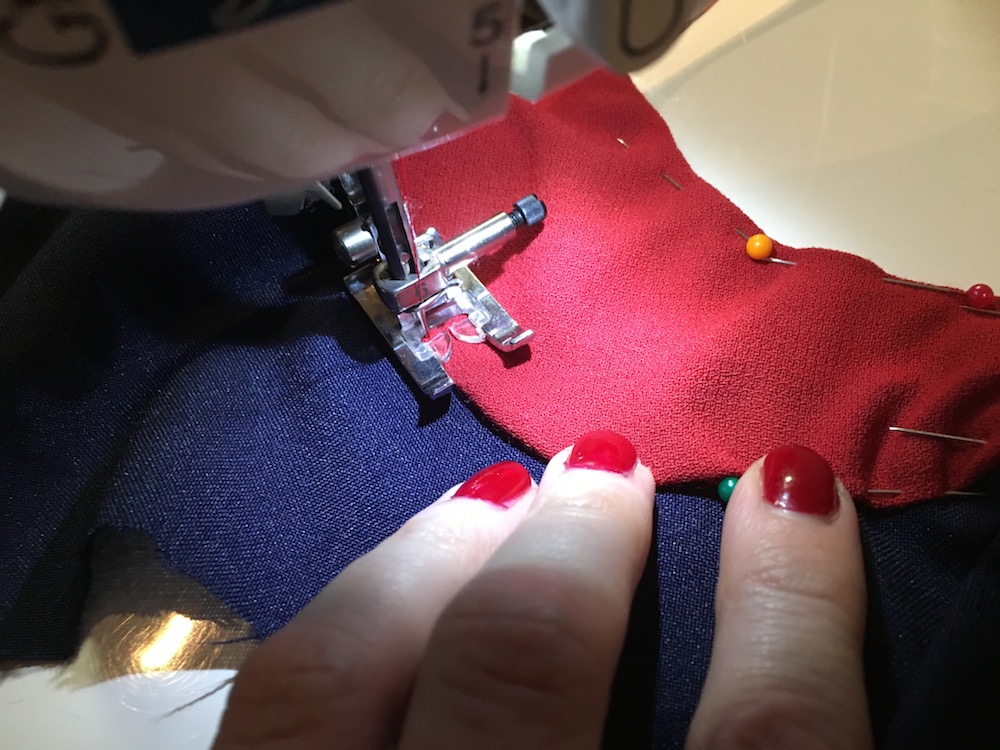
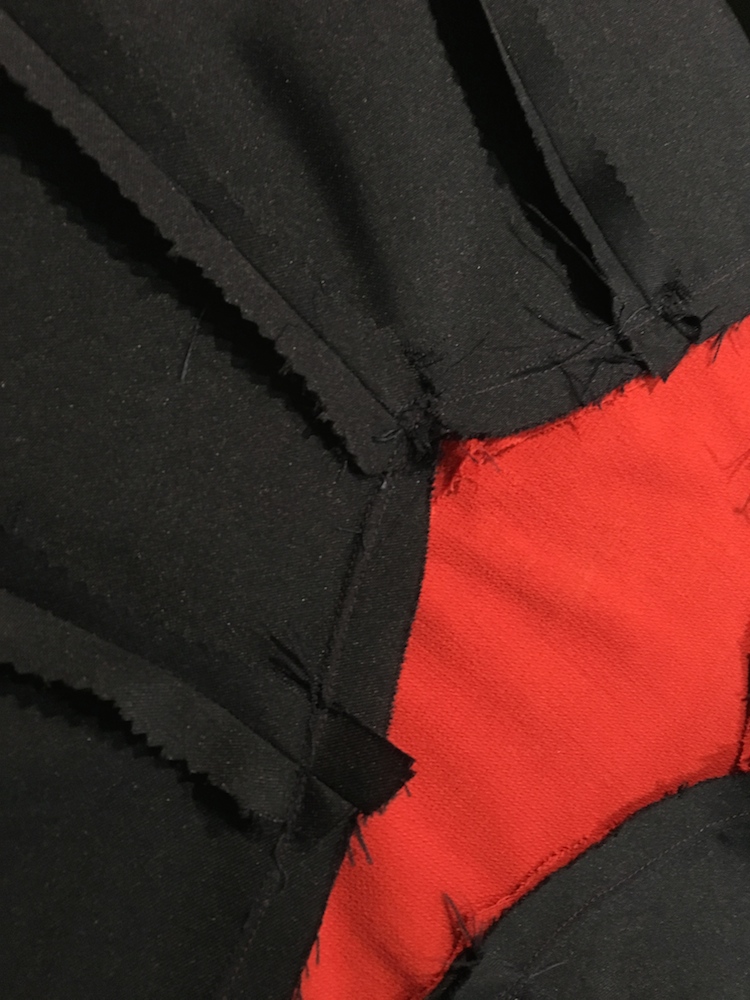
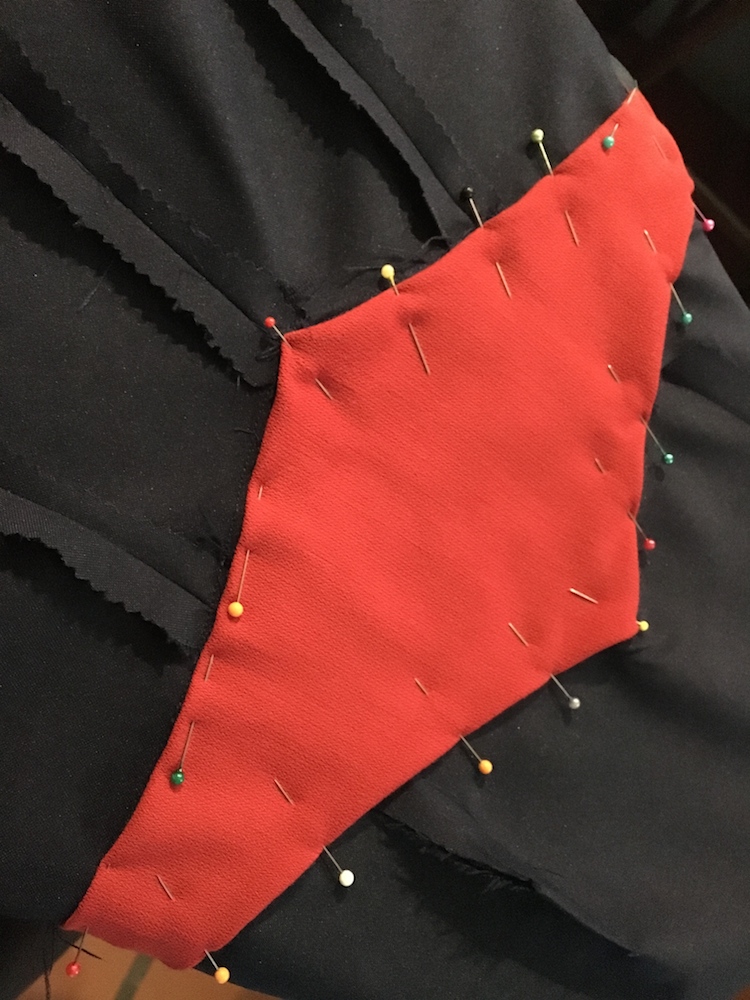
Contrasting neckline facing is sewed to the wrong side of the bodice, then flipped to the outside (with corners and curves clipped) and pinned in place for top-stitching.
The back neckline facing pinned in place.

Clipped and turned corner at the back of the facing.
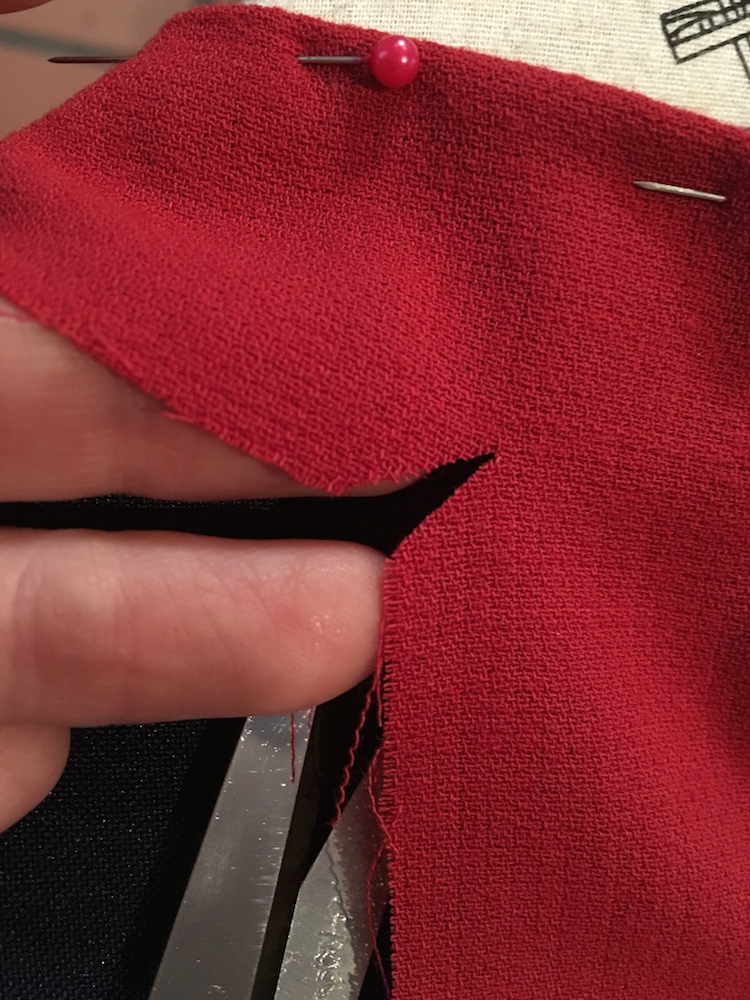
Facing corner clipped

Back facing pinned in place.
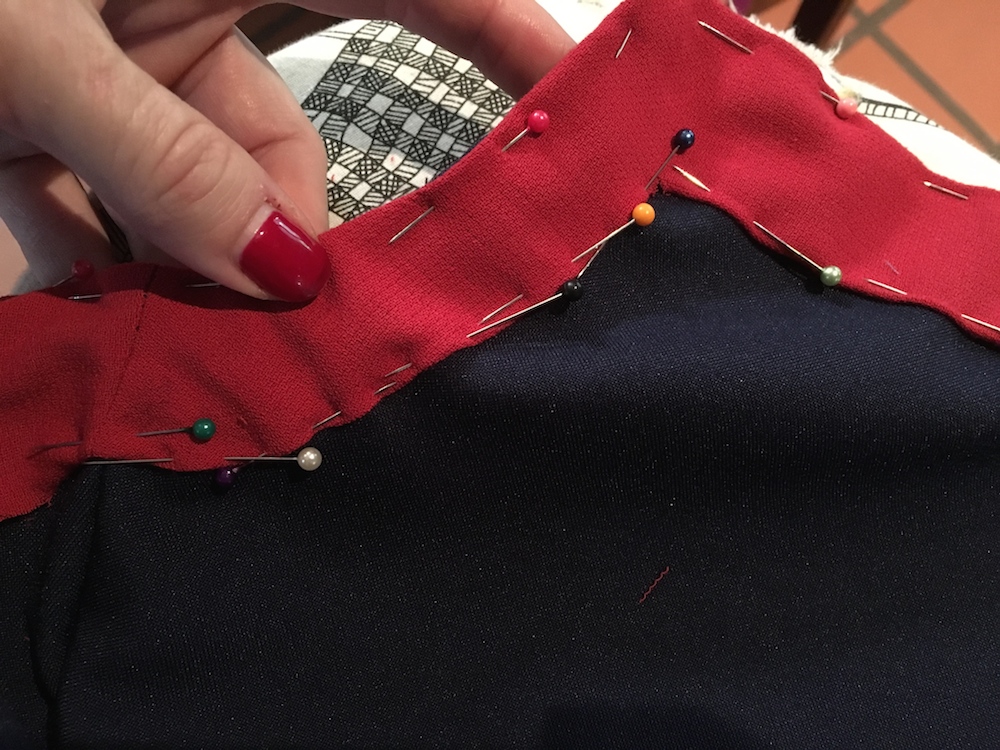
Pinning the curved part of the facing to the neckline front.
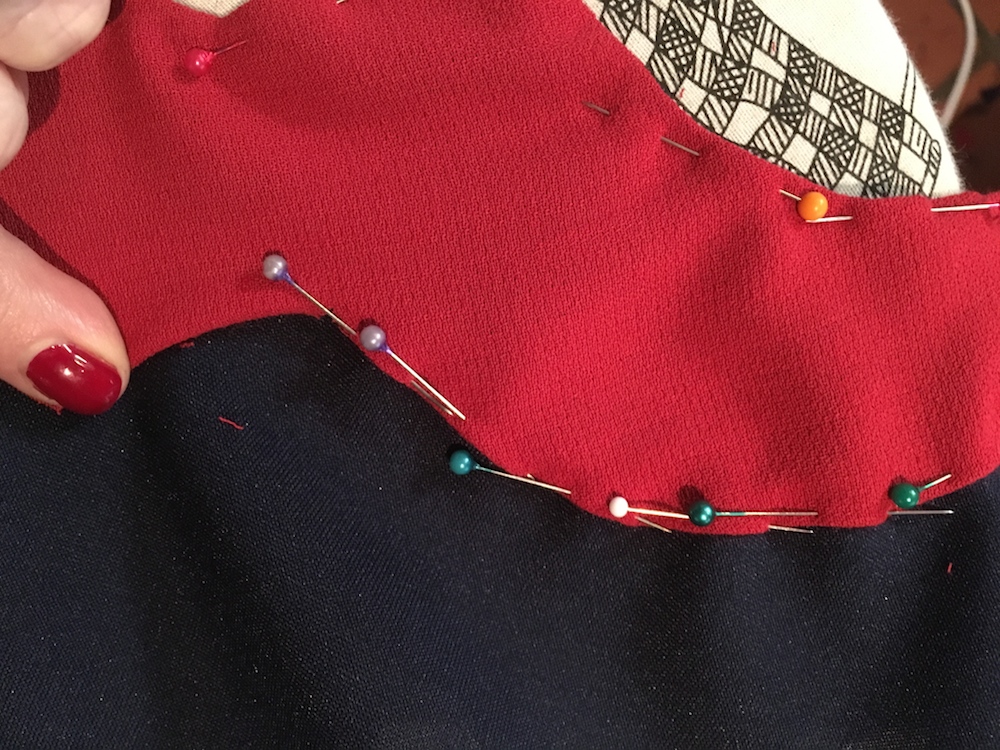
Curved edge pressed and pinned.

Front facing pinned and ready to top-stitch.

Back facing pinned in place.
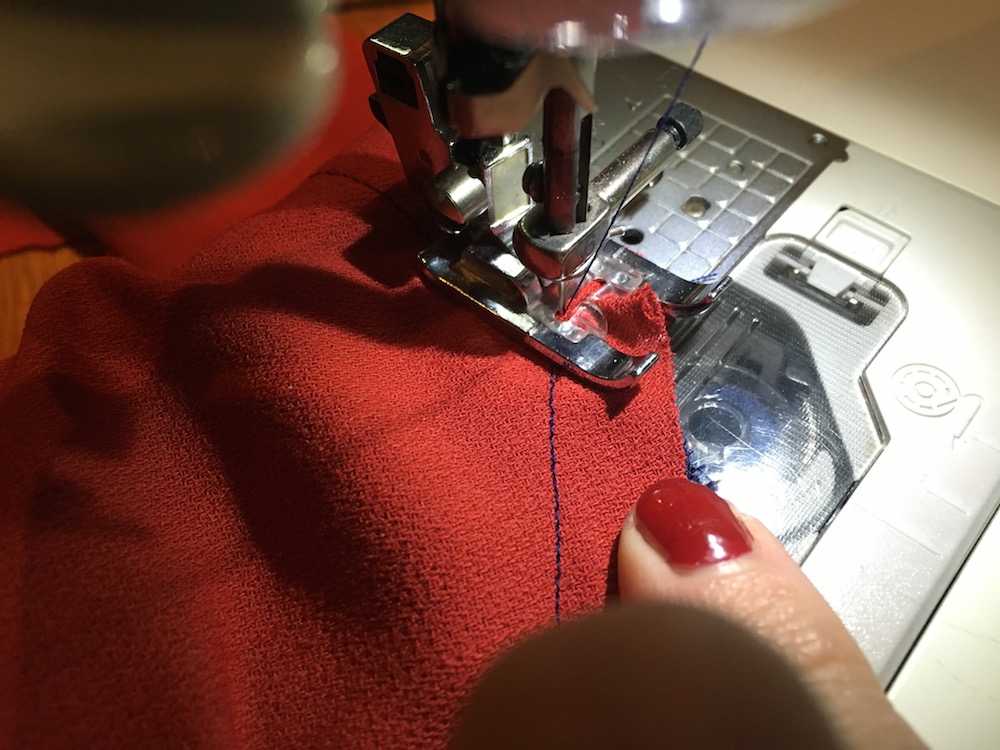
Topstitching the facing in place around the neckline.

It took a lot of pins to hold those curves in place!

Front neckline with facing in place.
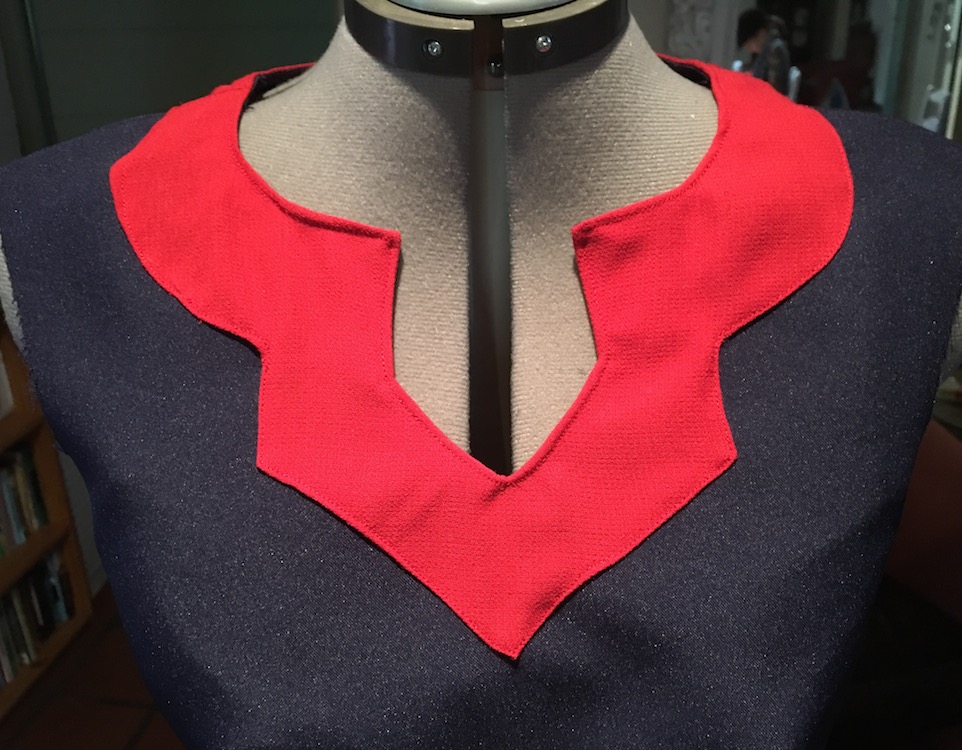
Here's a shot on my mannequin...
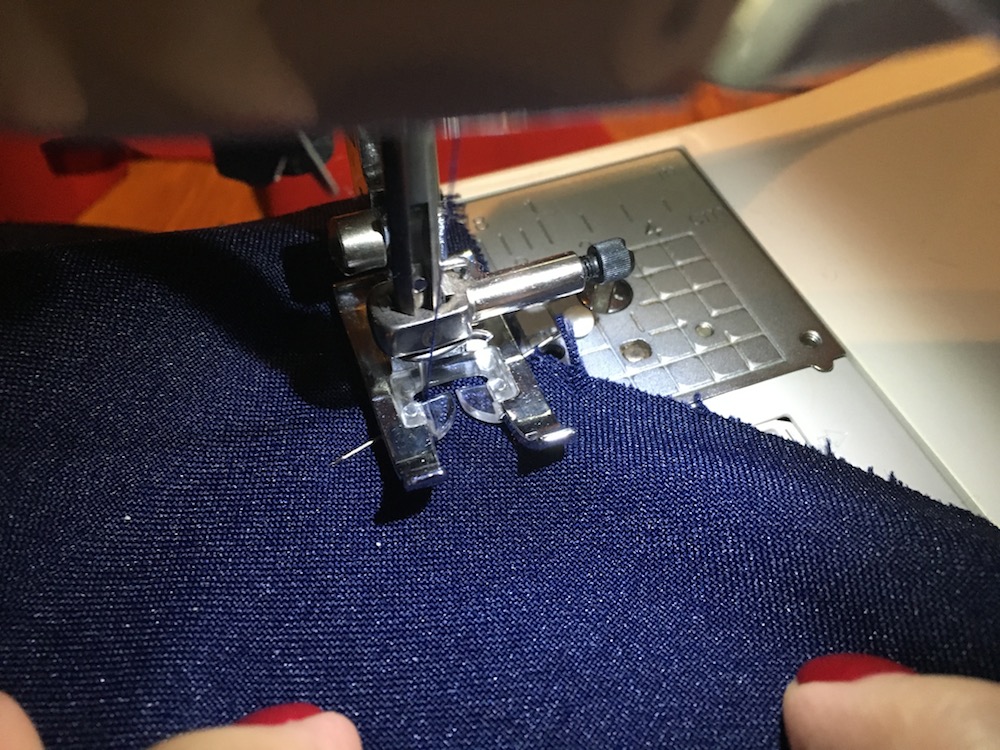
Now, with the facing finished and pressed, it was time to attach the waistband. The instructions show how to put the waistband together, but the illustration is confusing. The notation says “right side of waistband,” but you can see the raw seam allowance at the point where it says “left sides of waistband stitch together.” That inside seam allowance should not be visible in the illustration, as it would be on the wrong side of the material. As is, it seems the viewer is looking at the waistband from the inside (wrong side), but the illustration actually shows the outside (right side) with the wrong seam left undone to allow for the side closure. Confused? Well, just eyeball the waistband pieces as you pin them together, remembering that there will be a zipper closure at the left side seam. The waistband is part of that seam, so the left side of the waistband needs to remain unstitched at this point!Next, I stitched the skirt panels together. Under "Skirt and Midsection," it is mentioned that the side seam must be left open for a zip and says “remember the zipper is part of the bodice, too.” At this point, I think many a newbie would be growling in frustration if she didn’t think ahead and leave the bodice's left side seam open. However, you now know to do that, and Lorna will be adding that note to the revised ePattern.Once I had the skirt together, I decided to ignore the instructions and sew the waistband to bodice and skirt in a different way than called for. The pattern calls for turning under the raw edge and top-stitching the waistband to both bodice and skirt. I have no fears about sewing into corners and turning them, so I simply pinned the waistband to the bodice and stitched it together:

Aiming to the center point of the waistband.
Center point of bodice front.
After stitching the entire waistband in place, I flipped to the wrong side and reinforced the point by going back over the stitches at that section.

Waistband stitched to the bodice.
Now I pinned the waistband to the skirt and did the same thing, starting and finishing at the left side opening:
Stitching skirt to waistband.

Reinforcing the point
Now it was time to try the dress on and see how it looked with the original, wide waistband:

Original waistband in place
The midsection belt was definitely too wide on me, because I had to stand up as straight as possible and suck in my tummy to get it to fit. Left as-is, I think the wide waistband/midsection would only work on very long-waisted ladies, because the skirt is tapered narrow at the top to fit closely around the natural waistline. On me, the narrow top edge of the skirt strained to fit around my hips. I
could
have opted to shorten the top of the skirt, because the area around the bum was too fitted and puckered. I need more room for ease in that part of the skirt, and I think most women of an average build with a nape-to-waist measurement around 16 inches would also need more ease. Or maybe my bum is too big! :-DBecause the rest of the bodice was a perfect fit, and since I didn't want to shorten the skirt, I decided to simply cut down the waistband to fit my shorter torso. So, yes, I ripped out that reinforced seam between the waistband and skirt, then trimmed down the waistband piece to remove the extra width in the midsection. I used the original pattern piece as a guideline to cut the waistband down. If I make this dress again, I'll simply fold the pattern piece to make it narrower before cutting out the waistband.

New, narrower waistband
I stitched the narrower waistband in place and pressed it neatly:

New, narrower waistband stitched to bodice.
Next, I re-stitched the skirt to the waistband and checked the fit. It was perfect now, so I decided to top-stitch the waistband for a finish that would match the trim at the neckline:

Topstitching the waistband to the bodice.
Inside view of the waistband stitched in place.
I cut lining out of the same fabric as my waistband. The lining (called for on the pattern pieces) is never mentioned in the instructions. I wasn't sure if it was meant to be used as interlining to reinforce the waistband or if the seamstress is supposed to hand-stitch it in place over the raw seams on the inside of the garment when finishing. I chose the latter, but the pattern doesn’t give a clue. Again, Lorna knows this and will revise this section in the future.
Waistband lining with edges turned under and pressed, then pinned over the inside seams.

Ready to stitch!

Whipstitching the lining to the interior seam allowance.
The next step was to add a narrow facing to the sleeves and sew them in place. These go together exactly as directed, so I didn't take any pictures. They are very easy to stitch up and insert. Do note that this pattern calls for shoulder pads, and they are absolutely necessary to get the 1940s silhouette. I found pre-purchased shoulder pads were too long and ended up showing inside the neckline, so I trimmed them down and overlocked the edges before sewing them in place. Finally, I inserted a conventional zipper in the side opening, and that was that.Once finished, the dress is absolutely adorable. I
love
the style. I do have a few reservations about fabric recommendations for this dress, but I'll get to those after the big reveal:

Lilly Rose dress front

Another front view of the Lilly Rose dress

Lilly Rose close-up
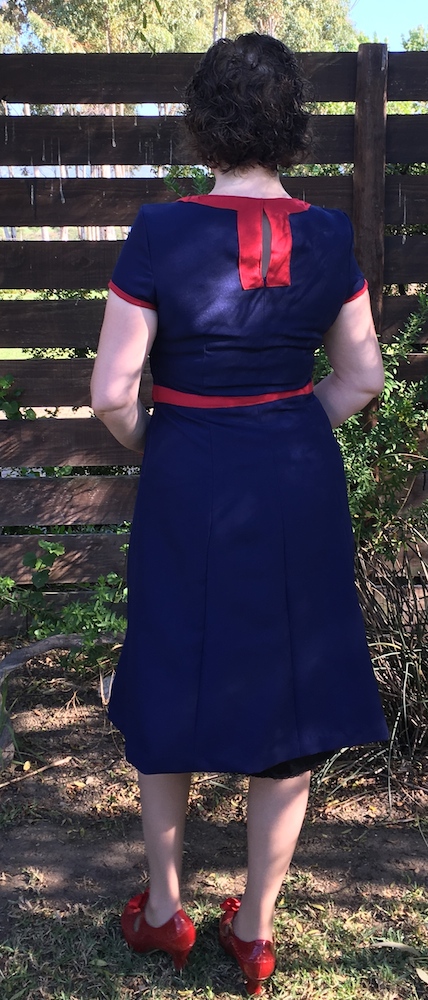
Back view of the Lilly Rose dress
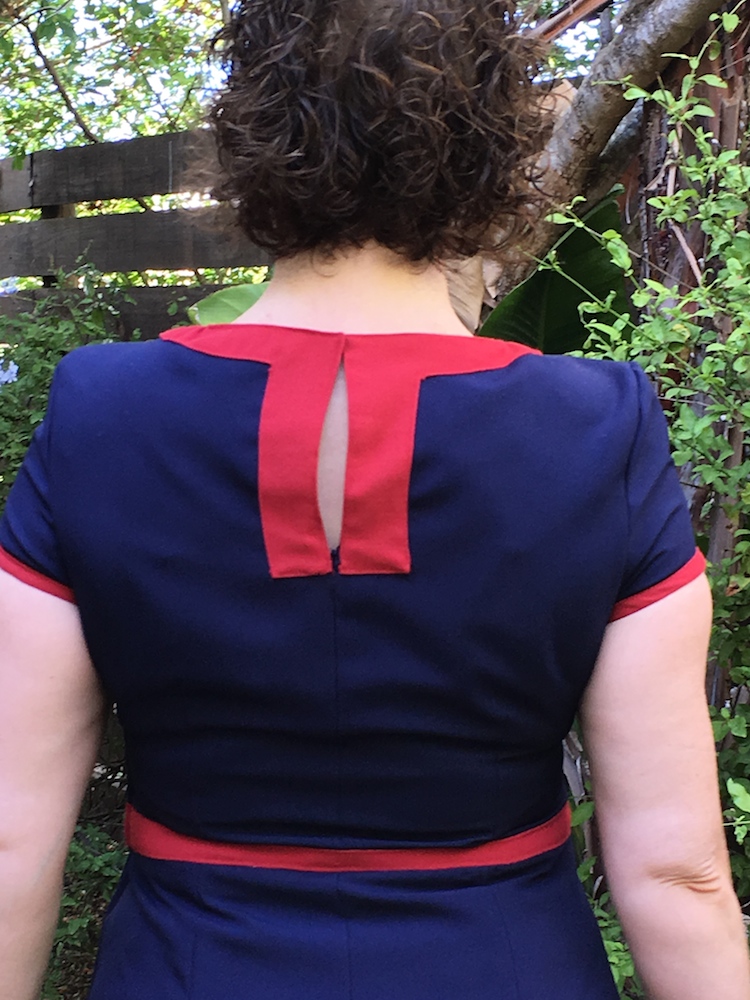
Close-up of the Lilly Rose bodice back
All in all, I rate this pattern 4 stars out of 5. The design itself is really cute and SO 1940s. If you're an intermediate seamstress, you'll have little trouble navigating the tricky parts of the assembly, but if you're a beginner, you definitely need to practice setting a side zipper and top-stitching before you jump into this project.And a final word on fabric selection. Here are the recommendations in the instructions:
Suitable modern fashion fabrics would include washable rayons in bold, colorful prints, linen, cotton cambric or chambray in a variety of textures and designs including seersucker, polka dots, stripes and checks.
I would wholeheartedly endorse lightweight, fluid rayons, but I would hesitate at cotton or anything with a firm weave and not a lot of stretch. If I make another one of these, I will actually go off reservation and use a jersey-Lycra knit, because there isn’t enough give in the polyester material I used. Stiffer fabrics don’t allow for much movement in the dress, particularly in the shoulders and sleeves, so I’d recommend something like a rayon challis or a soft jersey. If you want to use this dress for swing dancing, you need to be able to raise your arms and hug yourself comfortably. That isn't going to work unless you fabric has a lot of give. And if you want more twirl in the skirt, you can simply taper the A-line panels so they are wider at the bottom.There you go! All in all, it's a pattern well worth the extra work, because the results are so cute and right on the money for the 1940s. Have you tried the Lilly Rose pattern? If so, I'd love to read your thoughts in the comments!