Diary of a Titanic Dress: Part Two
cutlining

frontdartspinned

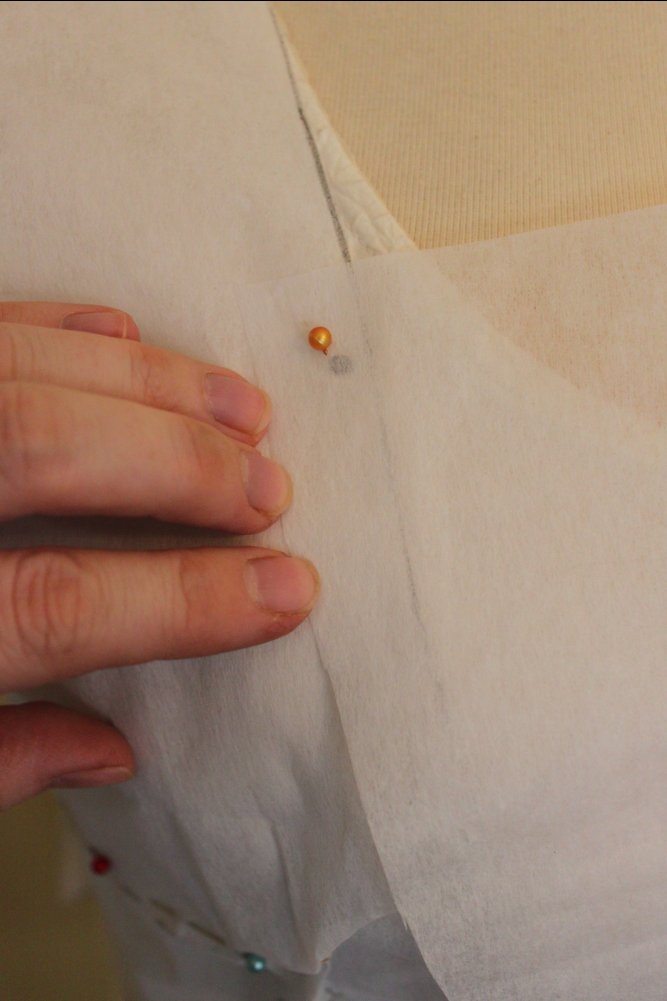
markingsidedart

sidedartmarked
dartdifference
lineupinset

insettested

poiretbodice

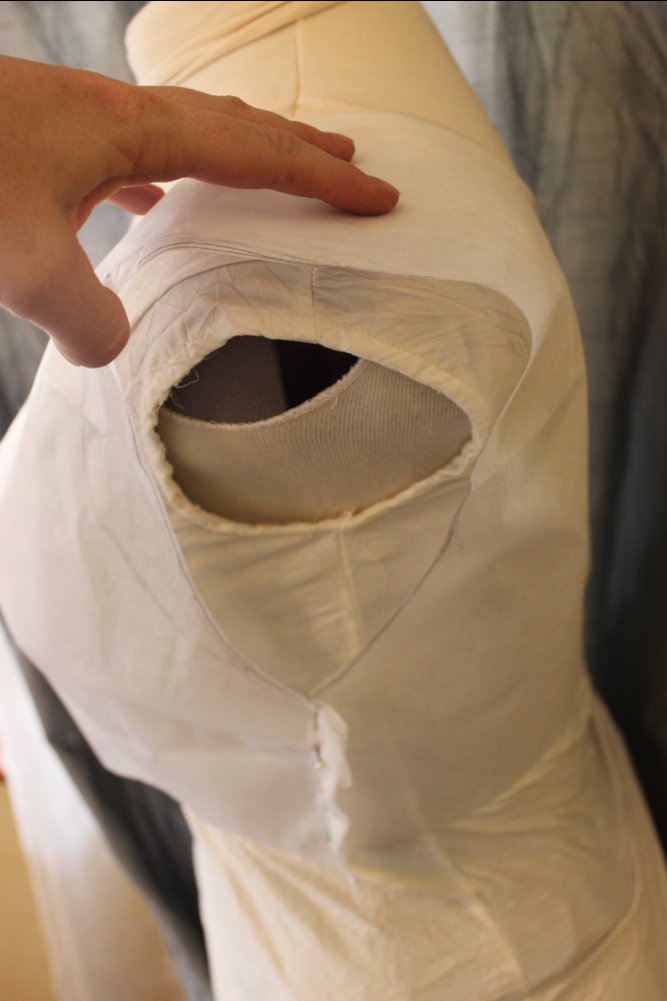
markarmhole
armhole
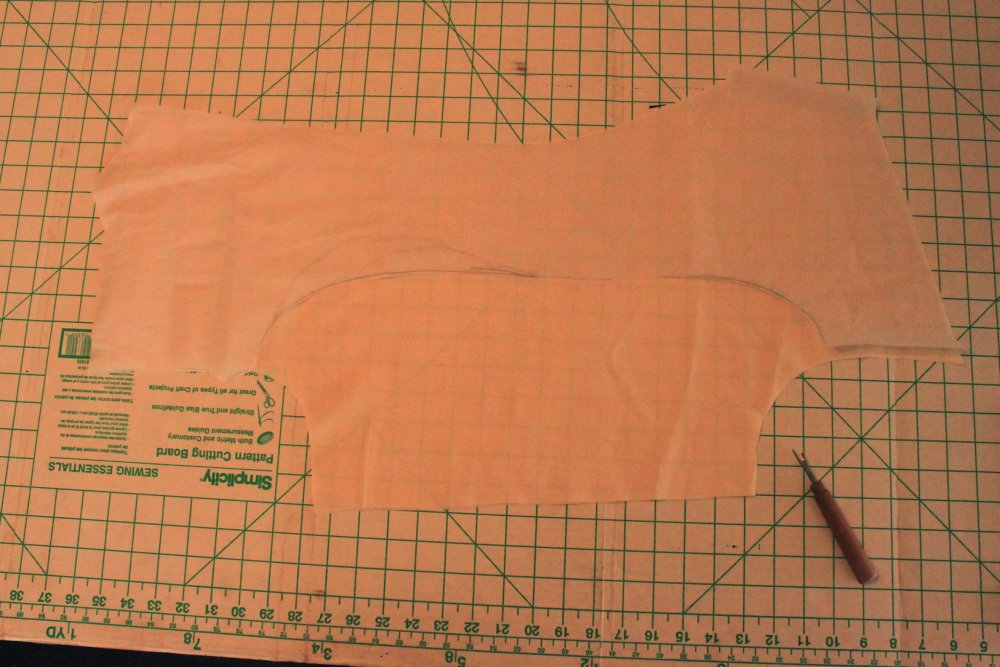
armholecutting

lininglayout

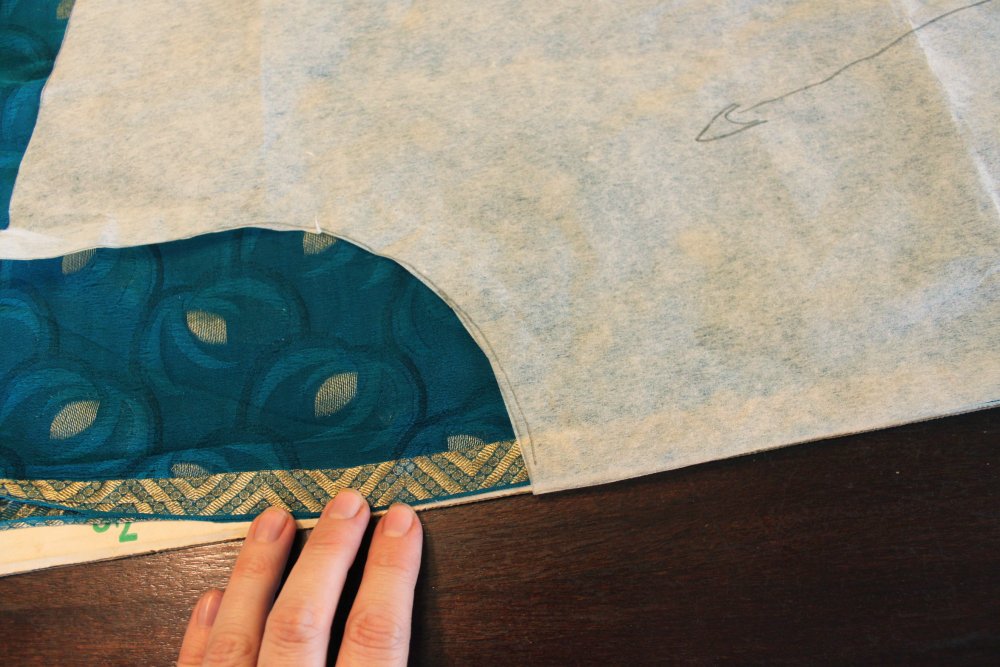
bodicelayoutonsaree
sleeveedge

insetlayout1
insetlayout2
insetoption2
insetoption1
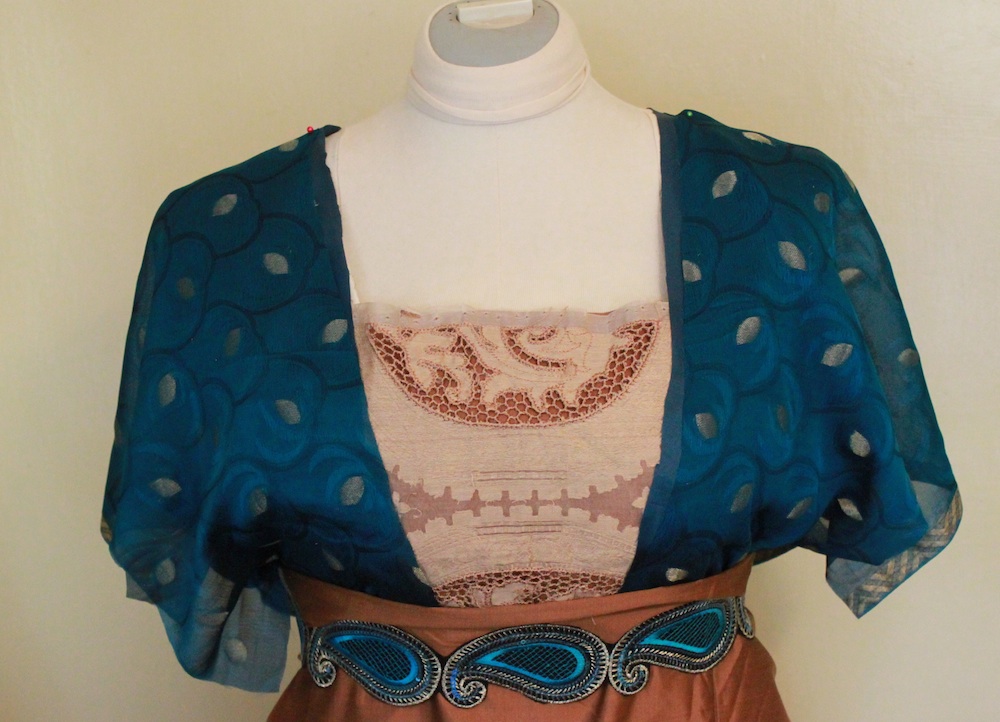
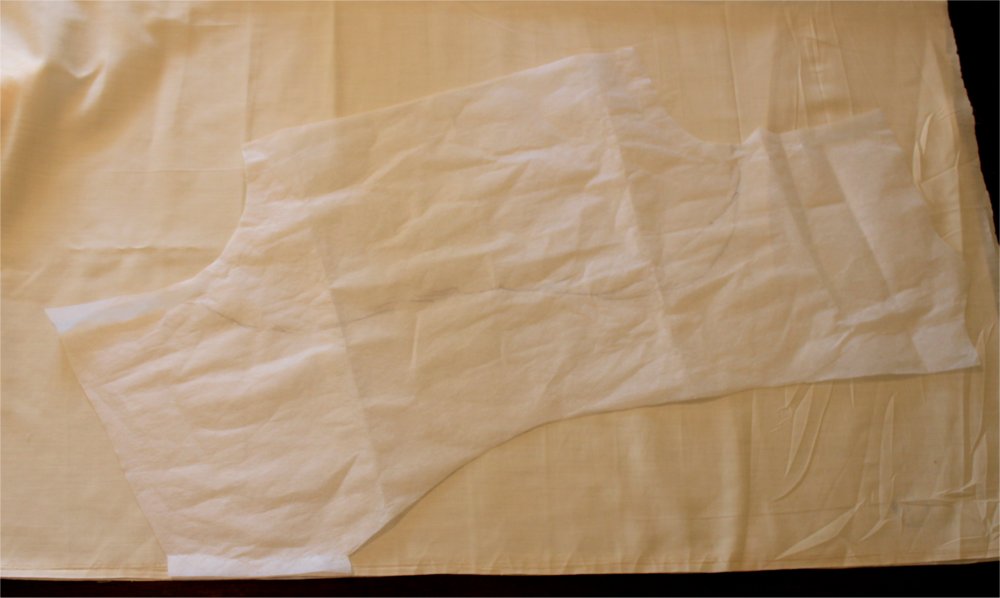
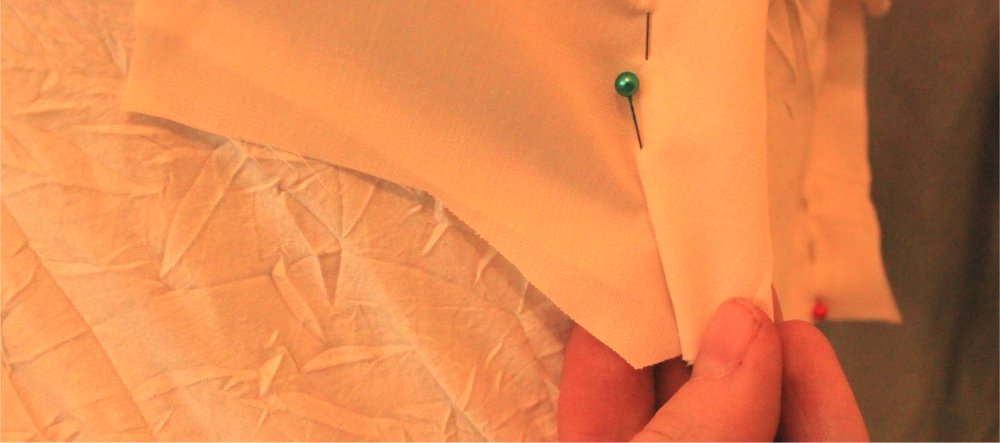
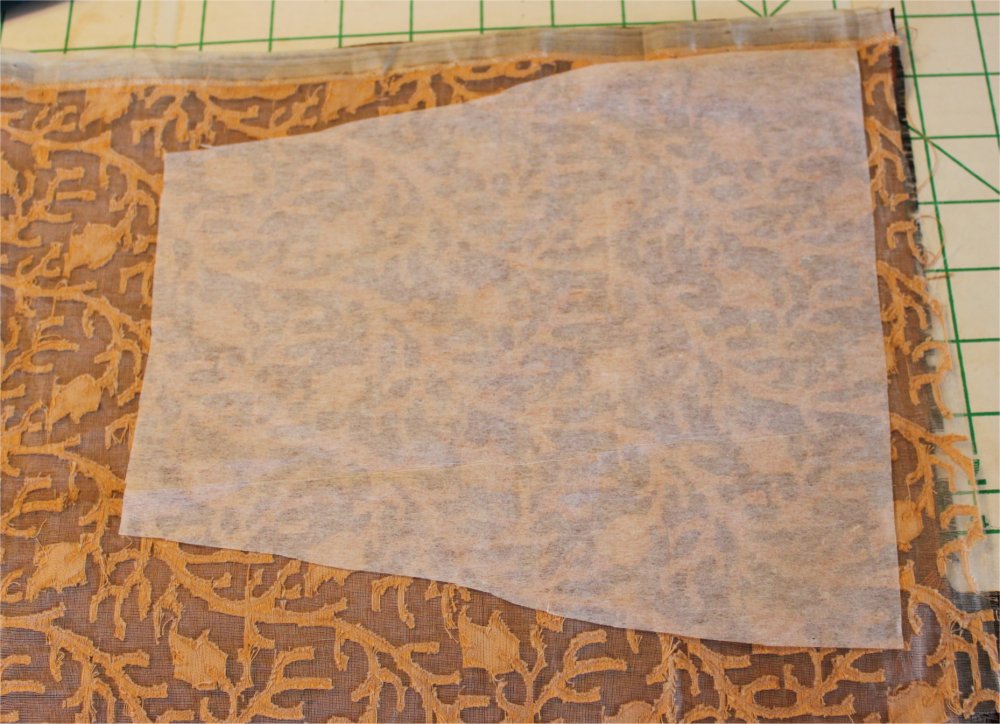
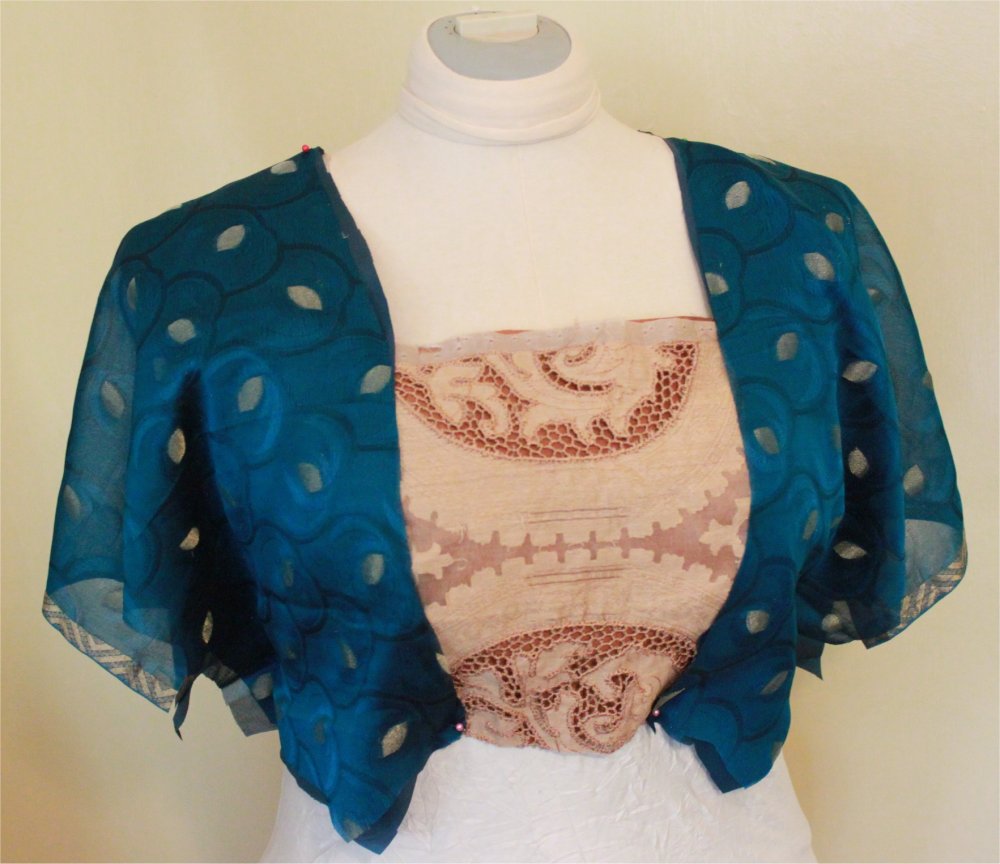
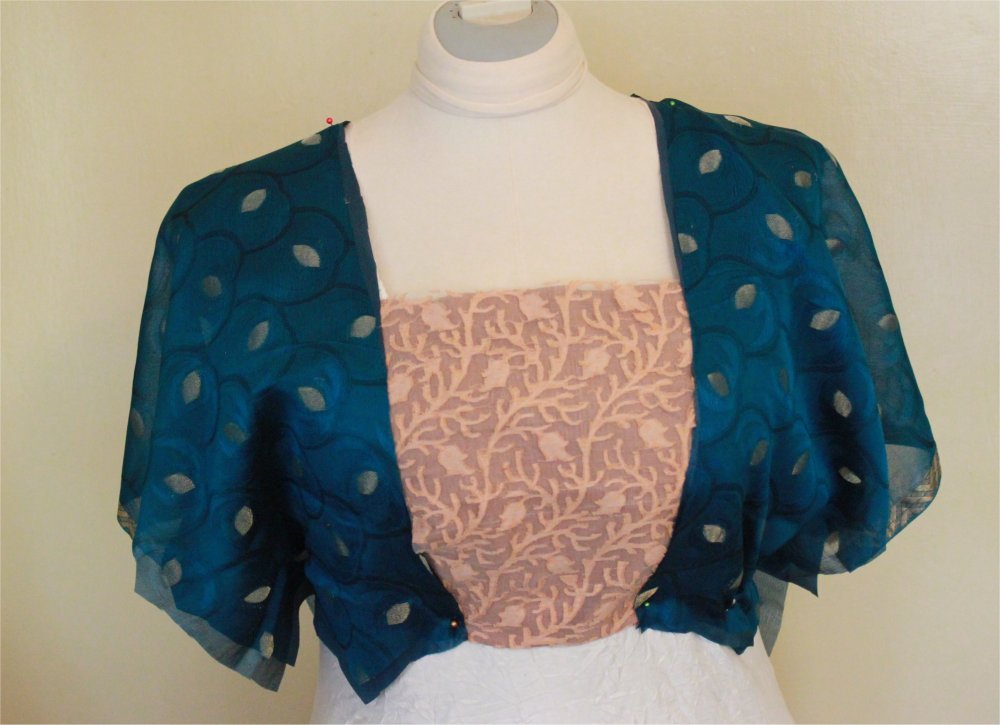
I have to admit I am still surprised from time to time to receive emails from customers who are disappointed with the fit of a vintage-style gown but did not bother to make a fitting toile to check important areas like neckline depth and dart placement before cutting into their fashion material. Making a muslin isn't just an optional step when it comes to a perfect fit; it is, rather, the most important step in constructing a beautiful garment. So, as you'll see here, even though I had pin-fitted my interfacing pattern pieces at the start, I still went ahead and cut out muslin pieces for a test-fit. Because my fashion material is very drapey, I wanted to see how the pieces "behaved" with fabric, because interfacing is rather stiff. So I cut out muslin bodice halves, basted up the center back seam, and proceeded to test the placement of the darts over my corseted mannequin.It's tempting to look at dart markings on pattern pieces and try so hard to "obey" them that the process becomes frustrating. That needn't be. No two ladies have exactly the same shape, so customizing darts is perfectly kosher. This pattern's dart markings were created for a more modern bustline (lower bust point and fuller bust), so if you're going to wear the gown over a corset, the darts will pin up differently:My corset pushes the bustline in and up just a bit, making for a slightly longer vertical dart. The side dart (used on sizes 18 and up) actually didn't need much adjustment at all. The goal here is to achieve a snug, smooth fit over the corset to provide a good foundation for the outer material (a silk saree in this case).After I double-checked the placement of the darts, I marked along the pin lines with pencil:Here are the darts opened out with markings in place:Note that my markings do not exactly follow the lines on the pattern piece, and that's perfectly fine. When I repinned the darts to fit my corset, I found I needed to reposition the vertical darts to make a nicer line in front. This resulted in the following "leftover" material at the lower end of the dart:The point is the center of the dart as originally marked, but I moved it over toward the side seam. Because I am short-waisted and don't need the extra length anyway, I just trimmed away the excess at the lower edge. If you are longer in the waist, you can just move the dart marking over as needed and cut a new toile/lining.To complete the test fit of the bodice, it was time to check the inset. I cut an interfacing inset out for my size and pinned it to the interfacing "toile" for the bodice front, lining up the top of the inset 5/8" above the dot marking the top of the inset on the neckline:Then I checked the fit of the rest of the inset to make sure there was a 5/8" seam all the way down to the bottom:Serendipity: a perfect fit the first time! Now it was time to move on.Gowns from this time period often had carefully structured linings designed to support comparatively flimsy drapery on top, like the black chiffon you see on the 1912 Paul Poiret gown below (from the Met's costume collection):I like the delicate look of the sleeves without the lining, so I chose to alter my pattern to cut away the kimono sleeves on the interlining (a dark peacock blue China silk) and lining (the muslin I used for my toile). To mark the armholes for the lining, I put the interfacing "toile" on my mannequin and marked a new cutting line:You'll see two faint lines. That's because I took the toile off and double-checked it on myself. Armless mannequins don't always accurately show how you need to cut an armhole! After testing the cutting line, I went ahead and cut away the "sleeve," then put the bodice back on the mannequin to check once again:With the bodice toile fitted nicely, I went cut along the armscye I marked to make my lining:Then I cut out the interlining in China silk, lining up the center back with the selvedge:Finally, I used the original kimono-sleeve piece (the other interfacing piece from my first pin-fit) to cut out the bodice halves. Instead of lining up the center back on the saree's decorative selvedge, I lined up the sleeve to give me a finished, decorative edge:Here's a detail shot:Now it was time to cut out the bodice inset with its overlay and interlining. I am using the coppery spun silk for the interlining and have two candidates for the overlay--the Battenberg-style lace medallion remnant and the "burnout" organdy. I cut one of each:Now, you're going to help me decide which one to use! I pinned all the bodice pieces in place on my mannequin for a preview. Below is Option 1: The Lace Medallion Inset:And here's Option 2: The Burnout Organdy:Here are what I perceive as the pros and cons of each option:
The lace medallion inset is obviously a much larger design and makes the inset take center stage. The "vine" design at the top within the half-circle is quite striking and beautifully showcases the coppery spun silk beneath. But this could also be a "con," as the inset definitely draws the eye more than the rest of the bodice.
This option is the "blander" of the two, in my opinion, but the color is closer to the gold leaf pattern on the saree silk. I could bead the leaves on the inset to give it more "oomph," but being on a tight schedule here (with frequent power outages, no less!) makes this a stress-inducing option. However, the smaller vine design doesn't compete with the saree silk for attention, which is a pro.

option1sash
option2sash
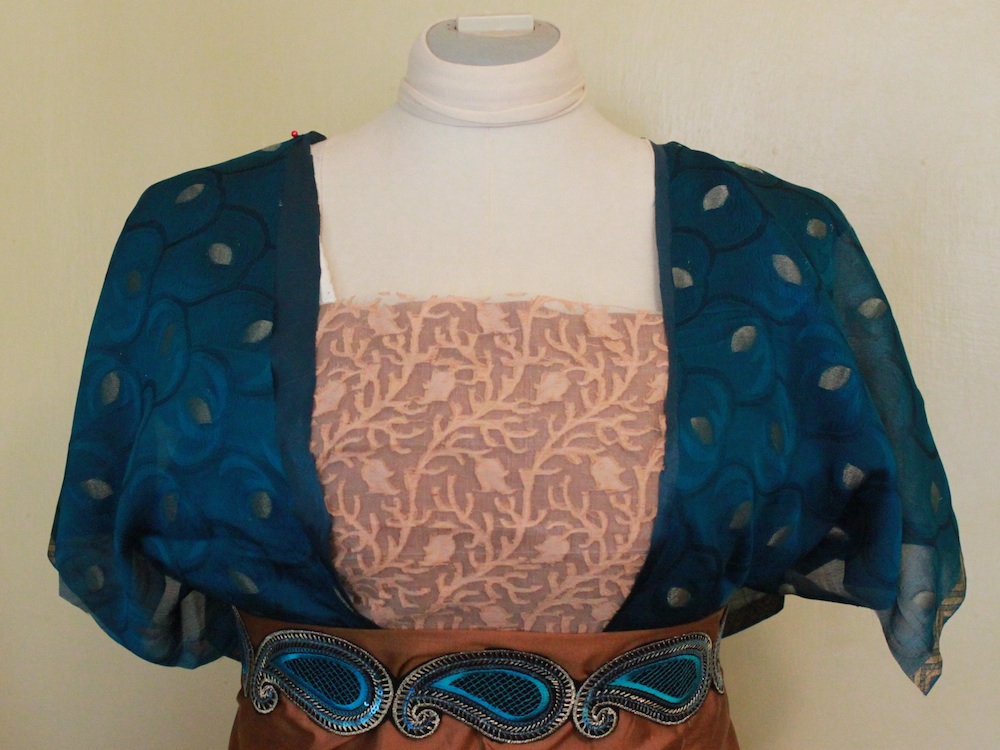
Let me show you the bodice options again, this time with the spun silk used as a sash and the sequined "paisley" belt on top:Okay, time to fire away! I covet your opinions, and I don't plan to sew a stitch until I hear your take on these options. Which one would you go with and why? Thanks!