Diary of a Titanic Dress: Part Six--Finishing Up!


train2

IMG_0531
IMG_0532
IMG_0534

IMG_0536
IMG_0537

IMG_0538
IMG_0539

IMG_0553
IMG_0551
IMG_0542
IMG_0543
IMG_0554

IMG_0576

IMG_0575
IMG_0579
IMG_0582
IMG_0583

IMG_0584
IMG_0588
IMG_0589
IMG_0590
IMG_0593
IMG_0594
IMG_0595

IMG_0596
IMG_0599
IMG_0600

IMG_0603
IMG_0604
IMG_0605

IMG_0614

IMG_0611

IMG_0606

IMG_0608
IMG_0625

IMG_0612
IMG_0613
IMG_0616
IMG_0617
IMG_0618

IMG_0619

IMG_0620

IMG_0621
IMG_0623
IMG_0626

IMG_0627
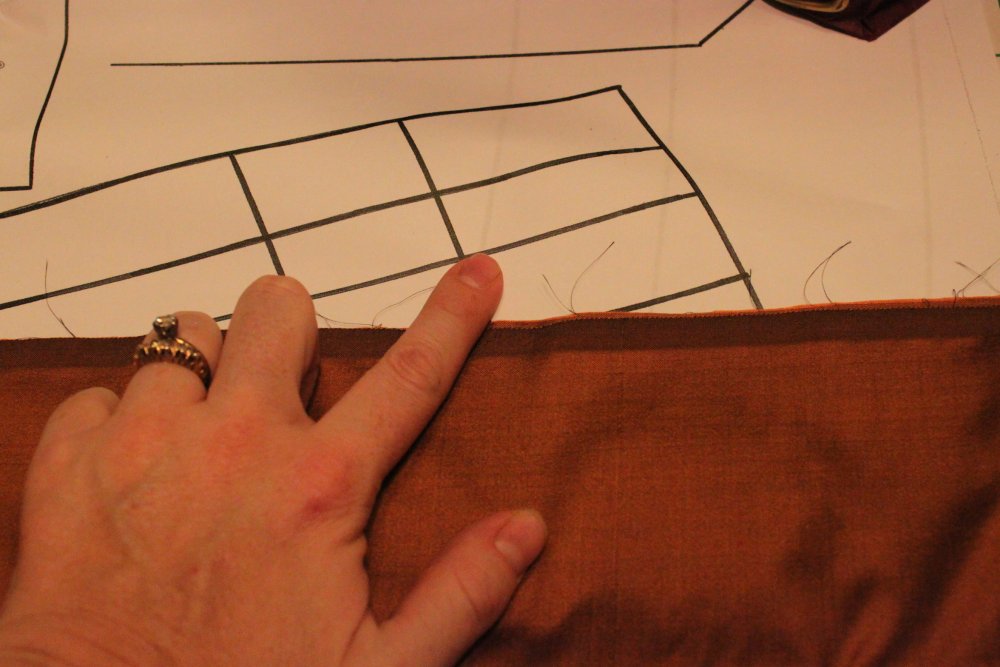
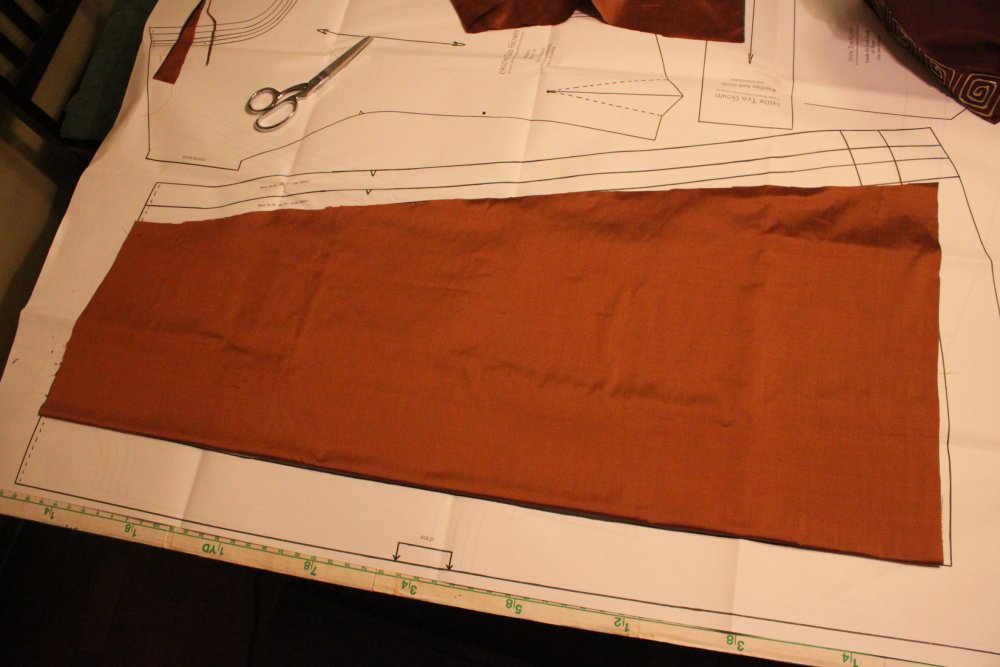
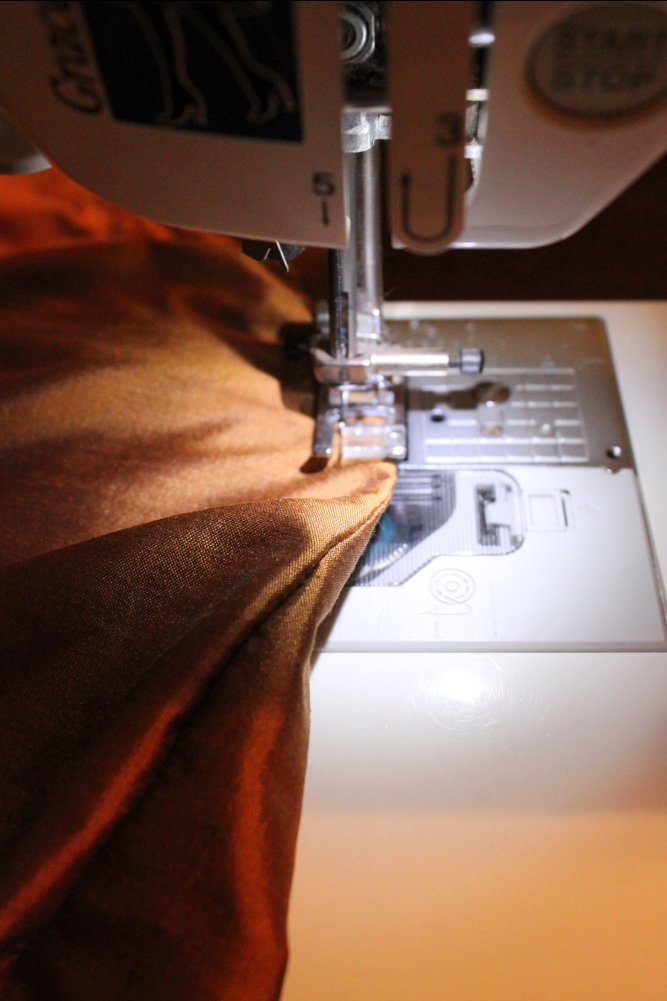
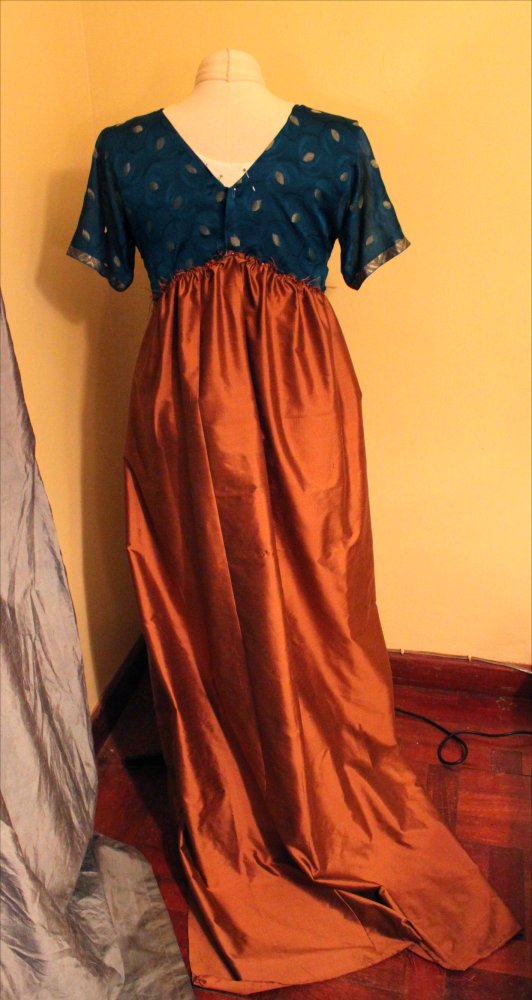
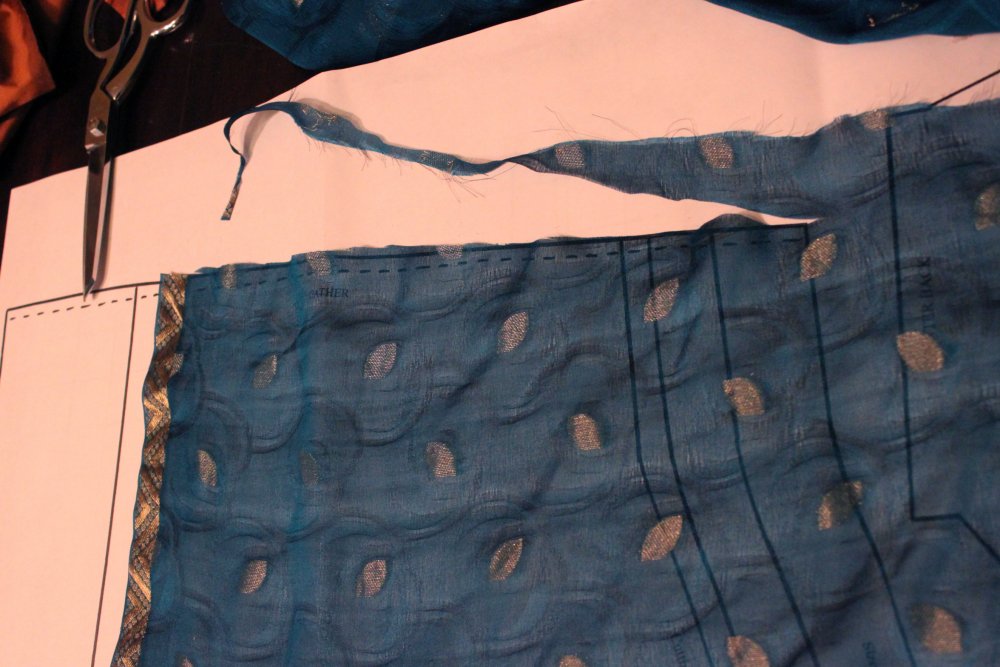
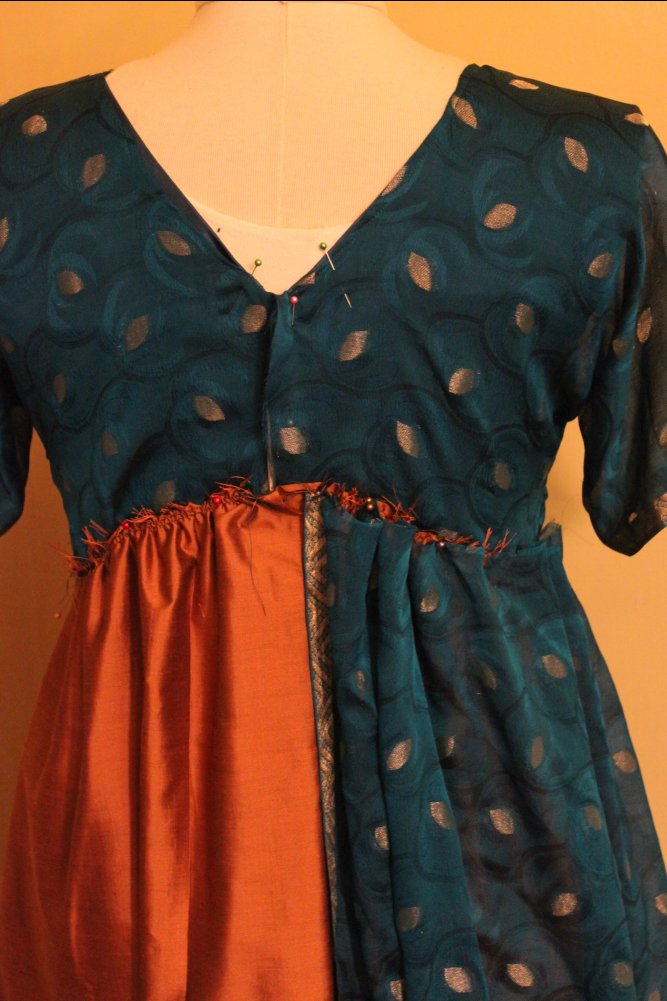
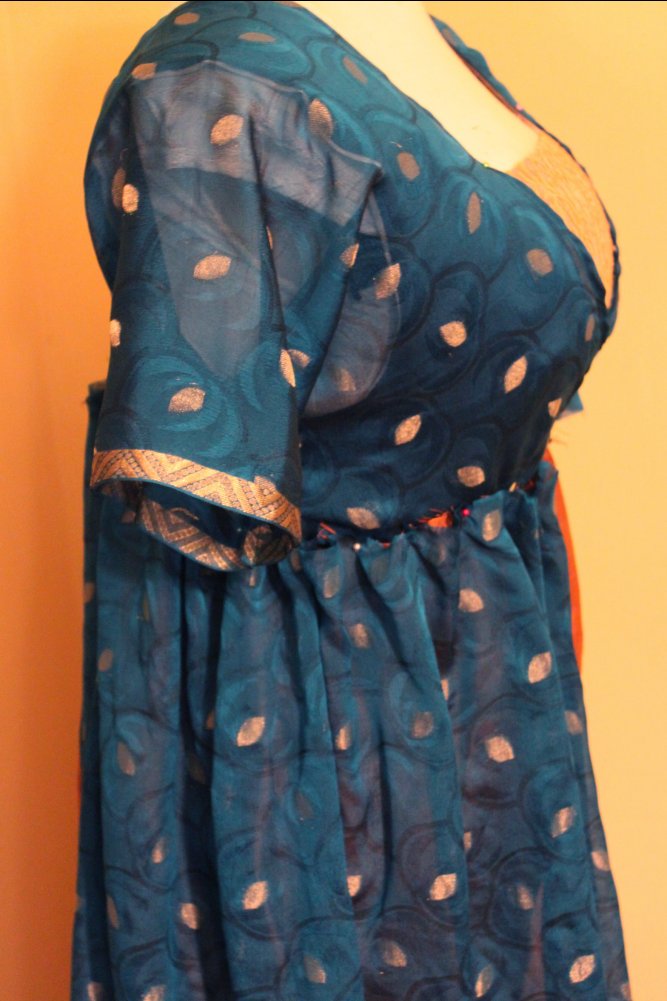
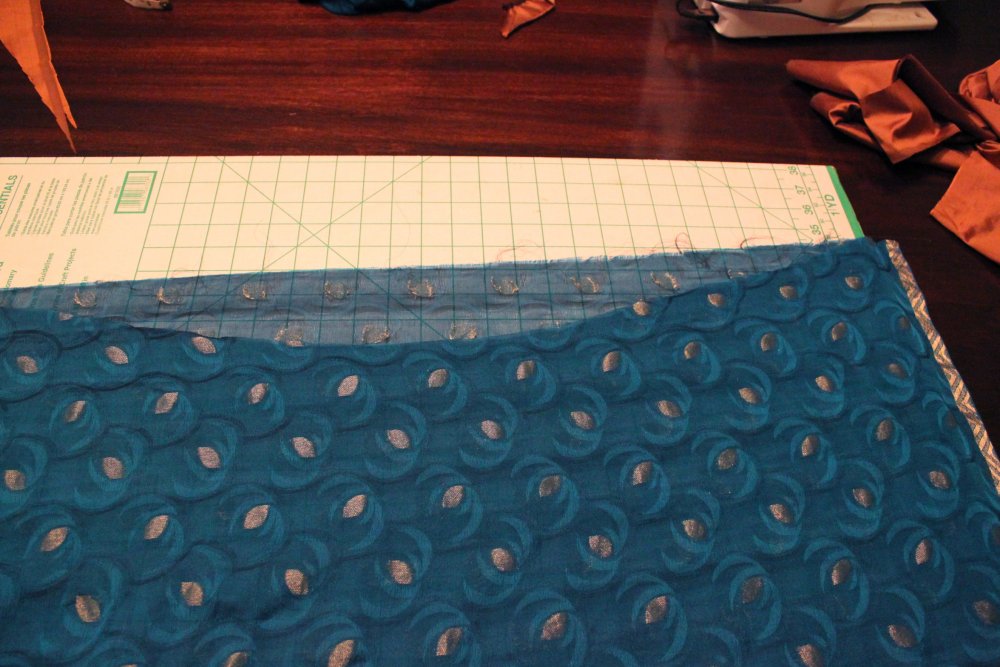
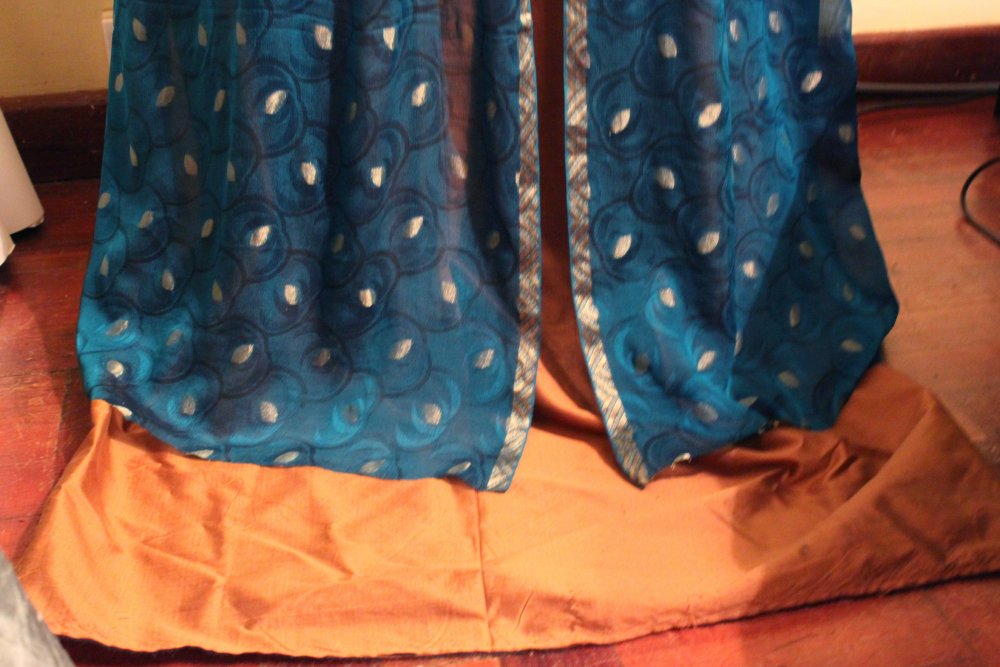
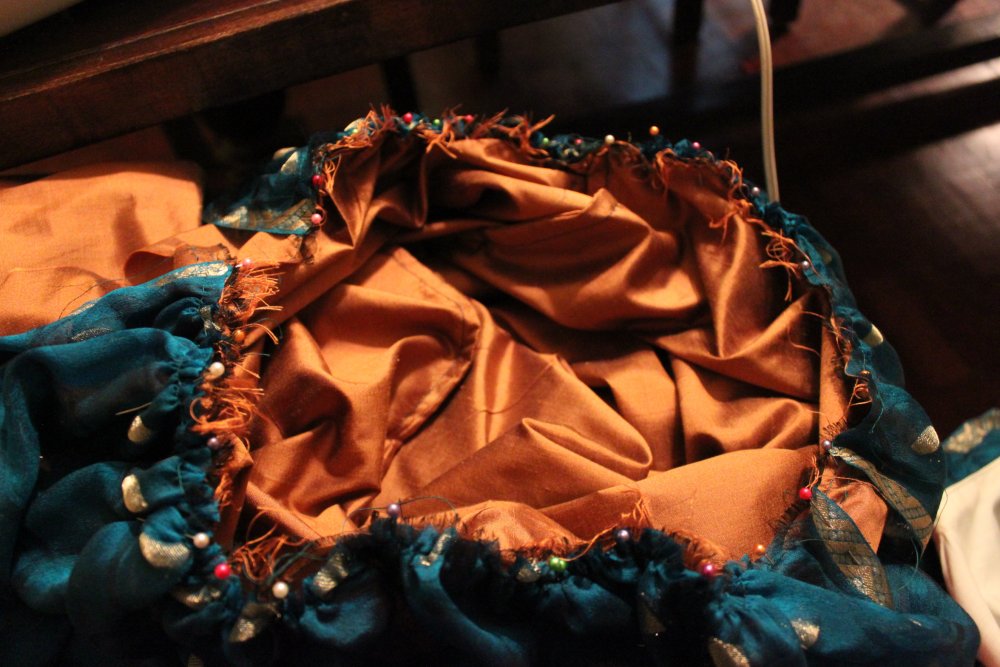
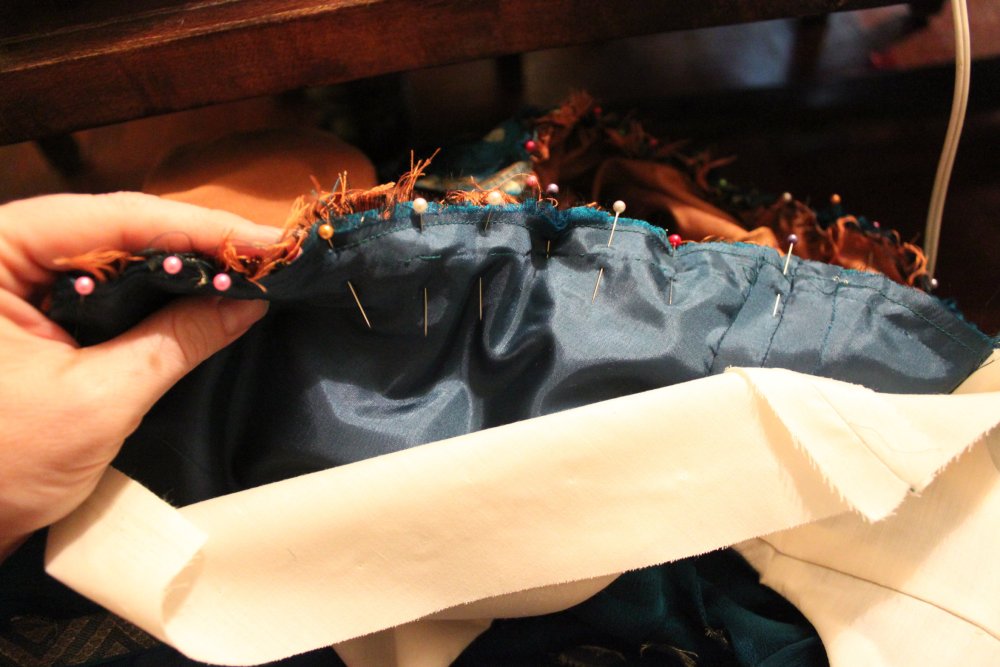
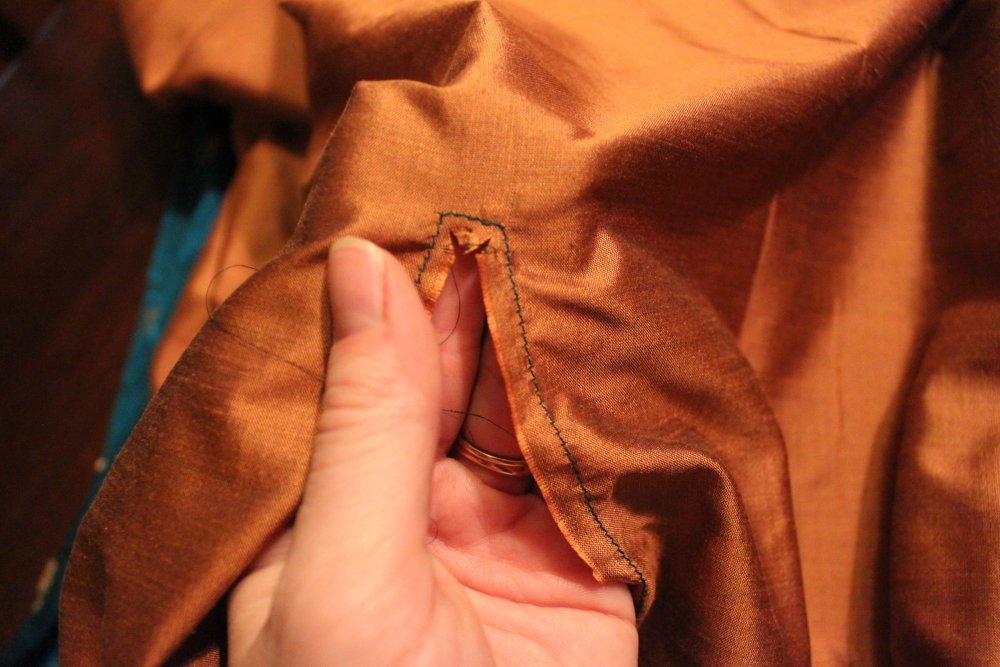
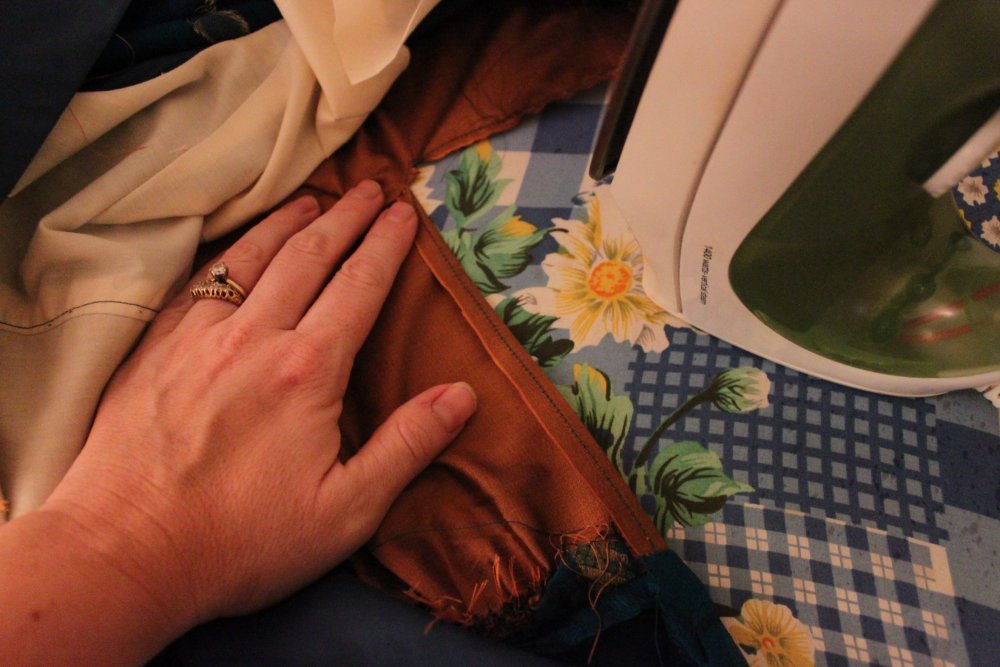
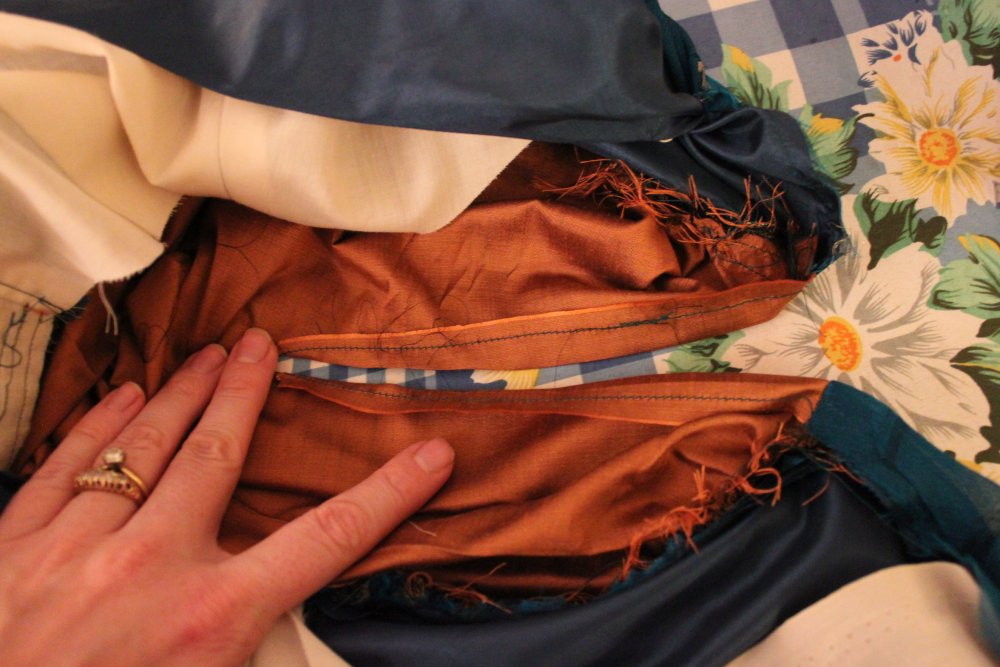
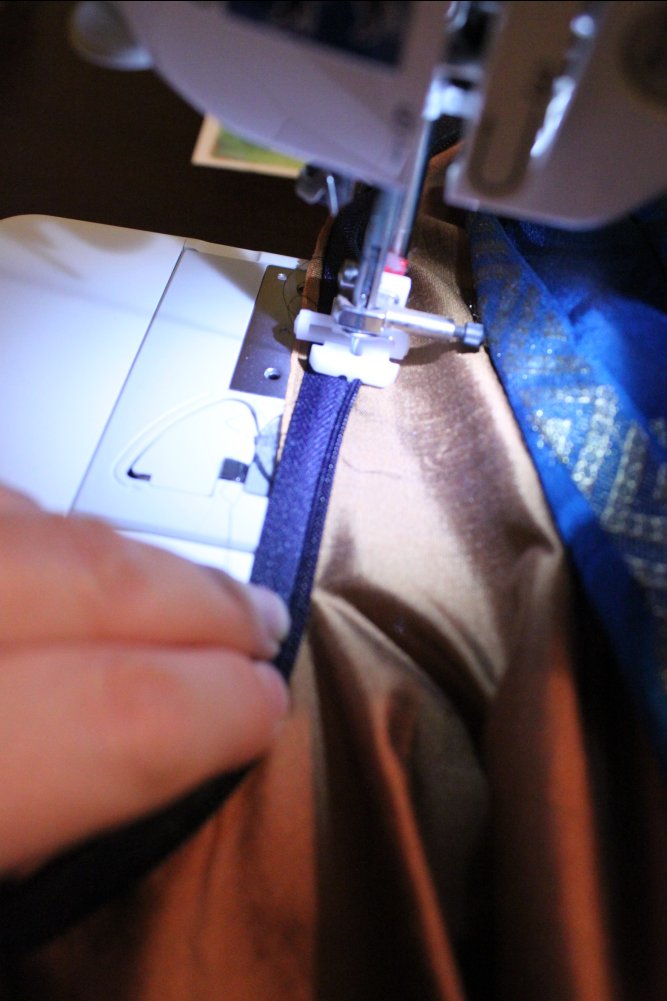
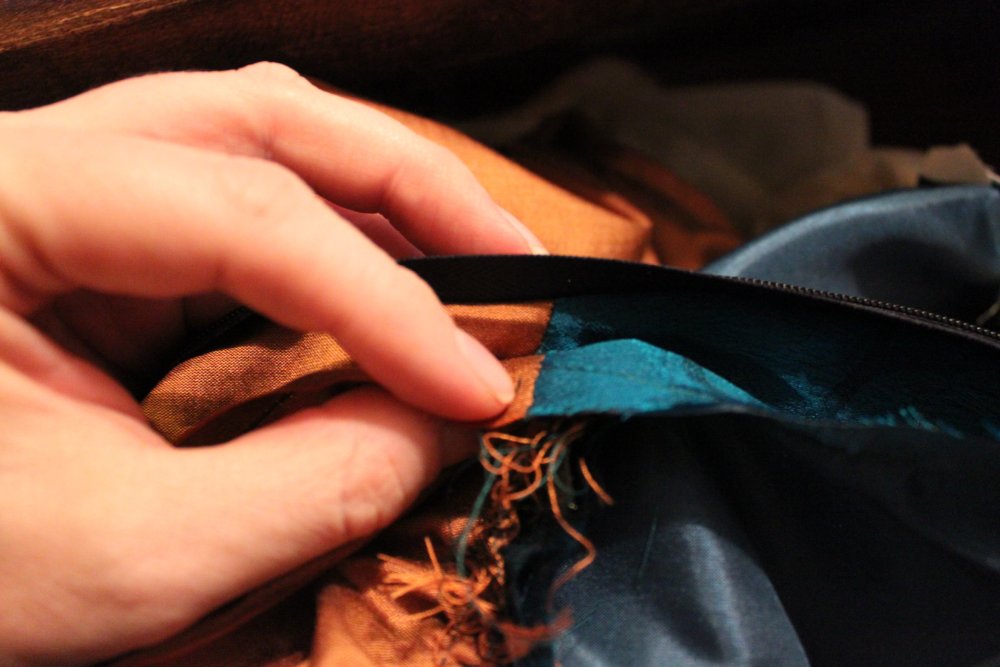
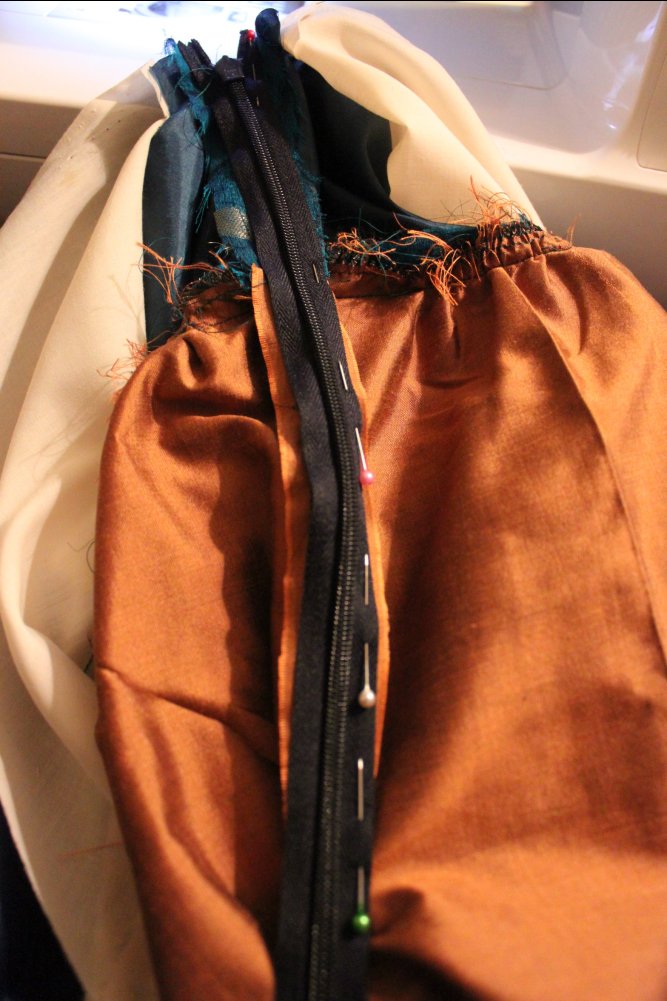
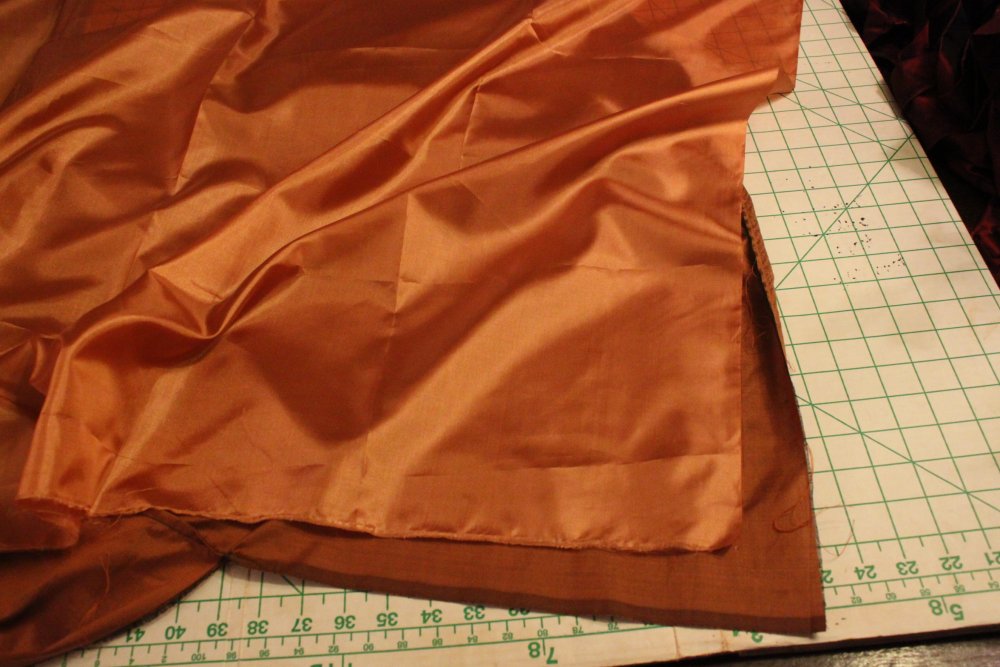
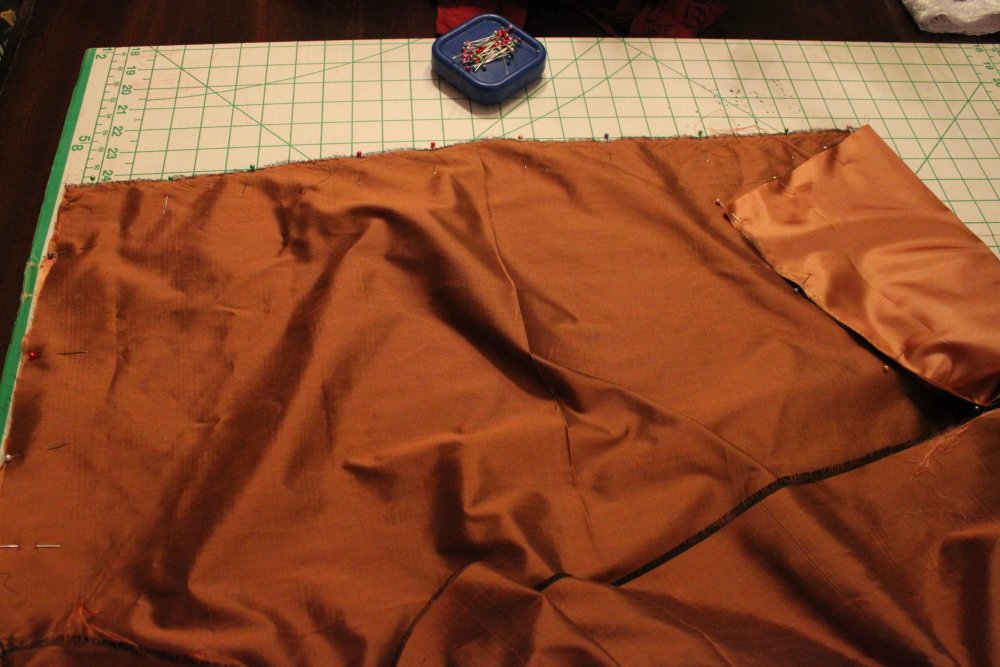
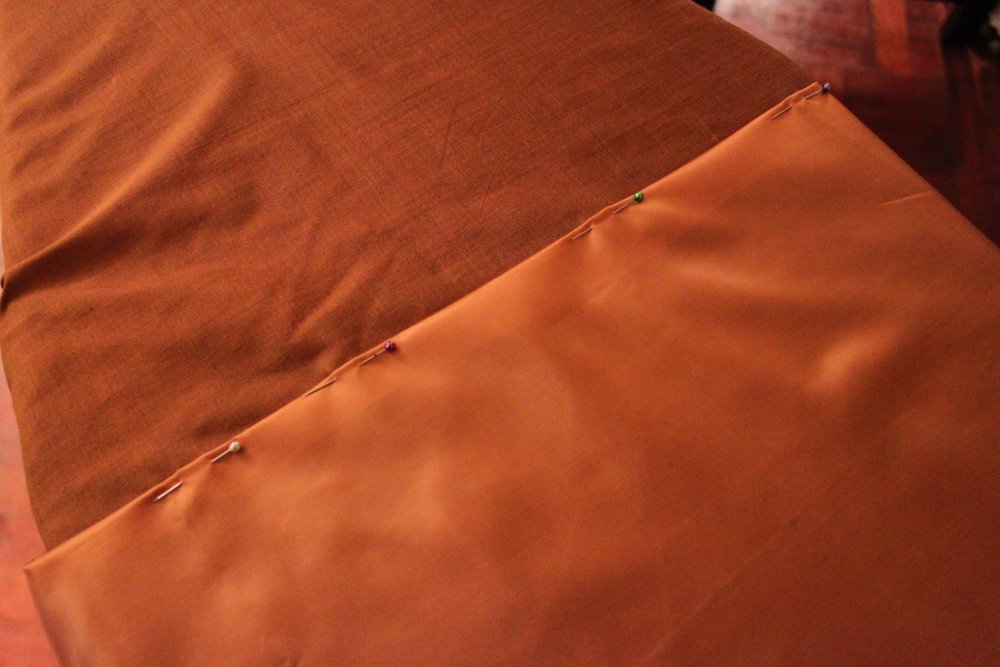
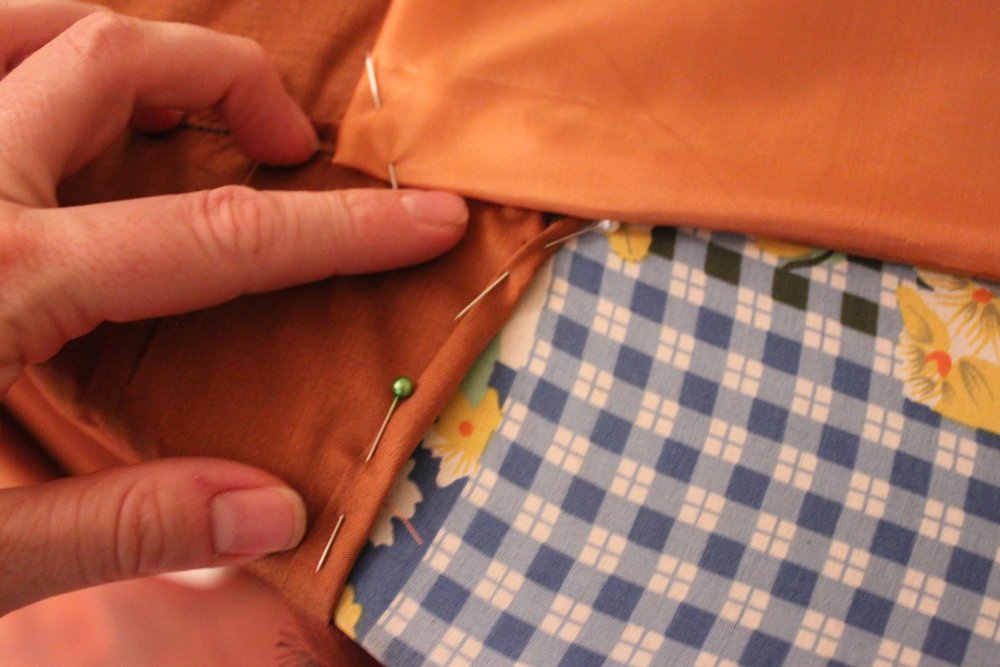
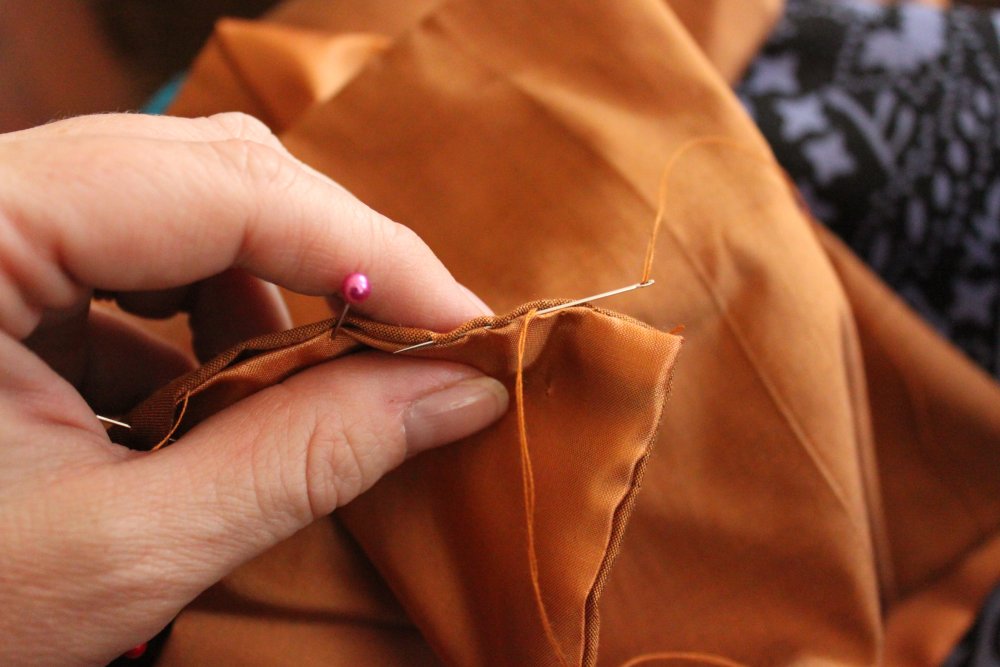
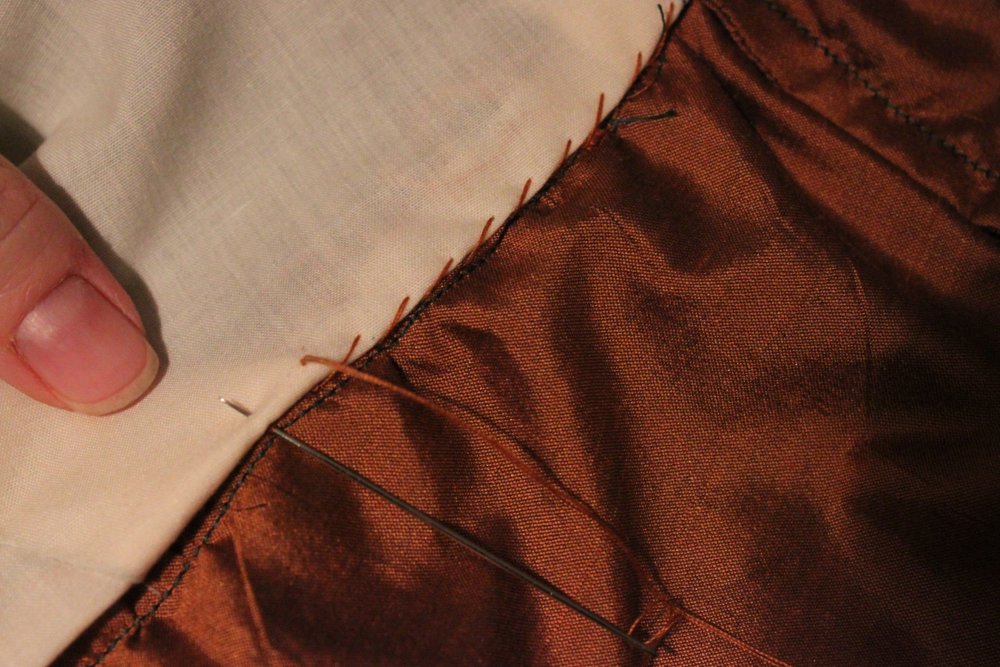
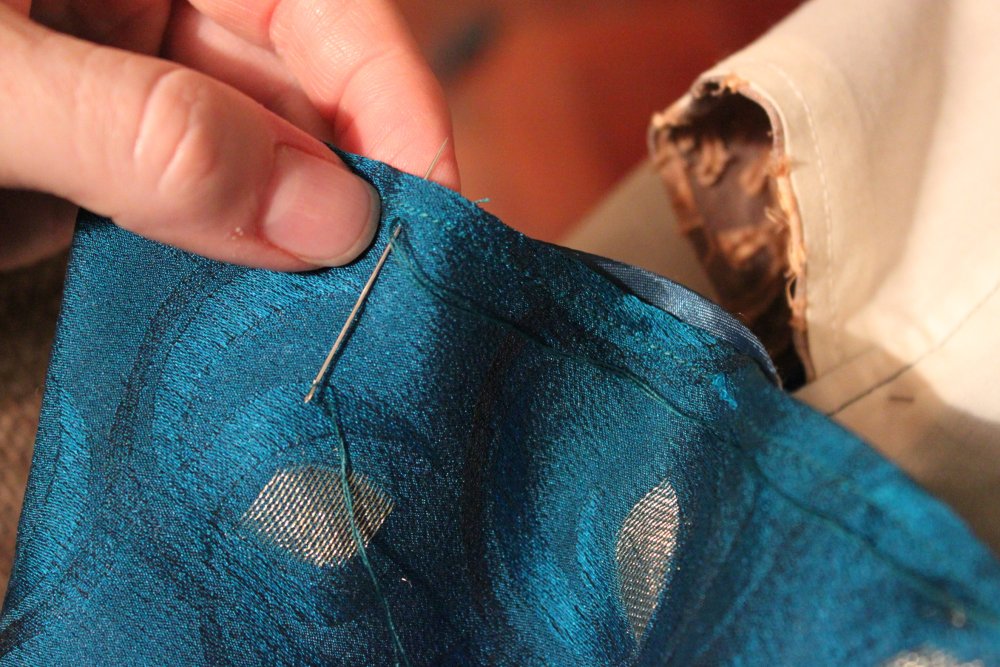
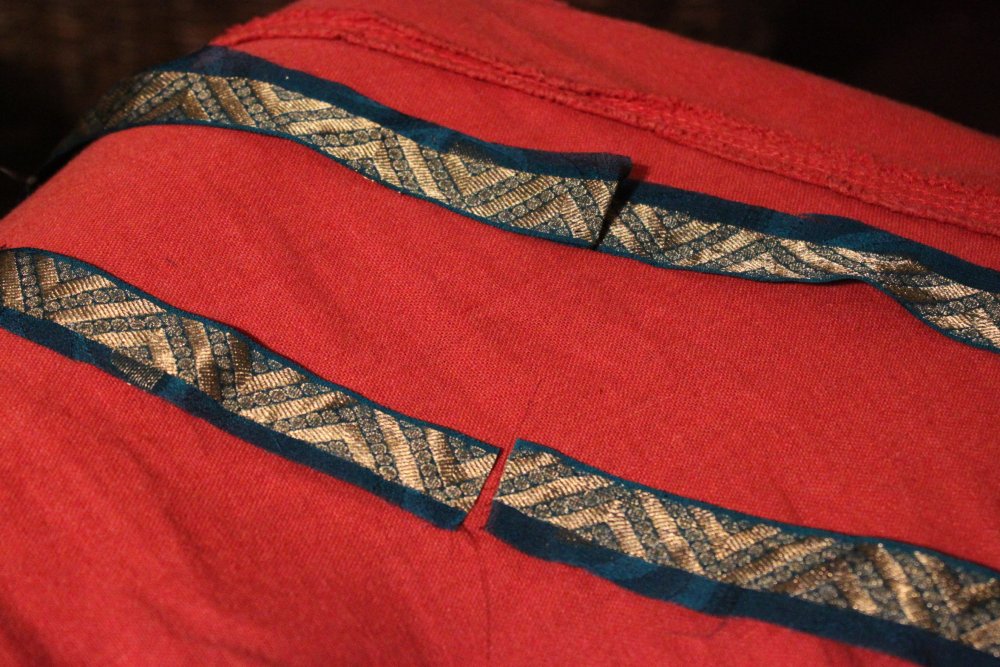
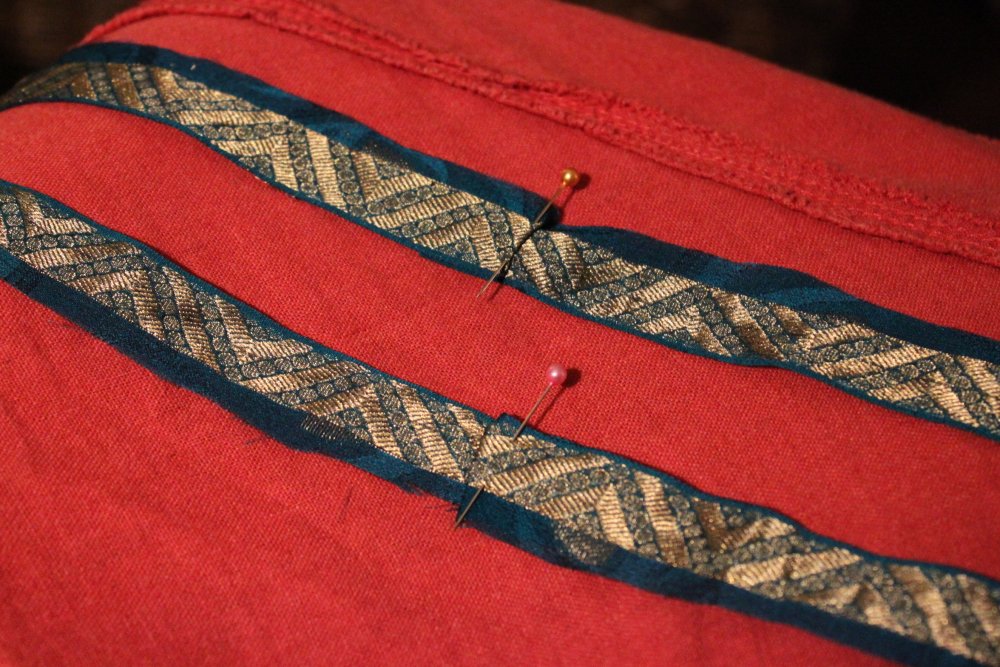
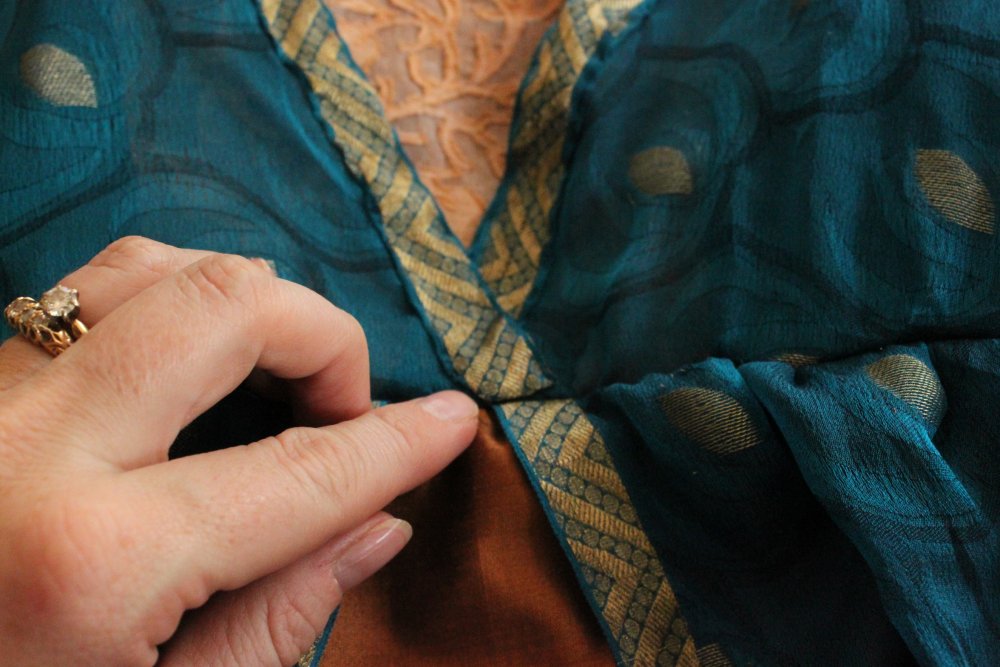
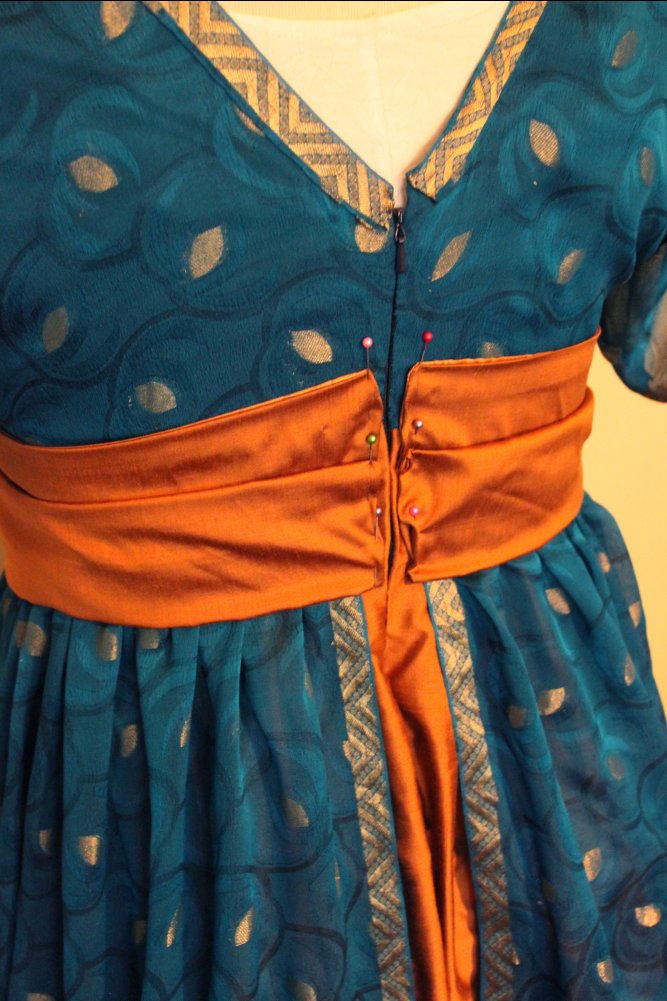
Well, our Internet went out last weekend and has been spotty this week, so I haven't had a chance to share the finishing of the dress until now. Your comments were all so helpful on the skirt options, and it was hard to decide how to arrange the overskirt, but I ended up going for expediency, as my deadline was fast approaching. It was easiest to do a center-front and center-back split, since that meant I could skip side seams entirely and just use one width of the saree material for each overskirt half. I figured I could always sweep back one side for more drama if I wanted to. After all the fun and games of draping, pinning, and playing with my options, time was running out, and I was ready to sit down and sew the skirt together and finish this dress!The first thing I did was to open out my pattern sheet and measure the skirt pieces. I had cut out enough of the spun silk to make a waistline sash, but that meant I wouldn't be able to cut the underskirt to the full width indicated on the pattern piece. That was fine by me, as I actually preferred to have a slimmer underskirt with train for a more columnar look. But I did want to make sure there'd be room in one key area: the hipline. If you plan to make a narrower skirt, always be sure to check the width through the hips, as you need enough ease to move and sit comfortably.I laid my material over the pattern piece and checked it out:There was plenty of width except at the very bottom near the hemline. In the photo above, I am pointing at the correct line for my size, showing about an inch difference between that and my material. No problem. I simply cut along my size line and narrowed as I neared the hem:Perfect. Now I repeated this for the underskirt back, except that I didn't cut off anything at the lower edge, since I wanted to make a rectangular train:I French-seamed the sides of the skirt.......then ran gathering stitches across the top, breaking at the side seams:Now it was time to pin the underskirt to the bodice on my mannequin, overlapping to take up the 5/8" seam allowance:With that in place, I took my overskirt material and laid out one end over the skirt back pattern piece, cutting the fabric to match the upward sweep of the skirt's top edge:Since I would be using the same piece of material for the skirt front, I laid out the other side on top of the skirt front pattern piece and cut to match there as well. It's very important with such "slithery" material to make sure the edges are lined up nice and square:Now I took this long piece of material and pinned it to the mannequin, center back/front (leaving room for the split at each) and the side seams, then taking up the rest of the material with careful pinning, always making sure I'd overlapped the bodice 5/8".With the overskirt pinned in place, I could cut the lower edge for my hemline. I wanted the hem to be slightly curved toward the center front but sweep down to a longer hem in back over the train. I cut from front to back, eyeballing as I went. When the overskirt looked like I wanted it to, I unpinned the first half and laid it over the remaining saree material, wrong sides together, carefully matching the selvedges and gold "leaf" pattern. Then I cut the second half of the overskirt to match:Then I pinned both overskirt halves in place to double-check them (I realize one half looks shorter than the other in this photo, but they were actually perfectly matched!):Great! Now it was time to gather the overskirt to the underskirt:And pin both to the bodice, keeping the lining free:I stitched the bodice to the skirt and moved on to inserting the back zipper (nope, it's not period correct, but it sure is easier than trying to make one of those convoluted 1910s hook and eye openings!). Now, you might wonder how I'd manage to put an invisible zipper into the skirt back when there's no center-back seam (prettier for a dress with a train). It's actually quite easy and works on most fabrics (I wouldn't try it on very thin/sheer materials, but just about everything else works nicely). First, you stay-stitch a long rectangle around the area you plan to slash to insert the zipper, narrowing as you reach the bottom of the slash point so that you take up just four or five stitches across the bottom of the rectangle:Then, when you cut the slash, you also snip into the corners to create a seam allowance for your zipper (this is very similar to the gusset step for my Regency Short Stays, in fact):Now you neatly press the "seam allowance" you just made:Now I could insert the zipper without having a long center-back seam to ruin the look of my train. I began by matching the end of one side of the zipper to the top of my center back opening and sewing down to the bottom of the slash:Next, I checked to make sure my waistline seam met in the middle when the seam was closed up:Then I pinned the other half of the zipper in place:Then I stitched this one in place, also top to bottom:Now it was time to finish off the train. Because I wanted it to look beautiful when picked up for waltzing, I lined it with China silk, cutting it to the same width as the train and long enough to go just above the hem length of the skirt front:Here's the lining, neatly pinned in place around the three sides:After stitching up one side, across the bottom, and down the other side, I clipped corners, turned the train right side out, and pressed neatly:Turning under the raw edge inside the skirt, I pinned the lining in place just above the hemline of the skirt front:Here's a closer view at the corner where the train meets the skirt front, showing the narrow hem I turned under for the front (I hemmed this to "dancing length"--just above the ankle--which seems to have been popular on board Titanic according to at least two lady passengers):I whipstitched the train's lining to the inside of the skirt and finished the front hem, taking up very tiny stitches to prevent a lot of puckers on the outside of the dress (it is possible to pick up a single thread with careful hemming):With that done, I now put the dress back on my mannequin and pinned the bodice overlay to the interlining/lining beneath in key places (to prevent it slipping off at the shoulders while wearing it):Before putting away my sewing machine to do all the handwork, I whipped the sash together. Because I had cut only one length of the spun silk to make the sash, I opted to line it with the same China silk used for the train:I stitched the lining to the silk, up one long side, across the short end, and down the other long side. Then I clipped the corners, turned it right side out, and pressed it nicely before turning inside the raw edges and pinning the end closed:Finally, I slipstitched the ends closed to finish the sash:Before tacking the sash to the bodice, I needed to finish off the inside by folding under the raw edge of the lining and pinning it over the waistline seam. It is easiest to do this with the dress wrong side out on the mannequin:Whipstitching secured this in place:Next, I tacked the bodice overlay to the interlining/lining in a few strategic places:Then it was time to add the decorative edge to the neckline. I did this by "harvesting" the gold edge of the saree fabric from leftover scraps cut away when I cut out the bodice pieces. Here are the longest pieces I found in my stash:I folded the ends under and matched carefully to preserve the zigzag pattern of the edging:Then I stitched the pieces together by hand to create two long strips of edging:I pinned the edging to the neckline, matching the selvedge to the neckline's edge and turning under the raw edge:Now I stitched the edging to the neckline, taking up tiny stitches along both the folded edge and the selvedge:Here are both edges in place, and I love seeing the continuous line of trimming running from the neckline to the overskirt (no one will see this, as it will be under the sash, but I still think it's nice when things line up neatly!):So now it was time to put the dress back on the mannequin and set the sash in place. First, I pulled the sash around the waistline and lined up its short edges with the center back opening of the gown:As you see, I made a horizontal "pleat" in the sash to give it a "scrunched" look. Next I placed the sequined "teardrop" trimming over the sash and pinned it in place:I decided to make a flat, rectangular "knot" to give the sash more of an "obi" look at the back, and I used the leftover "teardrop" as its accent. This little extra piece would hide my zipper seam and give the back a more finished look (the original pattern calls for a rose made of the sash material, but you can do just about anything here!). After removing the dress from the mannequin, I tacked the sash and its trimming in place at center front, side seams, and either side of the center back. I hemmed the overskirt with a narrow hem, then made a couple of tassels for the center front, using copper-colored DMC floss and following a tutorial pointed out to me by Suzi Clarke (thanks, Suzi!).That's all for today. My last post will be the "big reveal," showing you the finished gown on the mannequin and on me at the Titanic Centenary Dinner!